
In my previous guide, I wrote on how to build an Exchange Server 2010 from scratch. That included understanding the various roles, prerequisites, creating an Active Directory environment and finally installing the Exchange Server.
After doing so, we had connectivity within the domain. Emails could be sent to users within the organization to one another without any issues. So what next? How do we send and receive emails from the outside world? Well, that is the exact reason for this article. This will help you configure something called connectors in Exchange which route emails to the outside world.
The configuration changes that we are going to make will all be done on the server that holds the Hub Transport Role.
Alright, lets go ahead and create our Send Connector that will route the emails to the outside world.
Configuring Send Connectors
To do so, we will have to login to the Hub Transport Server, and open the Exchange Management Console and click on Hub Transport on the Organization Configuration level on the left of the screen.
Now you will be able to see various tabs on the Window in the center and one among them will be the Send Connectors tab.
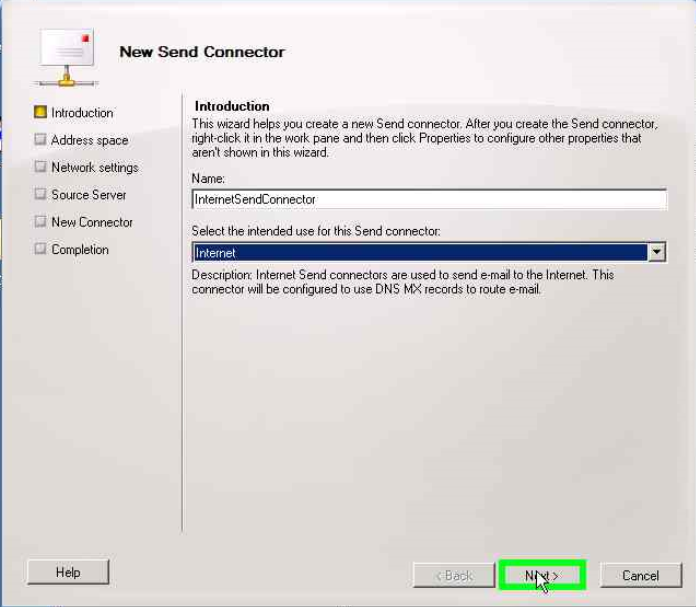
Right Click on the empty space and select New Send Connector. A wizard comes up that will help you configure the send connector from here on.
With this Send connector, we would like to send email to anyone on the internet. So let us go ahead and name it InternetSendConnector and select Internet in the drop down menu below. Once done, click next.
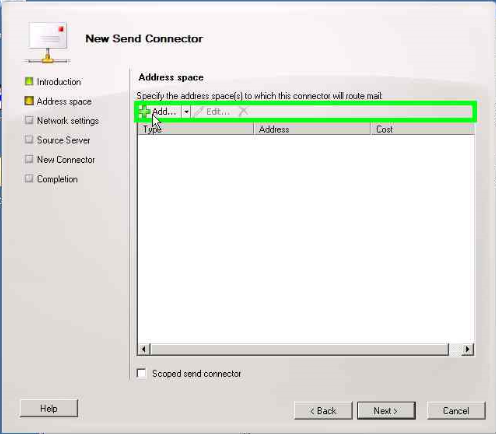
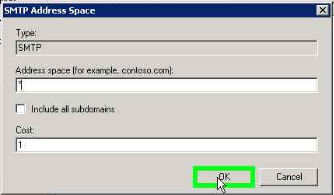
In the next step, you will have to specify the address range that you wish to send emails to. Click on Add and a pop up comes up. Simply add * in the address space value and leave the priority as it is.
Note: The lower the priority, the higher the preference it takes.
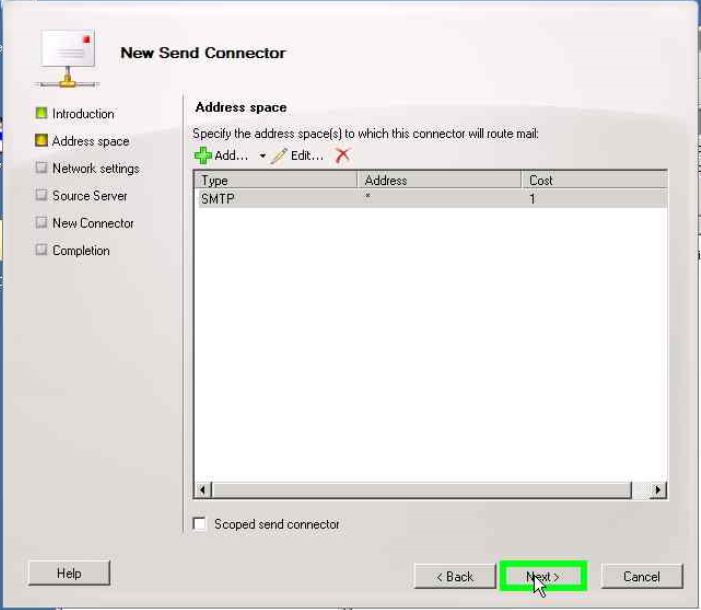
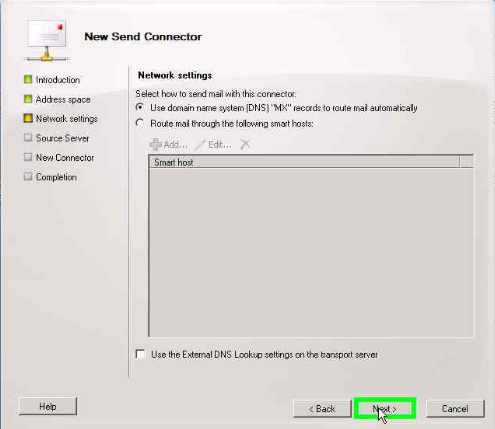
On the next page, select the option which says Use Domain Name System MX record to rout mail automatically and click Next.
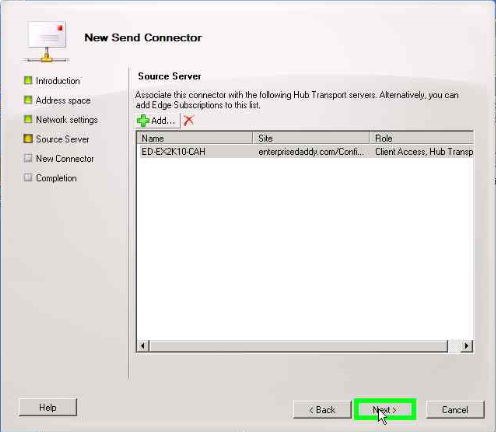
On the next page, we will have to specify the Hub Transport Server that this rule applies to. In our case, we have only one Hub Transport Server which is selected by default. You can always add more if required in your environment.
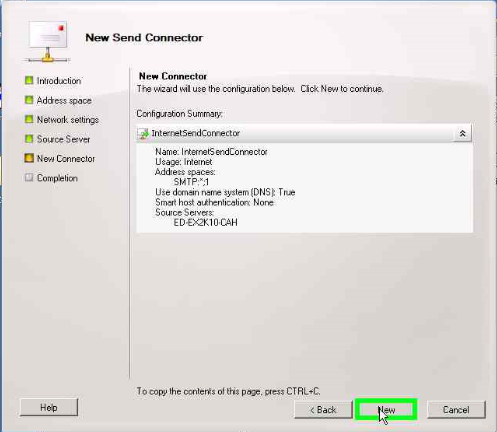
The wizard will now show you the configuration summary that you just made, go ahead and click on New.
The next page will ask you to complet the configuration chnages, so click on Install.
That's it! Now users in your organization can send emails to anyone on the internet.
Now, we will go ahead and configure receive connector so that we can receive emails into the organization.
Configuring Receive Connector
This one is going to be easy as we do not have create any send connectors but just make some changes to the Default receive connector that was created during the installation of Exchange.
You can find the receive connectors on the Server Configuration level on the screen, select the Hub Transport there and you should be Receive connectors on the middle of the screen.
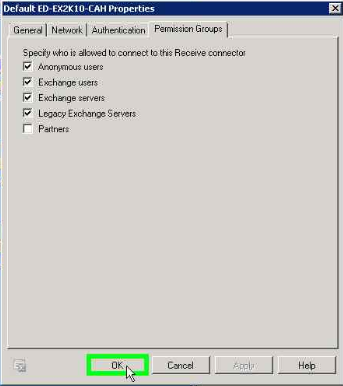
Double click on the Default connector and a pop up comes up.
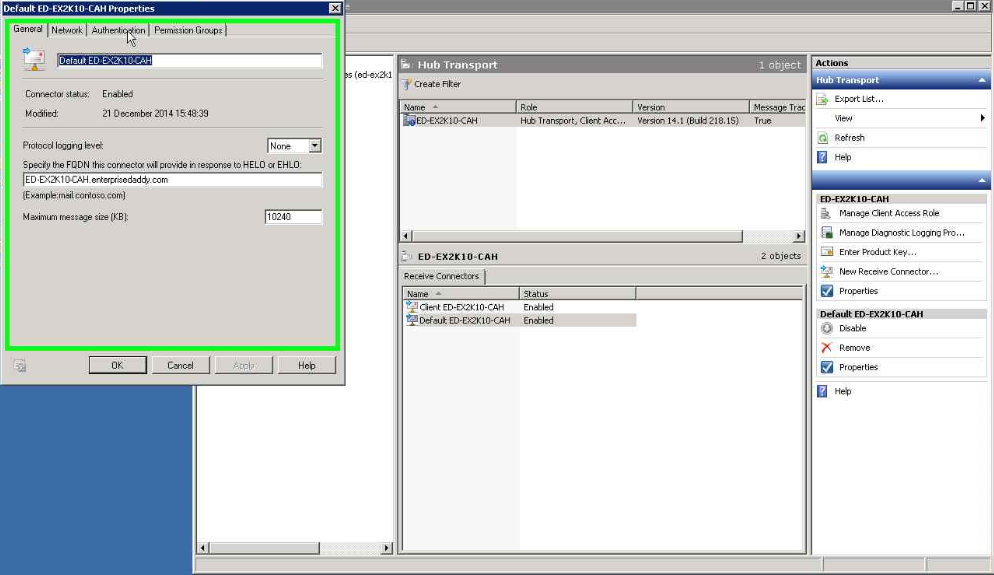
The settings that are seen here will be left to default values. The only chnage that we would make is on the Permission Groups tab.
Select the check-box next to Anonymous Users and click on OK.
Now pat yourself on the back, you have just configured your Exchange environment to send and receive emails from anyone on the internet.
NOTE: This is outside the scope of this article, you will have to make some changes with your hosting provider to be able to successfully receive emails into your organization,
All you have to do is make an A record pointing it to your Hub Transport Server with your public IP address and also make an MX record for the same Hub Transport Server.
I will see you all again soon with some more interesting things to share. Until then, take care.


4 Comments
Hi Arif..
Thank you..its helps me a lot…please post some more related to Exchange.
Is there anything specific that you would like to know? Kindly write down in the comments and I shall try covering that.
Hi Arif,
I’m on exchange 2010 sp2. Recently our CAS failed so had to create a new CAS. After that we have some connectivity issues. Upon doing test on ExRCA , the test fails with below error :
Testing Outlook connectivity.
The Outlook connectivity test failed.
Additional Details
Test Steps
The Microsoft Connectivity Analyzer is attempting to test Autodiscover for [email protected].
Autodiscover was tested successfully.
Additional Details
Test Steps
Autodiscover settings for Outlook connectivity are being validated.
The Microsoft Connectivity Analyzer validated the Outlook Autodiscover settings.
Additional Details
Testing RPC over HTTP connectivity to server xxx.com
RPC over HTTP connectivity failed.
Additional Details
HTTP Response Headers:
Content-Length: 58
Content-Type: text/html
Date: Mon, 18 May 2015 07:47:39 GMT
Server: Microsoft-IIS/7.5
WWW-Authenticate: Basic realm=”webmail.xxx.com”
X-Powered-By: ASP.NET
Elapsed Time: 14273 ms.
Attempting to ping the MAPI Mail Store endpoint with identity: CAS3.xxx.local:6001.
The endpoint was pinged successfully.
Additional Details
Testing the MAPI Address Book endpoint on the Exchange server.
An error occurred while testing the address book endpoint.
Additional Details
Test Steps
Attempting to ping the MAPI Address Book endpoint with identity: CAS3.aces.local:6004.
The attempt to ping the endpoint failed
Additional Details
The RPC_S_SERVER_UNAVAILABLE error (0x6ba) was thrown by the RPC Runtime process.
Elapsed Time: 6640 ms.
Can u please direct me what has to be done to resolve this as outlook clients unable to connact to exchange.
Mansoor Siddiqui
Hi Mansoor,
This might help you.
http://systemadminthings.com/2013/03/outlook-anywhere-rpc-over-http-failing.html/
Regards,
Adil Arif