
Hello again,
Today I decided to build my lab environment from scratch just so that everyone here will be able to follow up on things that I will be building in future.
Lets get back to the basics, so what have I done here? I just installed a Windows Server 2008 R2 on my PC from the ISO image that I had and went through the Initial Configuration task window and made sure that all the updates were installed and my machine was upto date. I also set a static IP address for my machine. You can do that from Network and Sharing center.
The next step was to install the Hyper-V role on the Server so that I can spin up some virtual machines and do some useful tutorials in the coming days. Hyper-V in Windows Server 2008 and Windows Server 2008 R2 enables you to create a virtualized server computing environment. Each virtual machine is a virtualized computer system that operates in an isolated execution environment. This allows you to run multiple operating systems simultaneously on one physical computer.
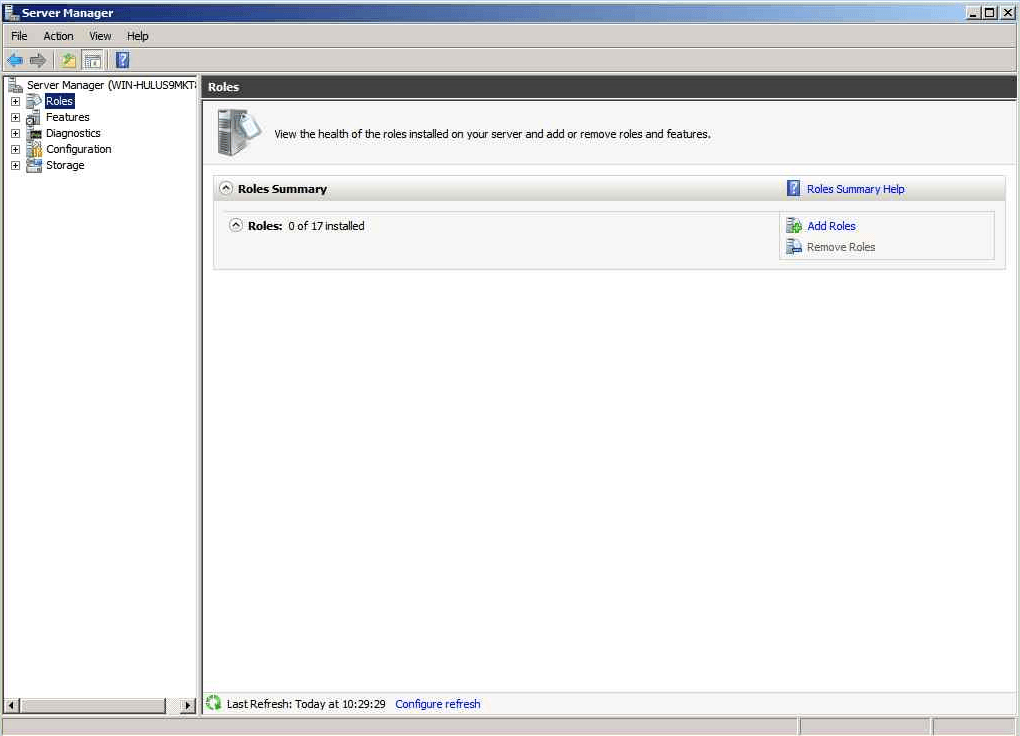
Since you are here, you must be knowing that Windows Server 2008 R2 is very modular in design and I can install specific roles and features on a single machine. It comes with 17 server roles and 42 features.
Anyways lets get installing the Hyper-V role.
Go to Start > Server Manager > Add roles.
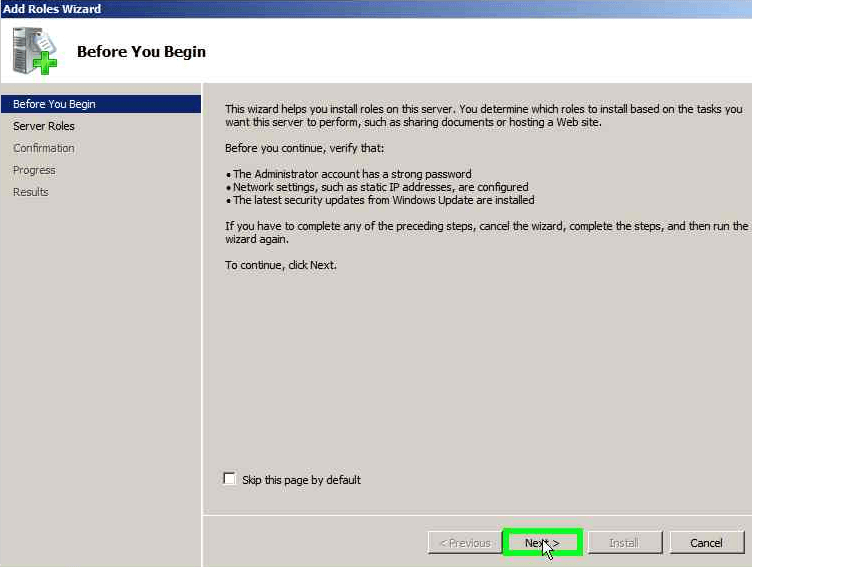
Add role installation wizard comes up. It gives you the basic overview as to what this wizard does. Click on Next.
Select the Hyper-V role from the next step and click on Next.

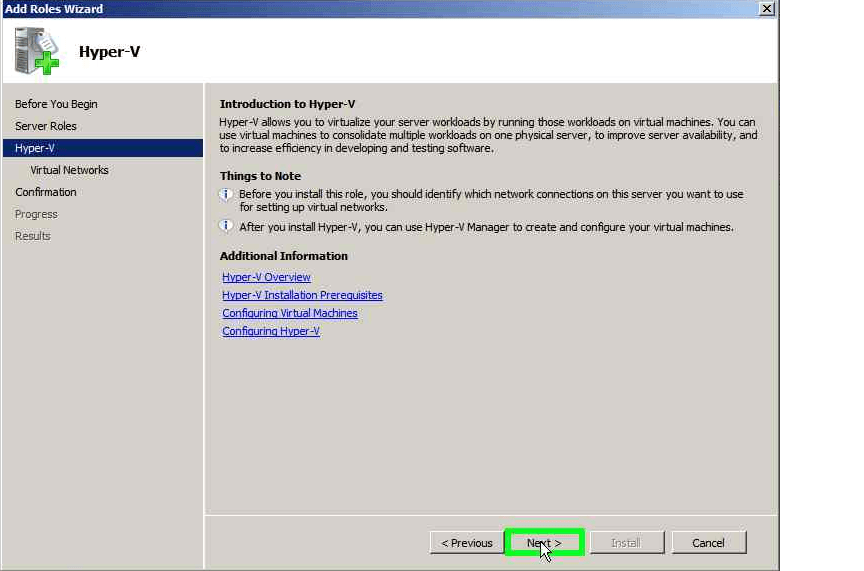
On the next page, it will give a brief overview of what the Hyper-V role is and what you can achieve with it. Click Next.
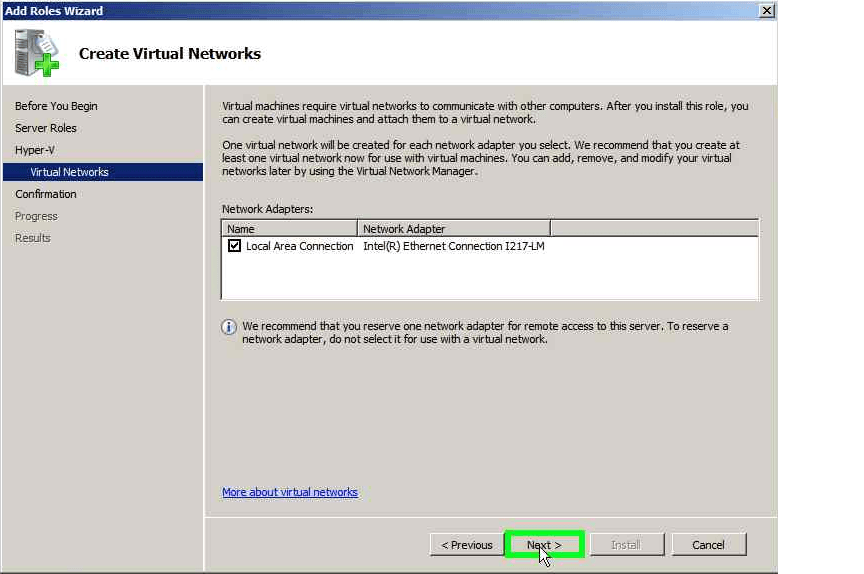
On the next page, it will ask you to select a virtual network, go ahead and select your LAN connection. In my case, I just have one NIC card, so I have selected that.
Now you are on the confirmation page, go ahead and click on the Install button.
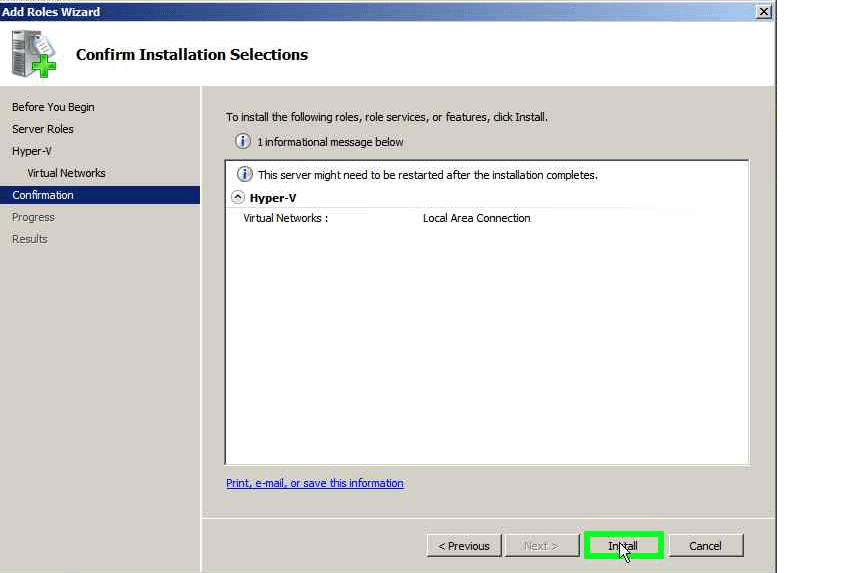
Once the installation is complete, it will ask you to restart the machine for the changes to take effect.
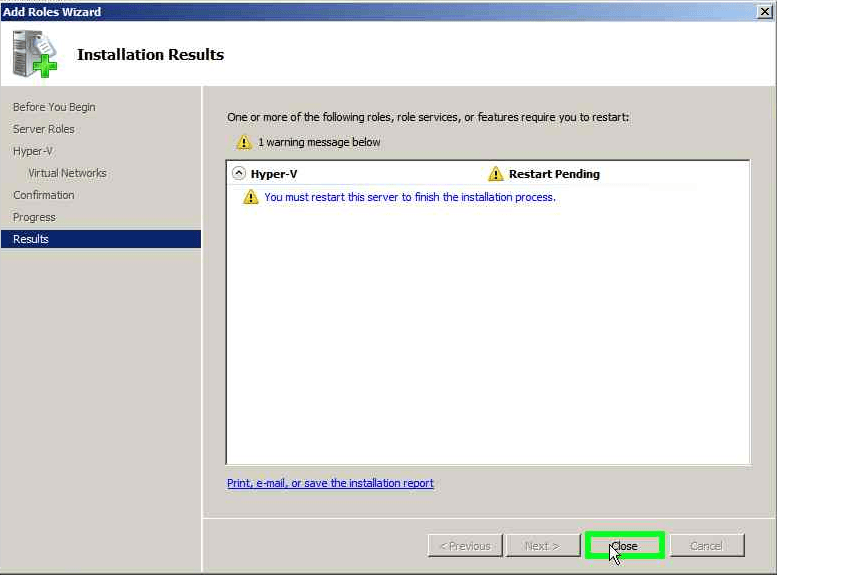
After the server reboots, it automatically continues to the remaining part of the installation here it configures the services. Once it is complete, click on Close.
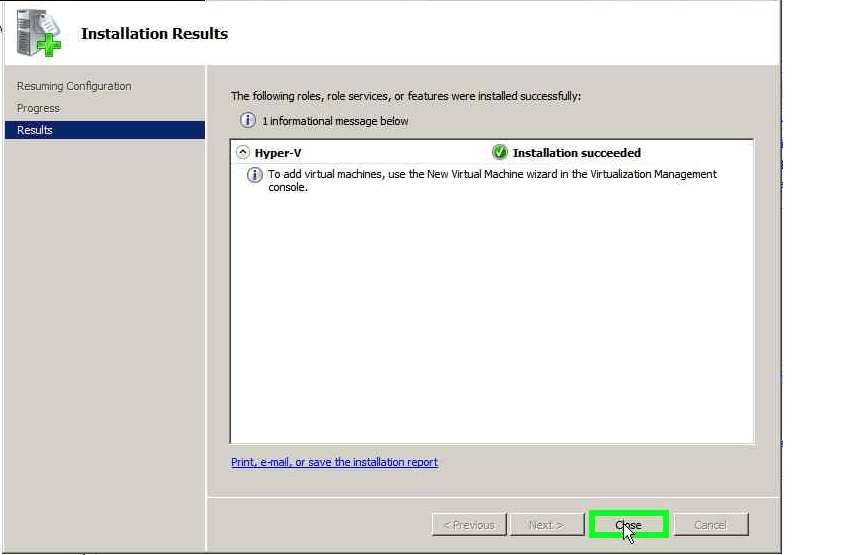
There you go! You have successfully installed the Hyper-V role and you can access the Hyper-V Manager console from either the Server Manager or from the Administrative tools from the Start button. You can spin up as many virtual machines you want and play around now.
Hope this was informative and do leave your comments. Any suggestions are always great! Thank you again for reading.


4 Comments
Very nice! Thank you for taking the time to publish this. I am an aspiring system administrator keep up the great work!
Thank you! Keep visiting for more articles on System Administration!
Hello Adil,
Iam new to this administration world pls suggest from where to start as iam working as helpdesk support, to grow as a system admin on server 2012 . pls give me some notes ..thank you
Hi Mahaboob,
There are a lot of resources available online. You just have to get to it and start learning.
You can find the below link to Microsoft Virtual Academy, which is a great learning site.
https://mva.microsoft.com/en-us/training-courses/windows-server-2012-training-technical-overview-8564
Regards,
Adil Arif