
In this article, I will be writing on how to grant Send As permission to another mailbox in Exchange Server 2010.
This feature in Exchange Server 2010 is used when one has to send an email as the other person. The real world example would be the Personal Assistant sending CEO's email as him/her.
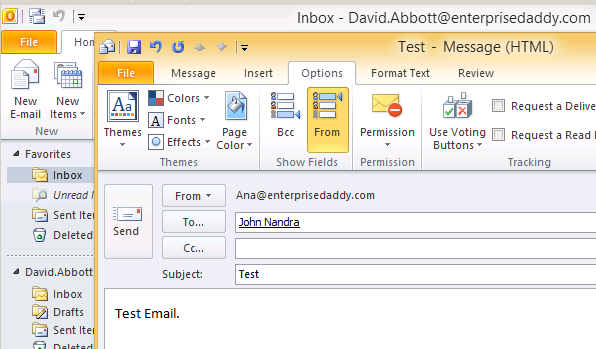
Let's look at the scenario, we have Ana Hayes as the CEO and his personal assistant is David Abbott. We need to provide David send as permission on Ana's mailbox.
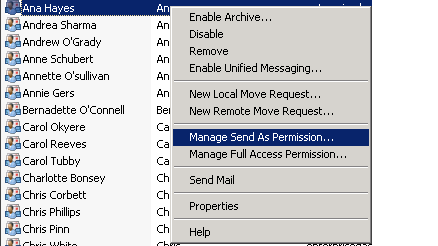
Open the Exchange Management Console, and look for Ana's mailbox. Right click on the mailbox and click on Manage Send As Permission..
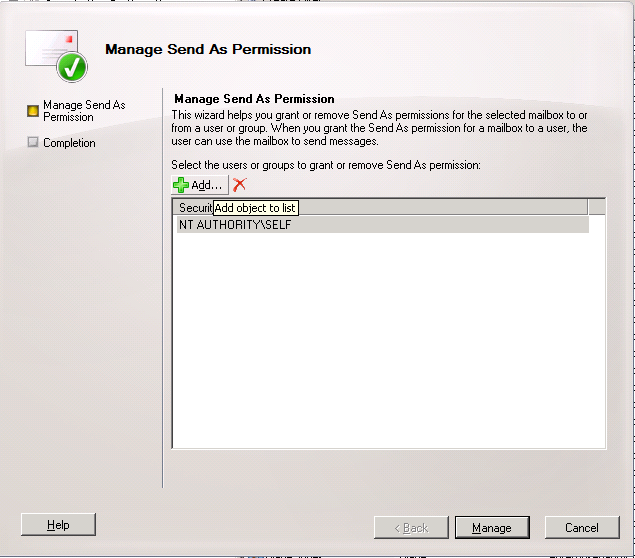
A wizard will appear as shown below and then on Add button.
This will bring up the list of mailboxes available in your organization. Now go ahead and find for David's mailbox as we want to grant this permission to him.
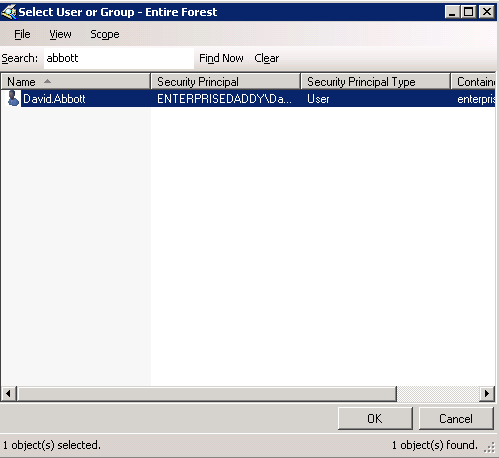
After selecting, click on OK. And Manage.
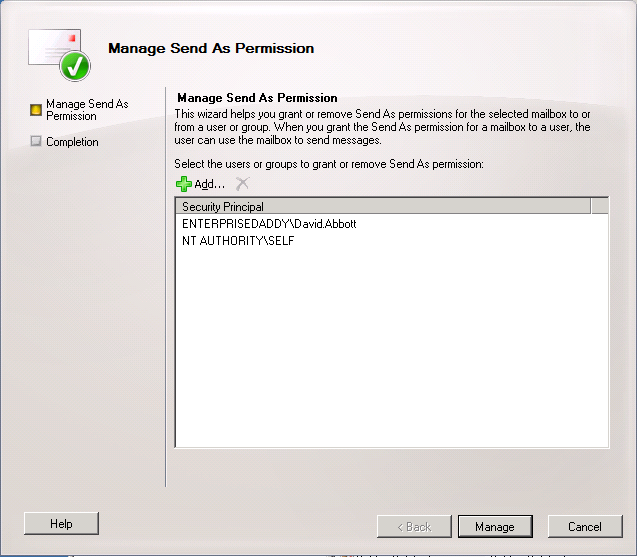
Now click on Finish to close the wizard.
The same can be done through Exchange Management shell as well. Open Exchange Management Shell from the start menu as administrator.
Add-ADPermission -Identity "Ana Hayes" -User "enterprisedaddy.com\David.Abbott" -Extendedrights "Send As"
After making this change you may notice that it does not take effect for up to 2 hours. This is due to caching on the Exchange servers. Though you can speed up the change by restarting the Information Store that is obviously not going to be practical in most production environments, so you’ll often find that you just need to wait.
Once the changes have taken effect, David can send email as Ana Hayes.
Hope this was informative and thank you for reading!


4 Comments
It works for me. Thanks Adil for your help.
Hello Farooq,
I am glad that I could help. Keep visiting for more such articles.
Hi Adil, thanks for this.
however, I have not all the rights to work in the Exchange server. Our head office has given me some rights to create new users for instance but I cannot see the link in the properties to do what you showed me here.
But I was told that I could do this using the PowerShell. I have been looking for the right syntax but i could not find a good example and what i have seen so far has not worked. Perhaps you would know what the right syntax is for doing this in Powershell?
Thanks in advance.
Patrick
Hello Patrick,
I understand that you have restricted access, that is the reason you are unable to see those options. And I already have the Powershell syntax posted on the same article. You may also try doing this from ADUC. On the security tab of the User Account, you will see Send as checkbox once you add the account to you want to give permission to. Make sure you have turned ON advanced features first. Hope this helps.