![]() <--- Installing Hyper-V Server 2012R2 Core Edition Configuring Hyper-V in a Domain Environment --->
<--- Installing Hyper-V Server 2012R2 Core Edition Configuring Hyper-V in a Domain Environment --->
In This Guide I will be showing you how to remotely manage a Hyper-V Server within a WORKGROUP environment, Following on from my last guide on installing hyper-v server, this is the next.
Guide Pre-requisites - Please note that you cannot remotely administrator 2012/R2 using Windows 7
Microsoft Windows Remote Administration Toolkit for Windows 8.1
Microsoft Windows Remote Administration Toolkit for Windows 10
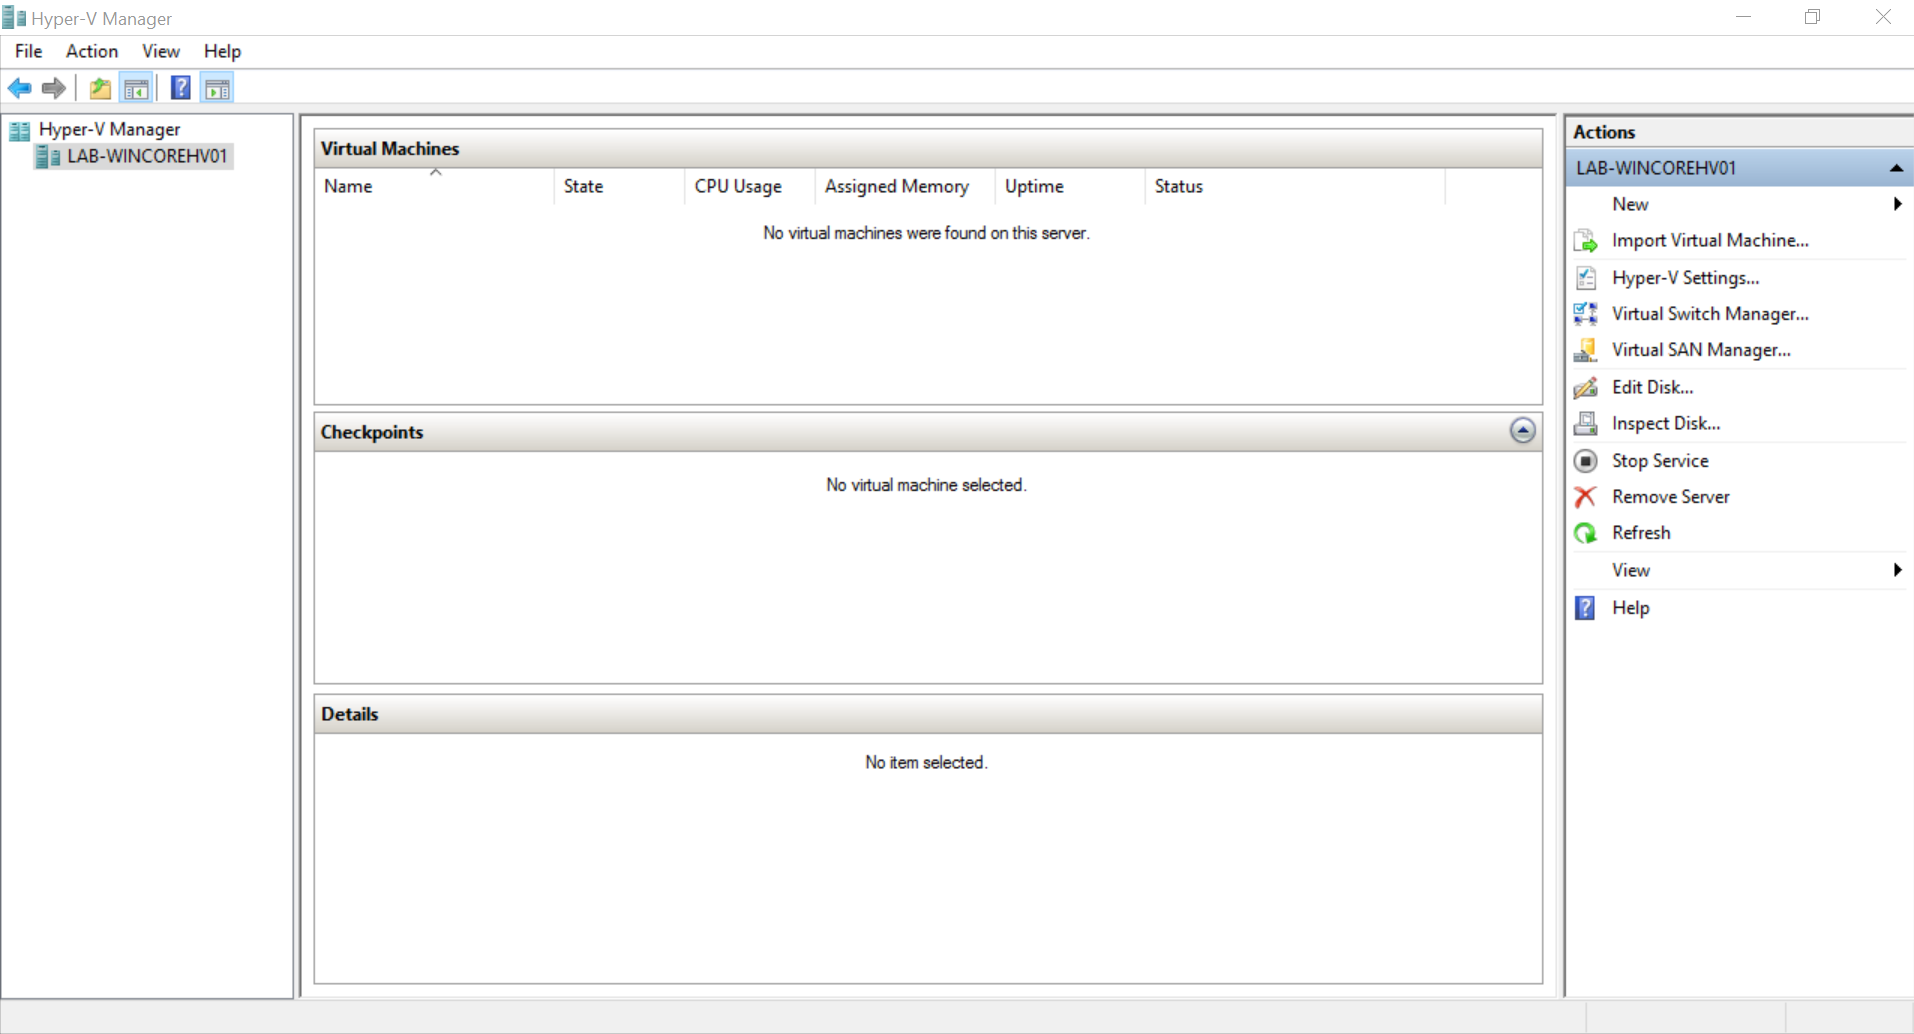
When you deploy a Core Server, As i'm sure you will know, you don't get any form on Graphical Server Manager.
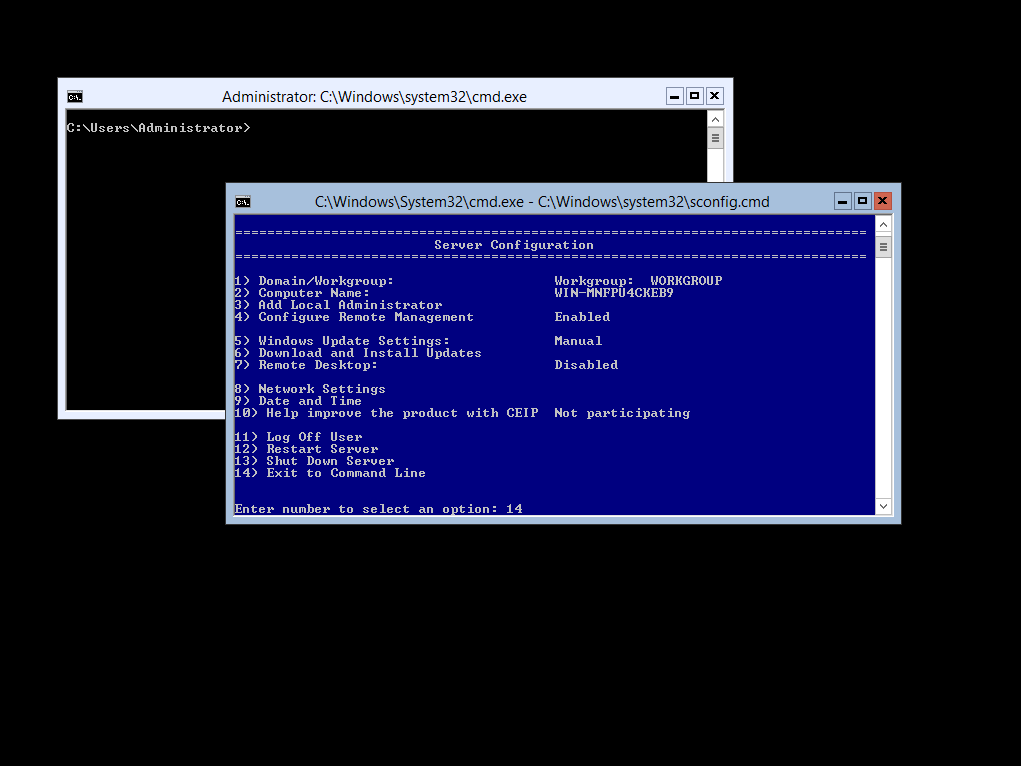
However Microsoft have provided us with a Server Configuration Menu, running from a cmd file, this allows you to perform simple server management tasks such as assigning a static ip address, installing roles and features, and naming the server.
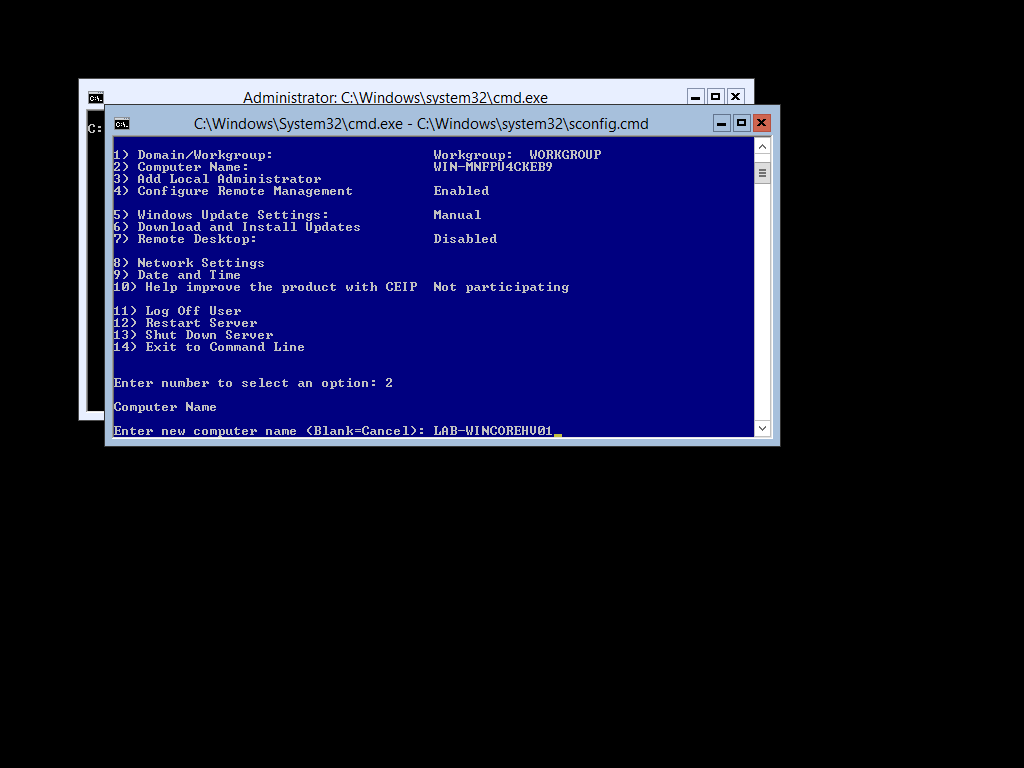
So firstly we will go ahead and rename the hyper-v host to a more standard naming convention. Personally I like to use the method of SITE-OS-GRAPHICS-ROLE-NUMBER
For Example the site is my personal lab so I would use LAB the Operating System in Windows so for short I would use WIN and should it be a Linux build I use LNX.
As we know its a CORE Server, so the same principle applies a Full Server Graphical Install would be named GUI and the Server Instance be CORE then finally we have what the Role is, and the number, As this is running Hyper-V its named HV which is the short for Hypervisor and then the server number, as this is the first hyper-v host we have I have named it 01 this would give you the name of; LAB-WINCOREHV01
Rename Windows Server using Powershell Commands
Select Option 14 from the Server Configuration Menu, this will exit then menu and give you a CMD Prompt
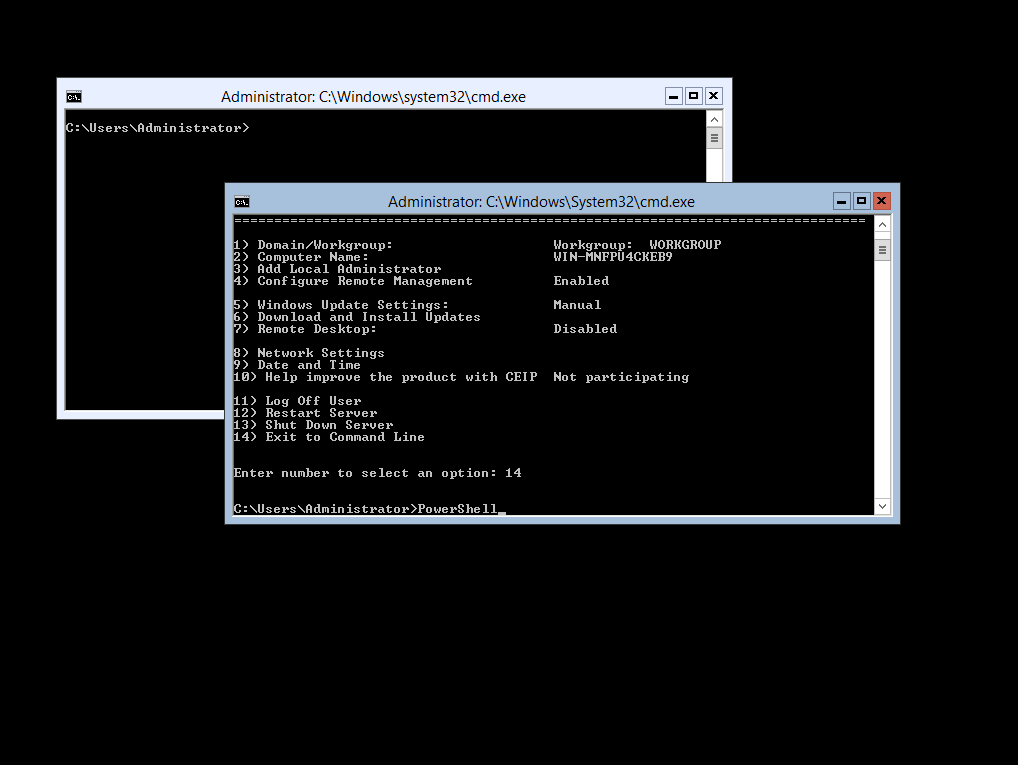
 Next you will need change the prompt window from CMD to PowerShell (Alternatively just type Powershell and the command )
 Once you have entered the command;
Rename-Computer LAB-WINCOREHV01 -Force ; Restart-Computer -Force
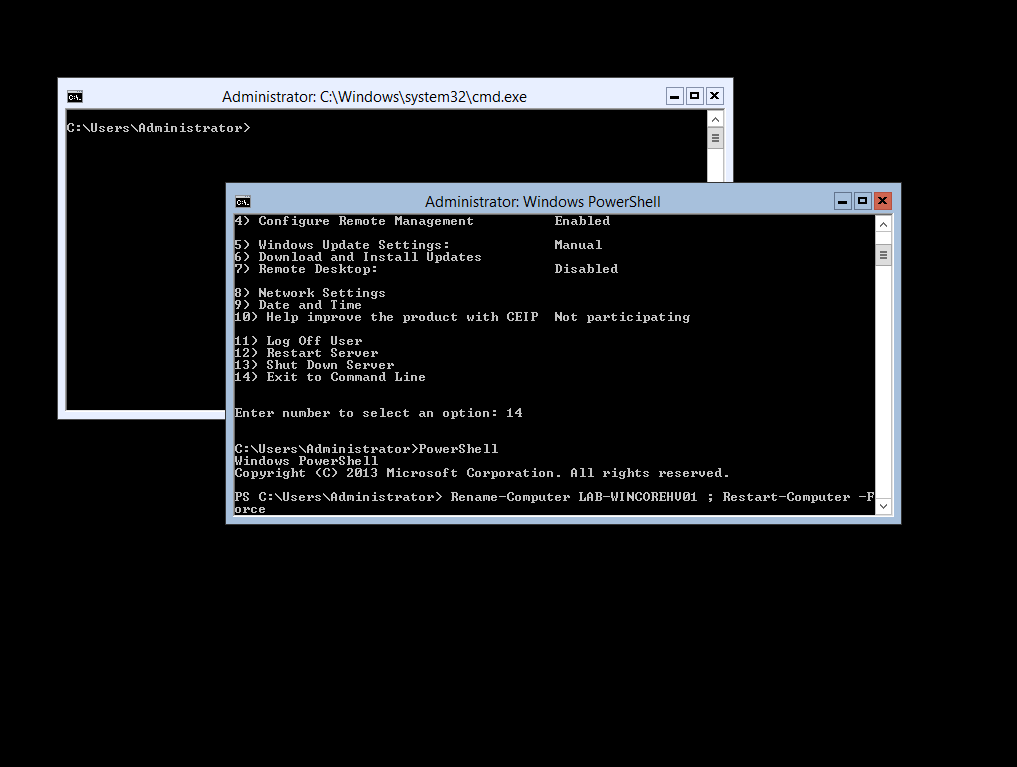 The server will automatically reboot and when you login your server will be named

Rename Windows Server using Server Configuration Menu
Select Option 2 from the Server Configuration Menu, this will exit then menu and give you a CMD Prompt
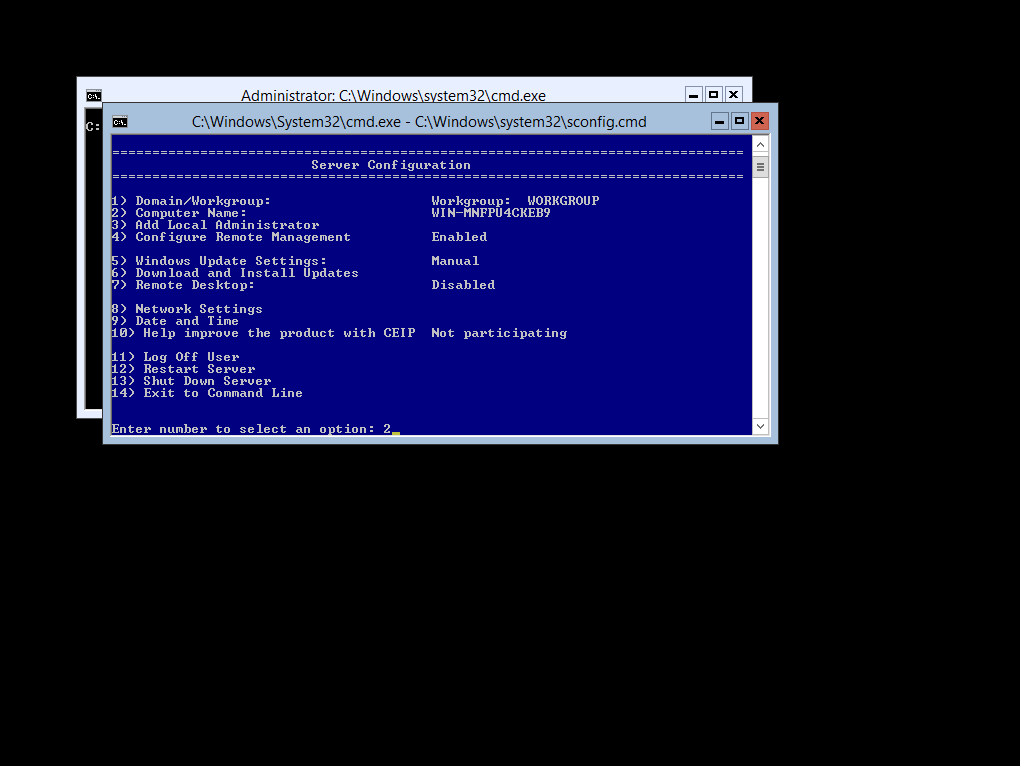 When you select Option 2 you will be required to enter the Server Name
 However when using the Server Configuration Menu when you enter the server name you are presented with a Reboot Prompt, which when using powershell is bypassed by using the -Force Value
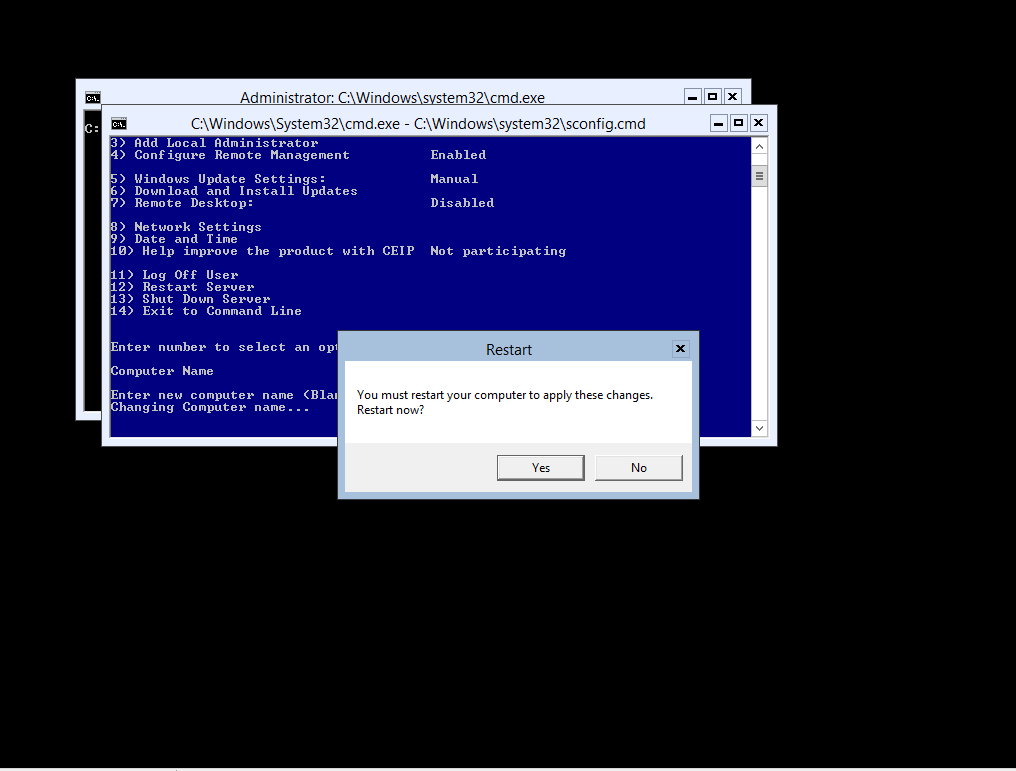 The server will automatically reboot and when you login your server will be named
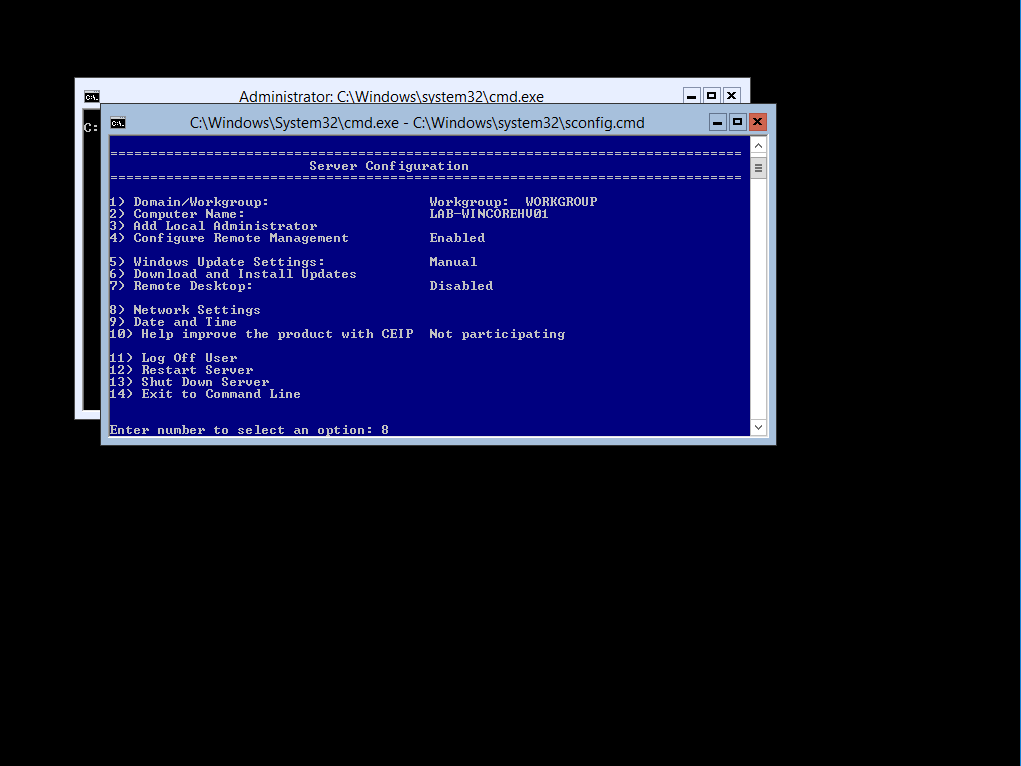
Next we need to assign a static ip address and edit the local hosts file on your computer.
(unless you have a DNS Server running which allows you to run nslookup again)
To Assign a Static (Fixed) IP Address to your server select Option 8
 Then Select your local network adapter index (11)
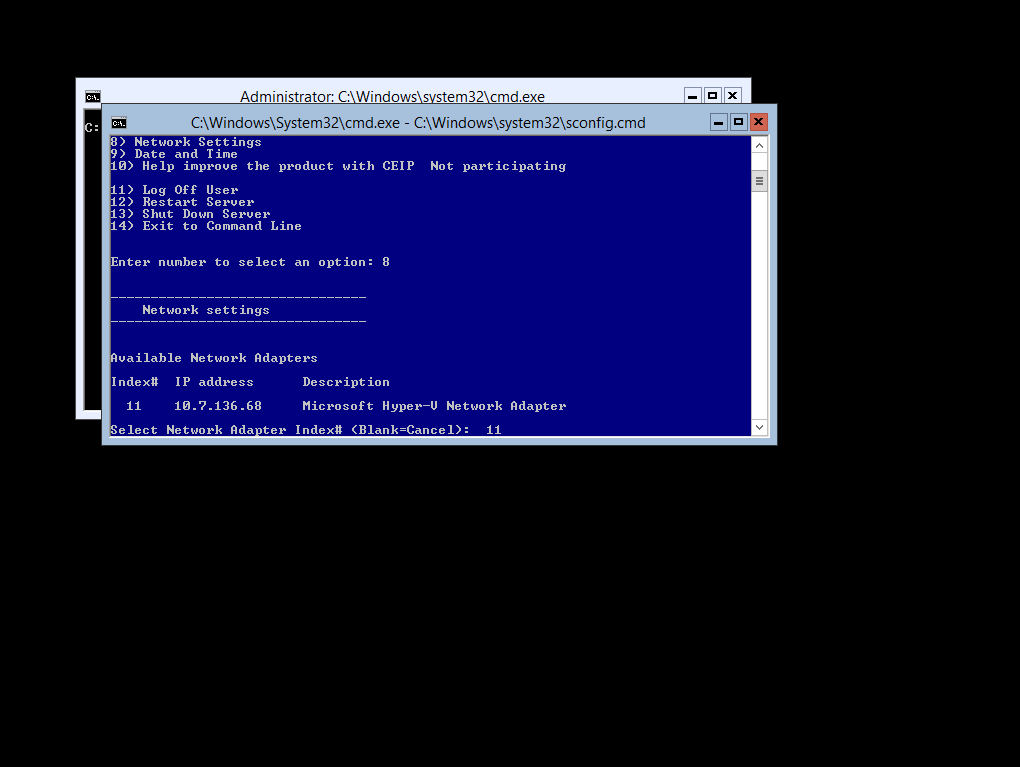 Then you can assign your static ip address (select option S)
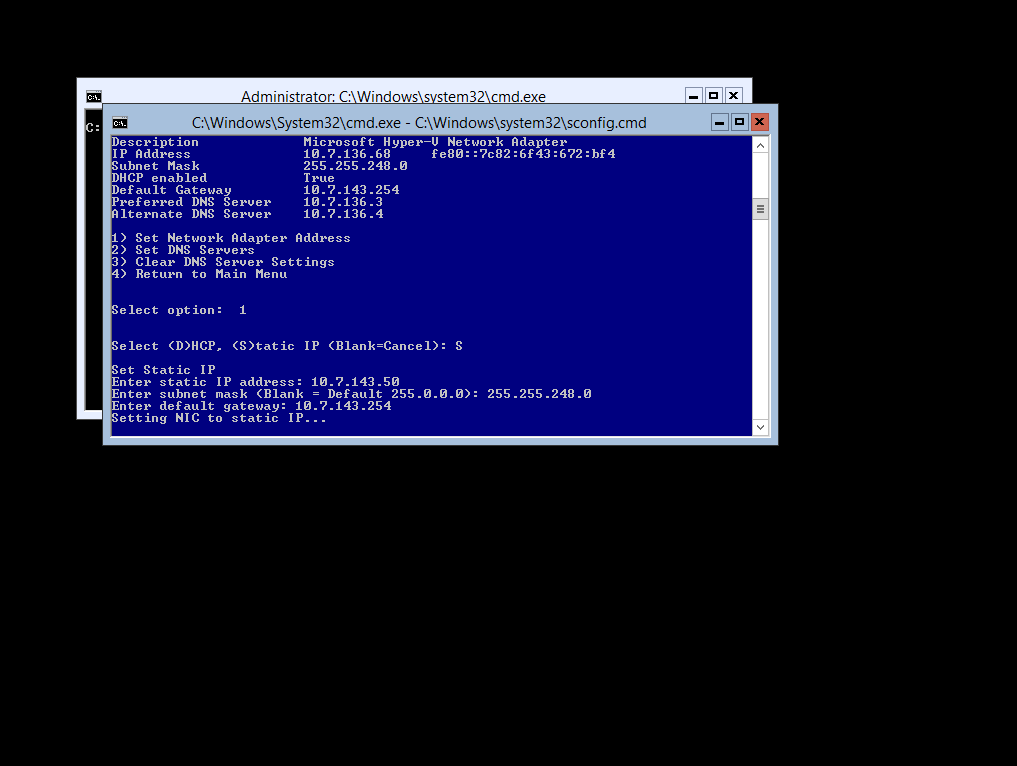
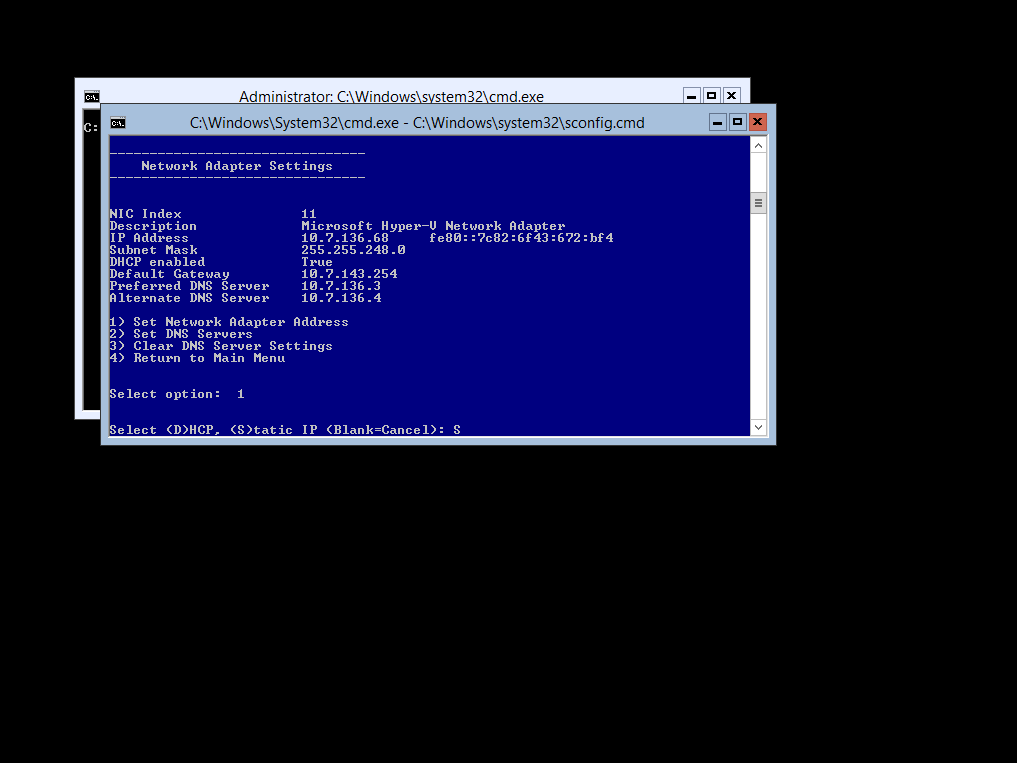 Then enter in your IP Information
Next you will need to add DNS Name to you localhost file, or you can skip this and just use the IP for the Powershell Script.
To add the DNS Name and IP to your local hosts file navigate to
C:\Windows\System32\drivers\etc and look for a file named hosts.file
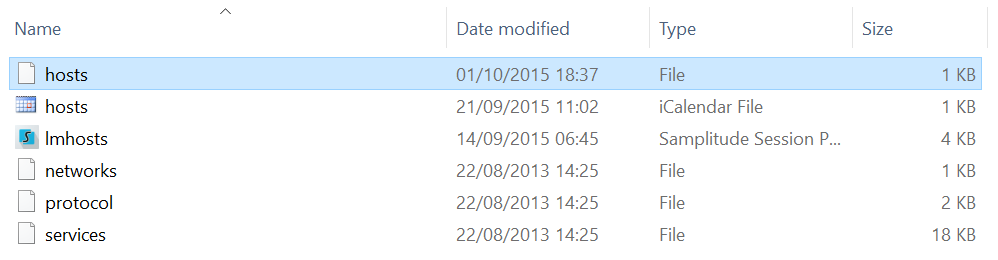 Right Click on the file and go to Properties then click on Security
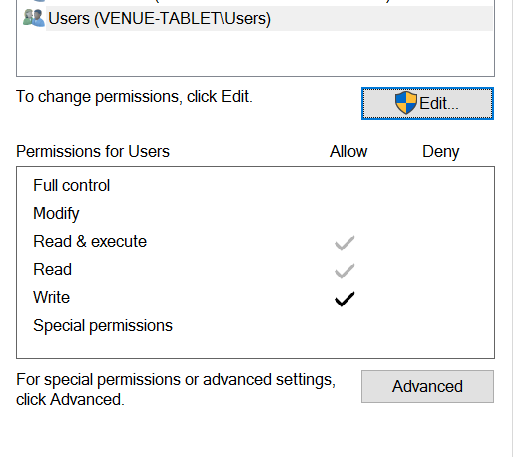
Then right Click again and select Open With and then Choose Notepad
and then add the IP address and Hostname.
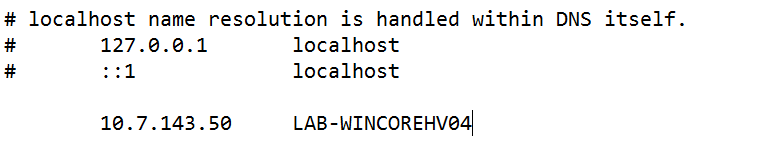 Then save the hosts file, Next we need to allow anonymous Remote Access to your Hyper-V Server
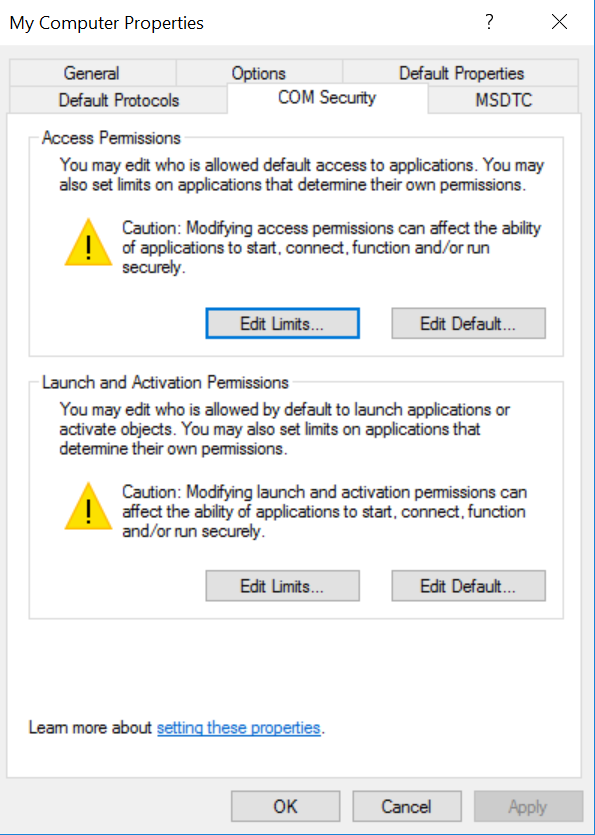
to do this open a Run Window (win + R) and type in dcomcnfg
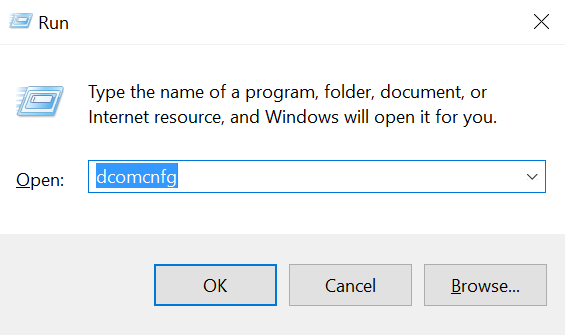
Double click on Computers right click on My Computer and Select Properties
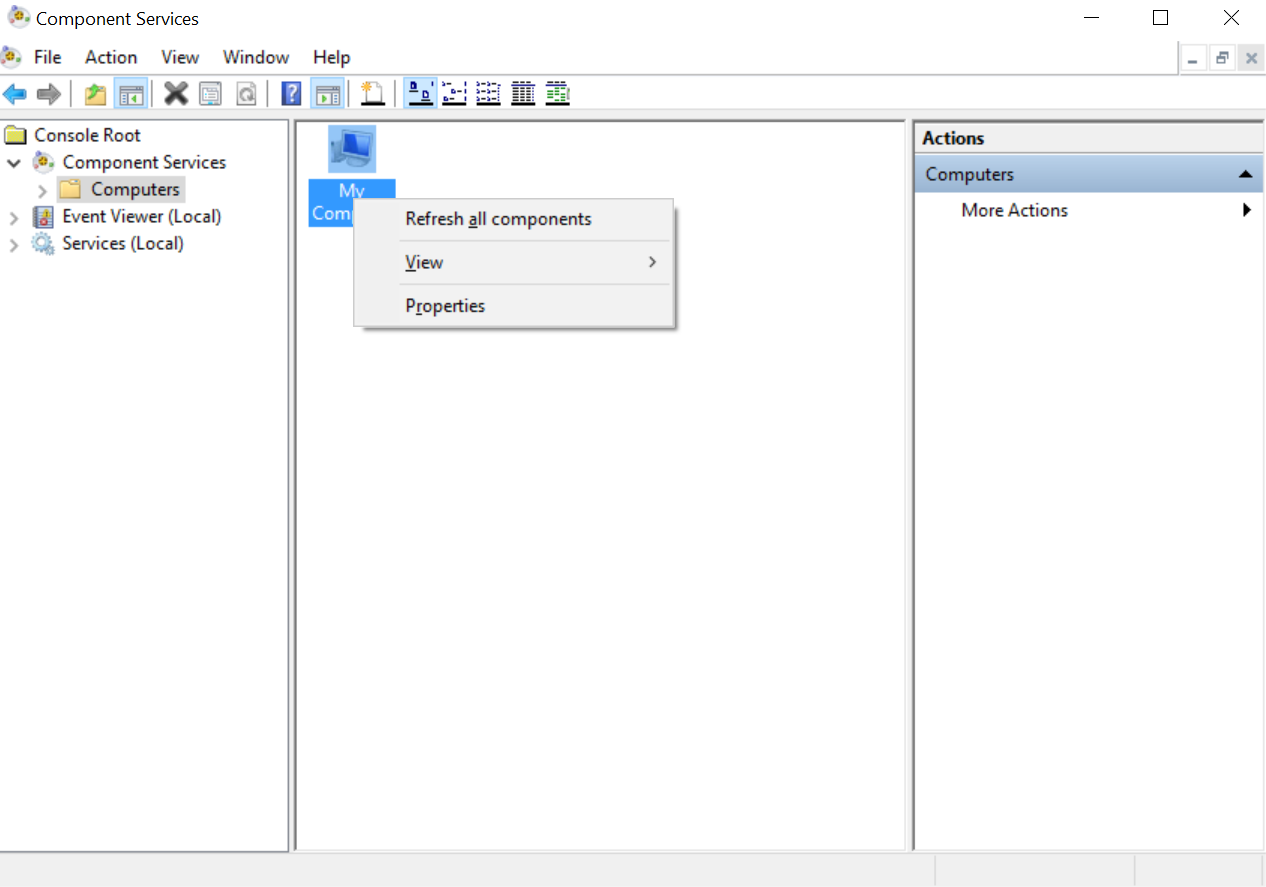 Then select the COM Security Tab and then click on Edit Limits
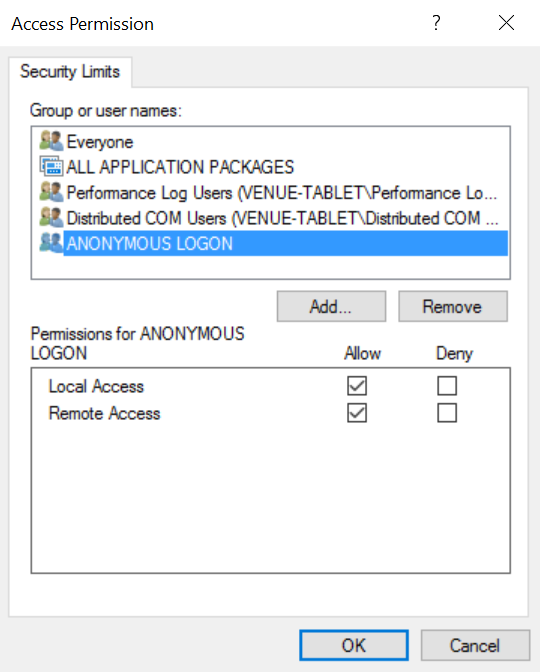
You need to select the bottom Security Group ANONYMOUS LOGON
and then make sure that the Remote Access Box is set to Allow
Now we can add the hyper-v host to the RSAT Server Manager
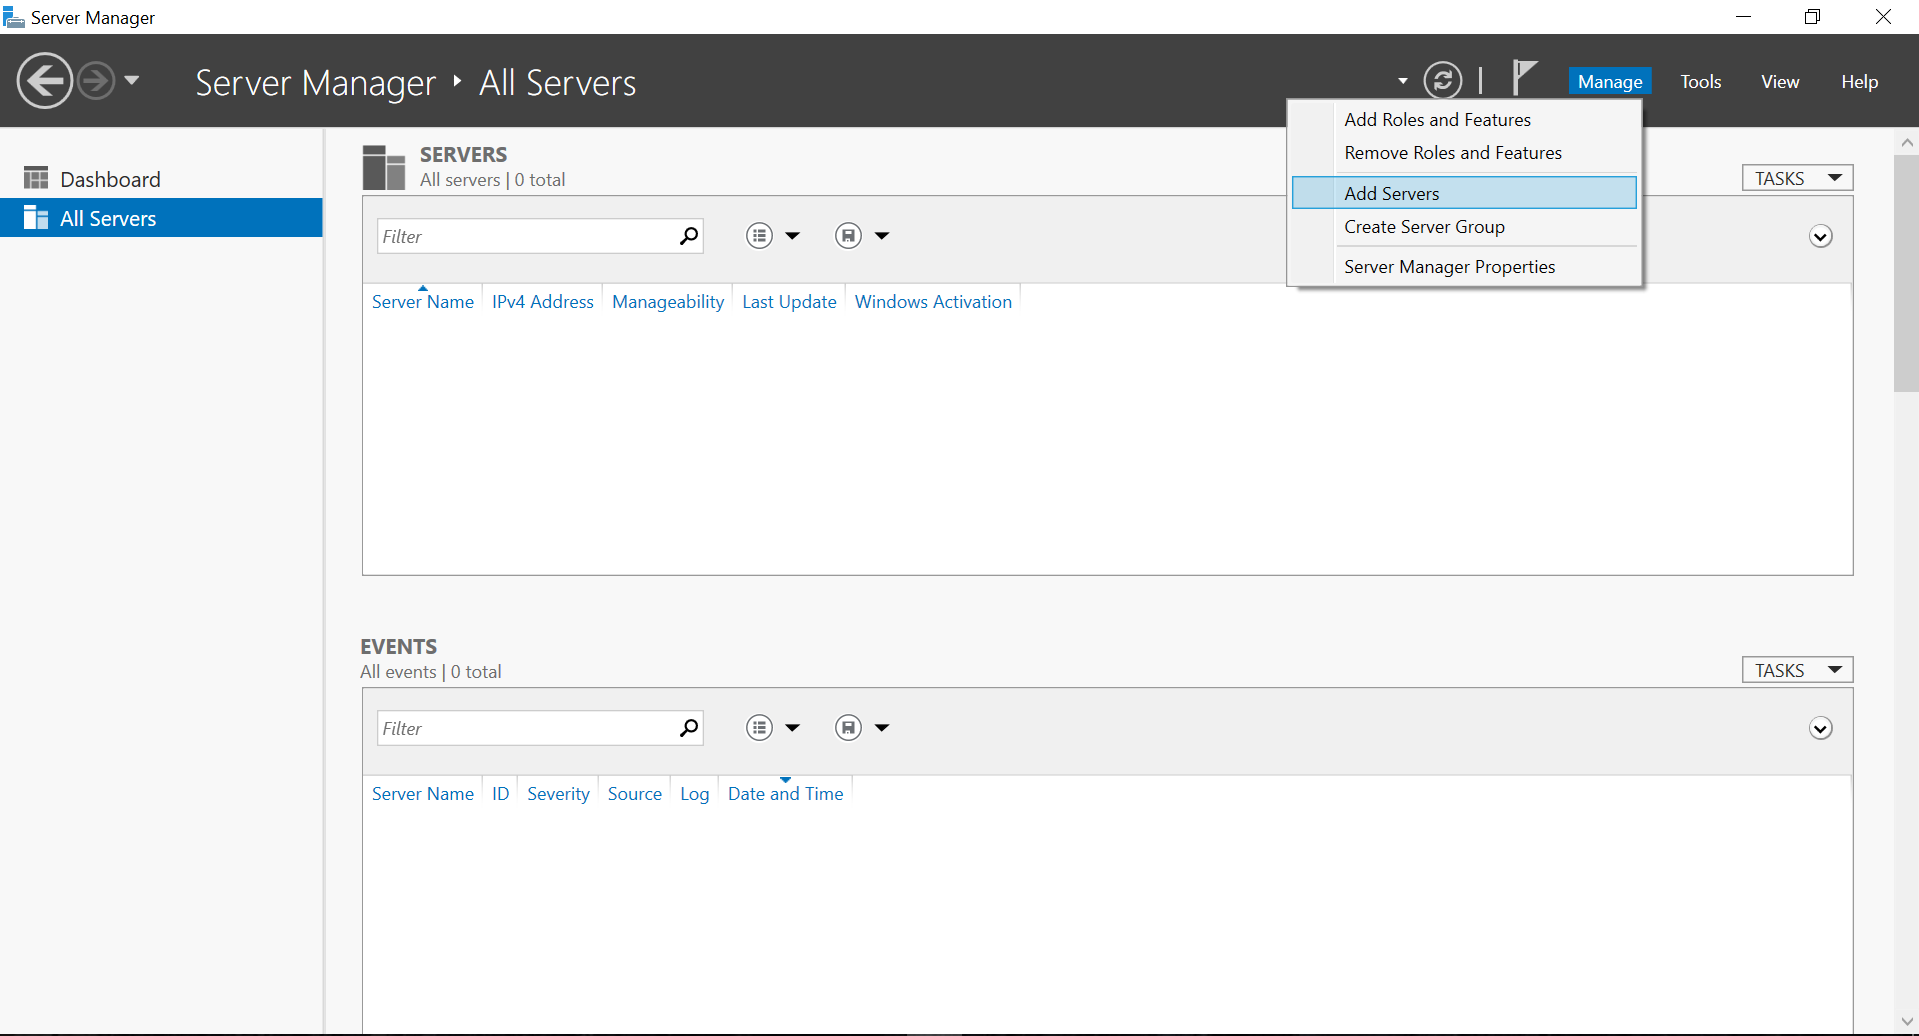
Select Add Servers and then Select the DNS Host Tab
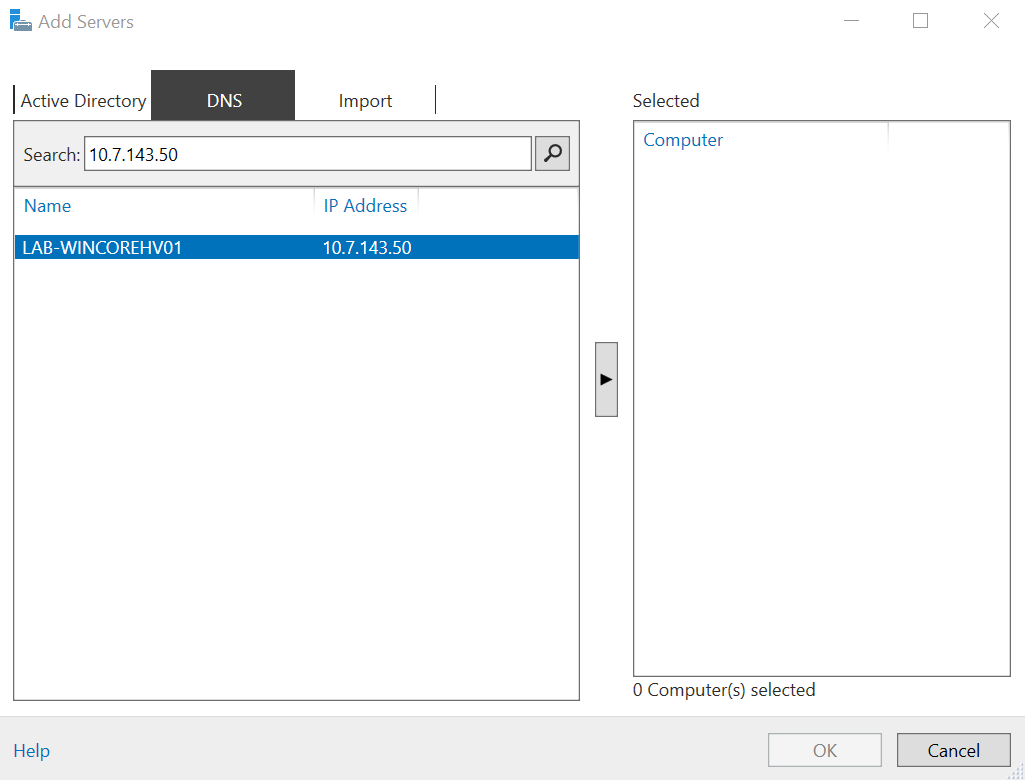
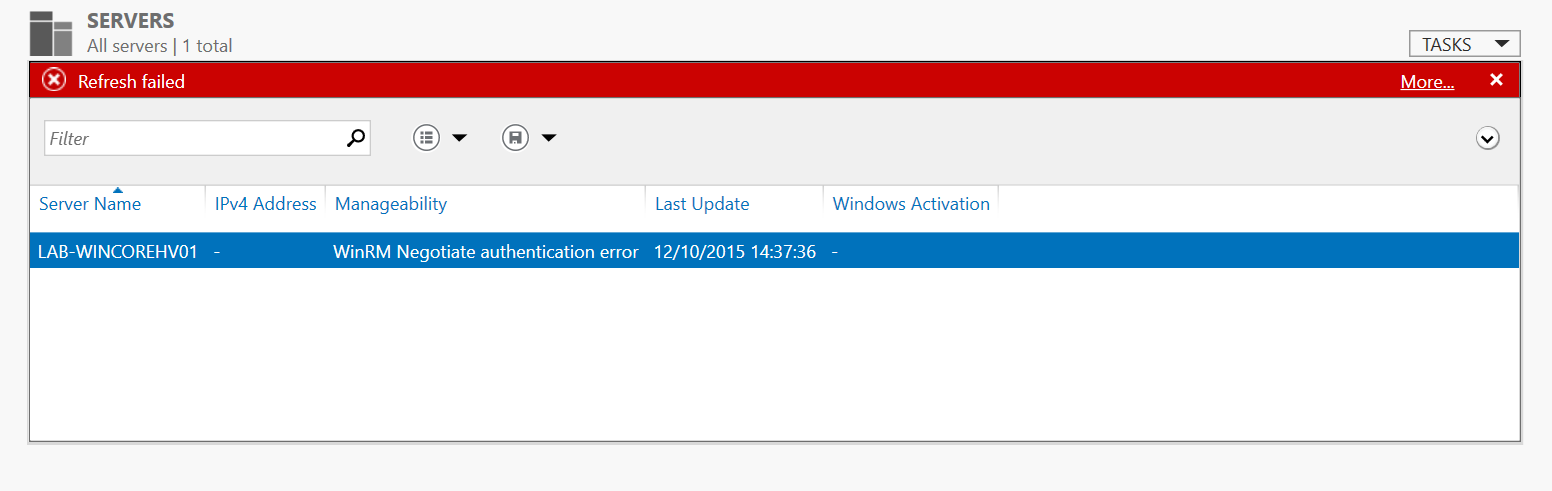
Hit the Across Arrow and then select Ok and will you get an winRM Authentication Error Message
To Resolve the winRM Authtentication issue, all you need to do is add the DNS Name to the TrustedHosts File using a Powershell Command.
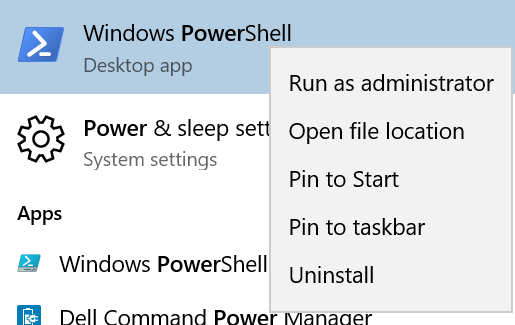
First you need to open an Administrative Powershell Window
Set-Item WSMan:\localhost\Client\TrustedHosts -Value "LAB-WINCOREHV01" -Force
 to check that values of the TrustedHosts File change the Powershell Command to;
Get-Item WSMan:\localhost\Client\TrustedHosts

Then we can go back to Server Manager and you will now see instead off having the winRM error it will just say access denied, now you will need to add the local server credentials for your hyper-v host.
For Example mine would be
LAB-WINCOREHV01\Administrator - @Password_
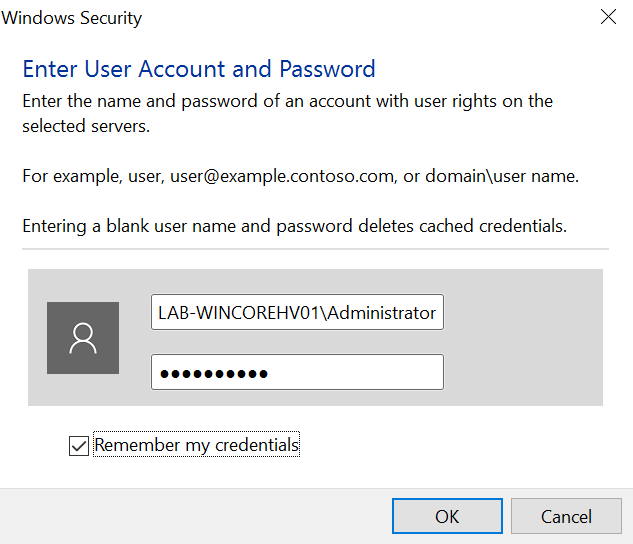
Once you have entered your credentials you will log into your hyper-v server and will be able to configure the hyper-v switches and create virtual machines
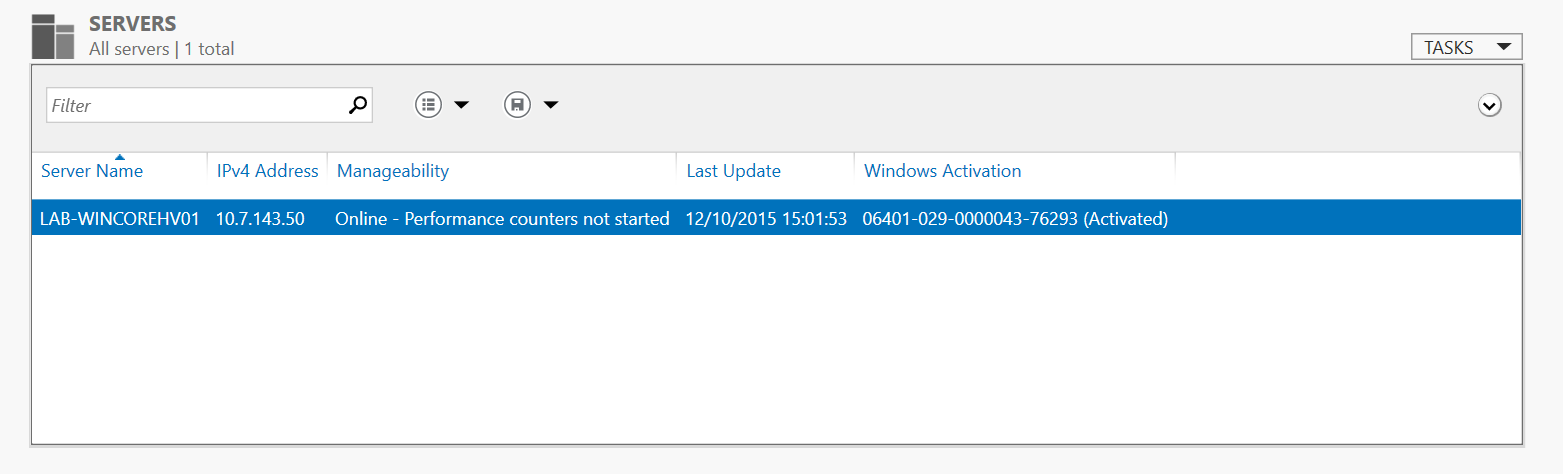
All Complete, and Ready to assign Storage and Network Switches