Configuring Hyper-V in a WORKGROUP Environment --->
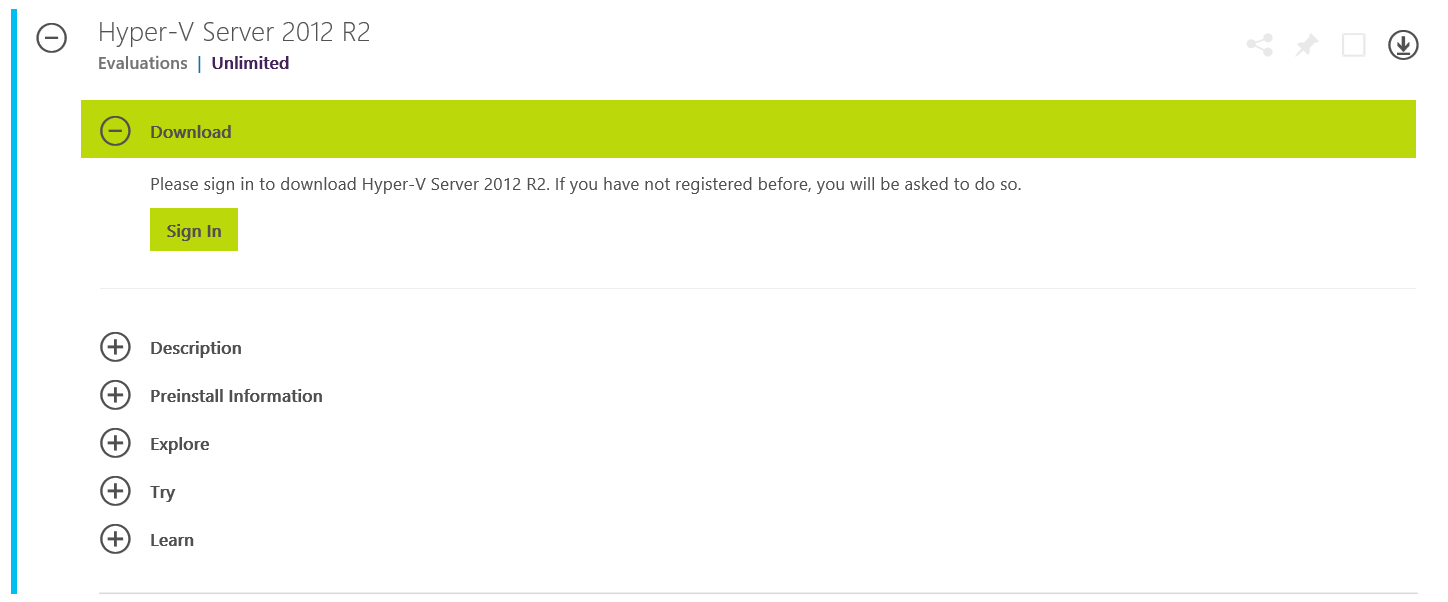
In this post, I will be showing you how to acquire and installing Hyper-V 2012R2 ISO from TechNet and then run through the installation, then following on from the install show you have to remotely manage the server within a workgroup environment.
First you will want to navigate to the TechNet download site; Click Here
Once you have signed in with your Windows Live Account and agreed to the T&Cs you will be given a prompt to save the ISO.
 For the next step I will be installing this on Hyper-V, As a demonstration this is fine, however I must state you should never do this in a production environment, only for test and development and personal learning.
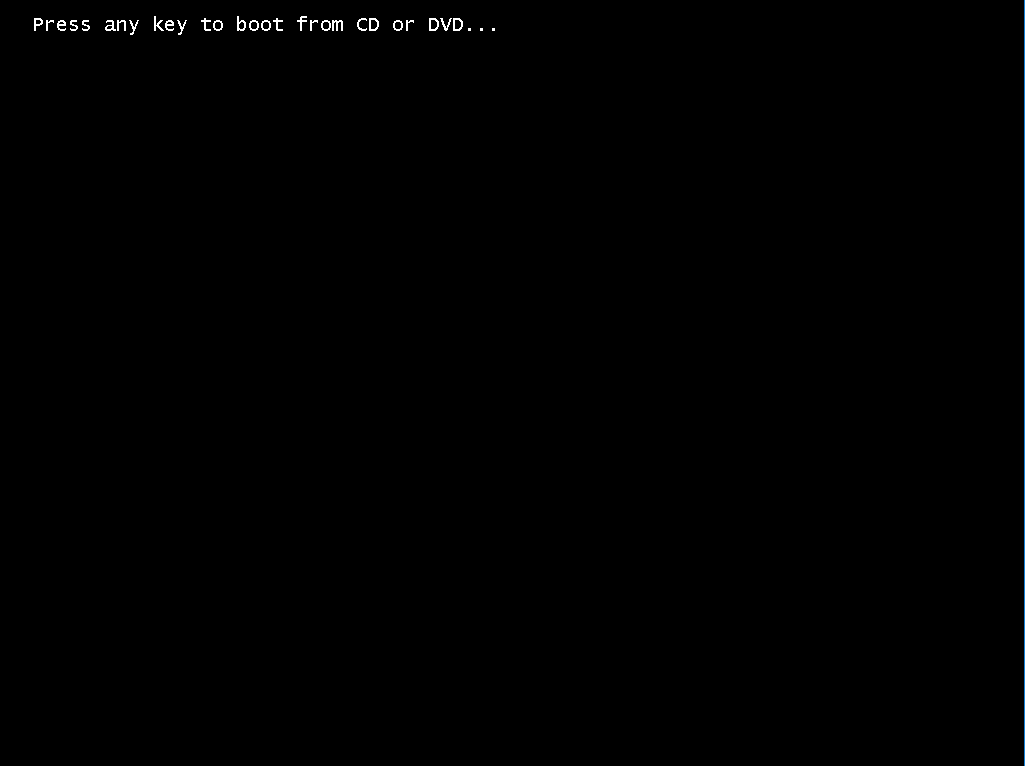
After Mounting the Hyper-V ISO, I Set the Boot order to DVD, HDD, NIC
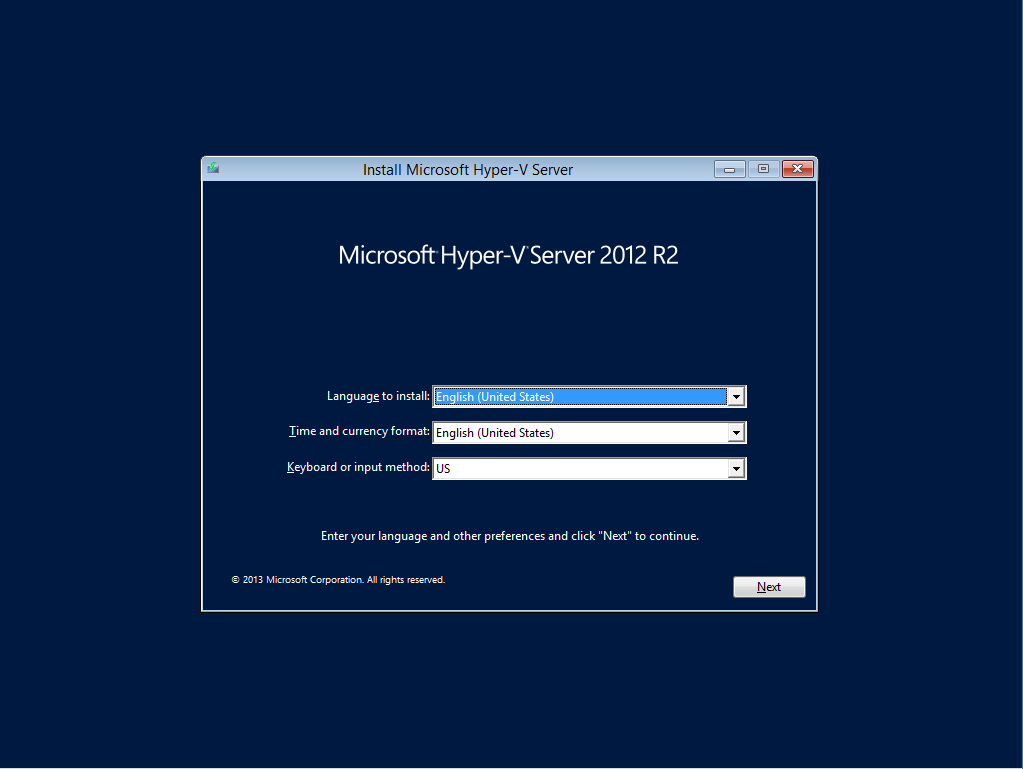
 Next you need to configure the Regional Language Settings for the Server Installation
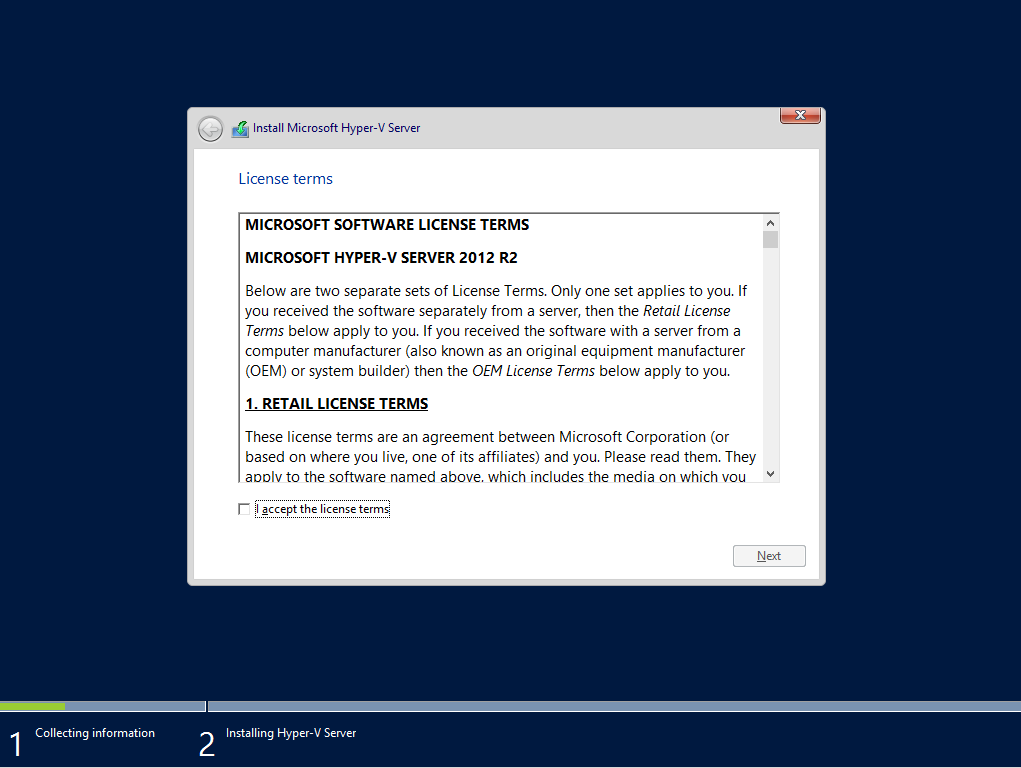
 Then Accept the End User License Agreement (EULA) provided my Microsoft
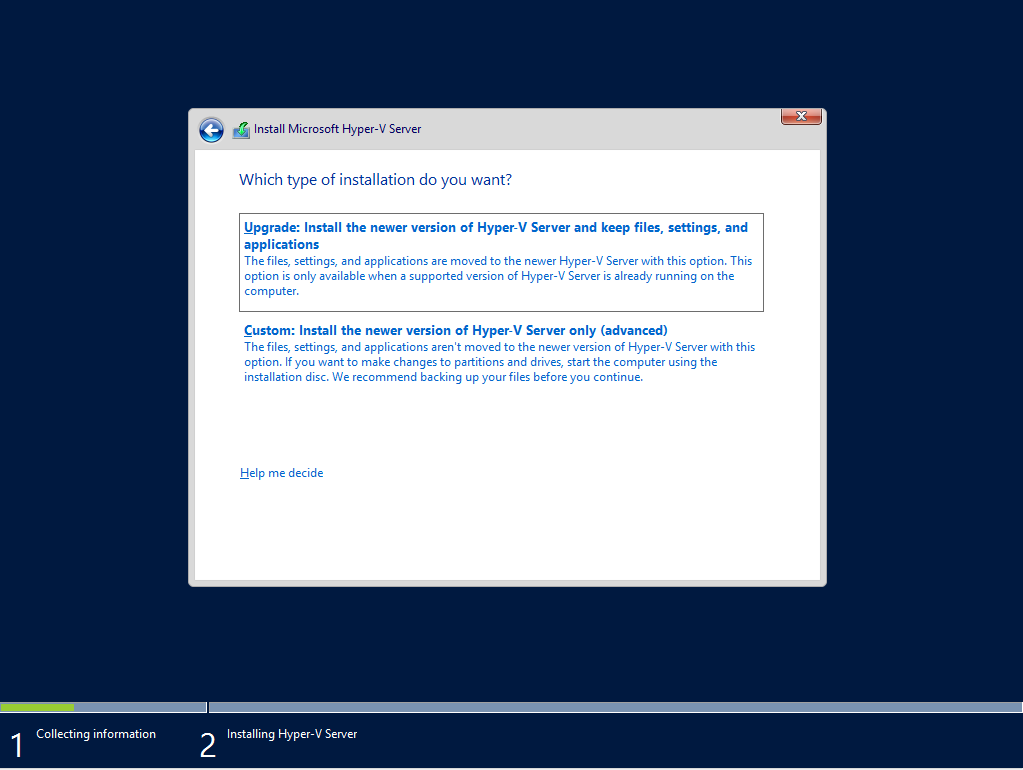
 As this is a Fresh Server Installation, you won't be able to do an In-place upgrade
Next You need to Format the Local Disk for Installation
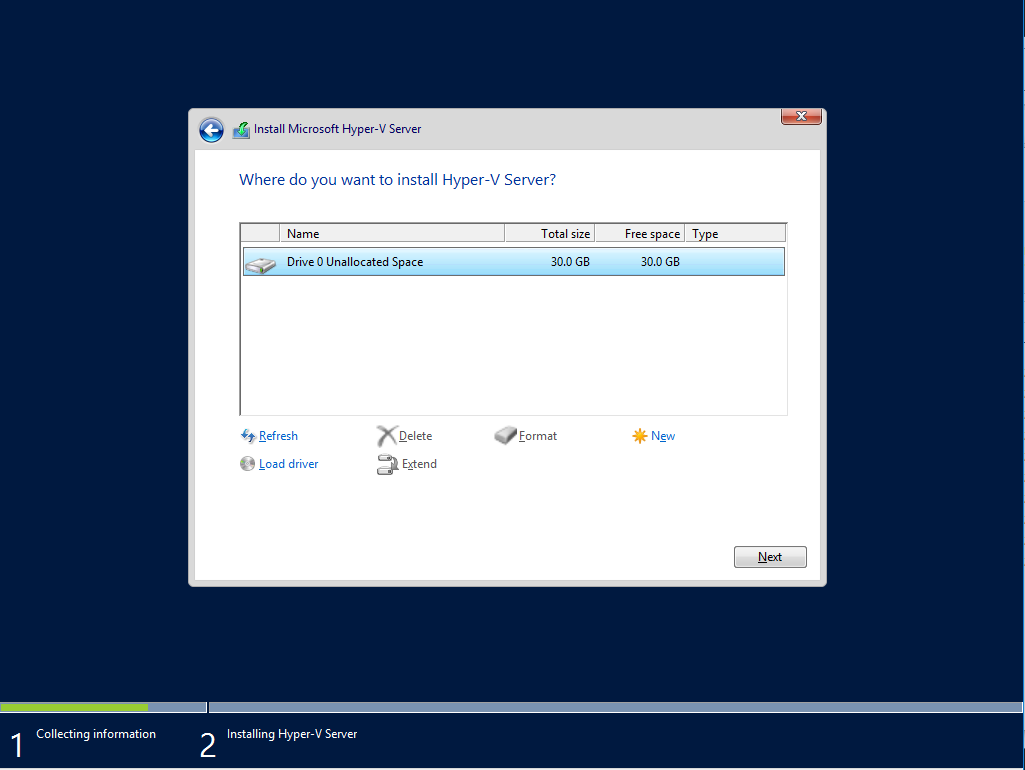 Then Click Next and let the installation process commence
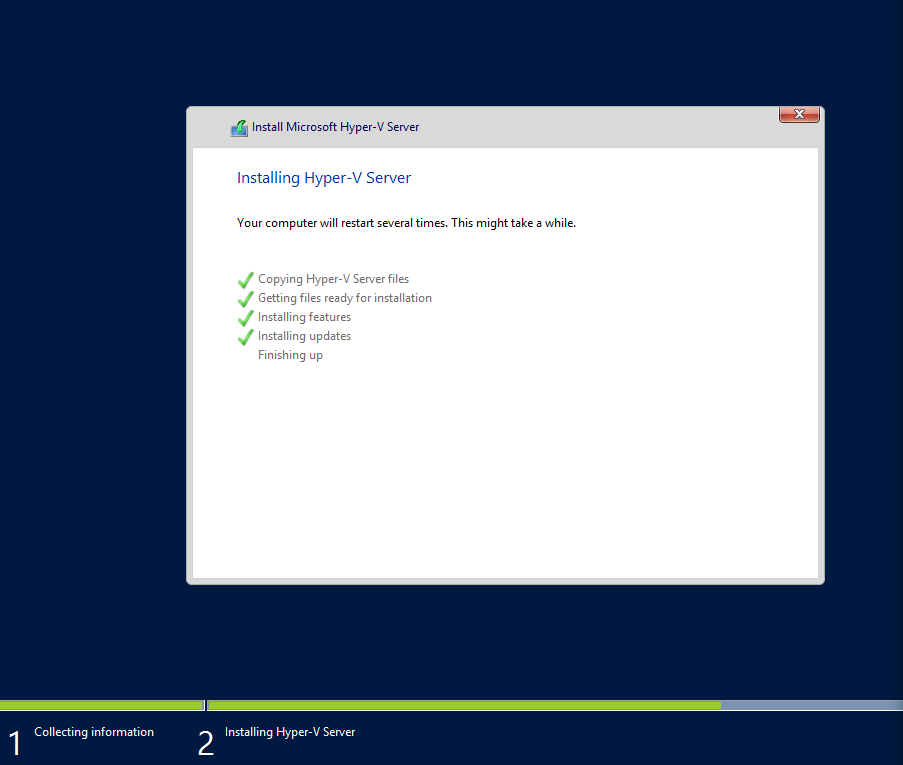
Once the installation process is complete, your server will automatically reboot and prompt you to enter a local administrative password.
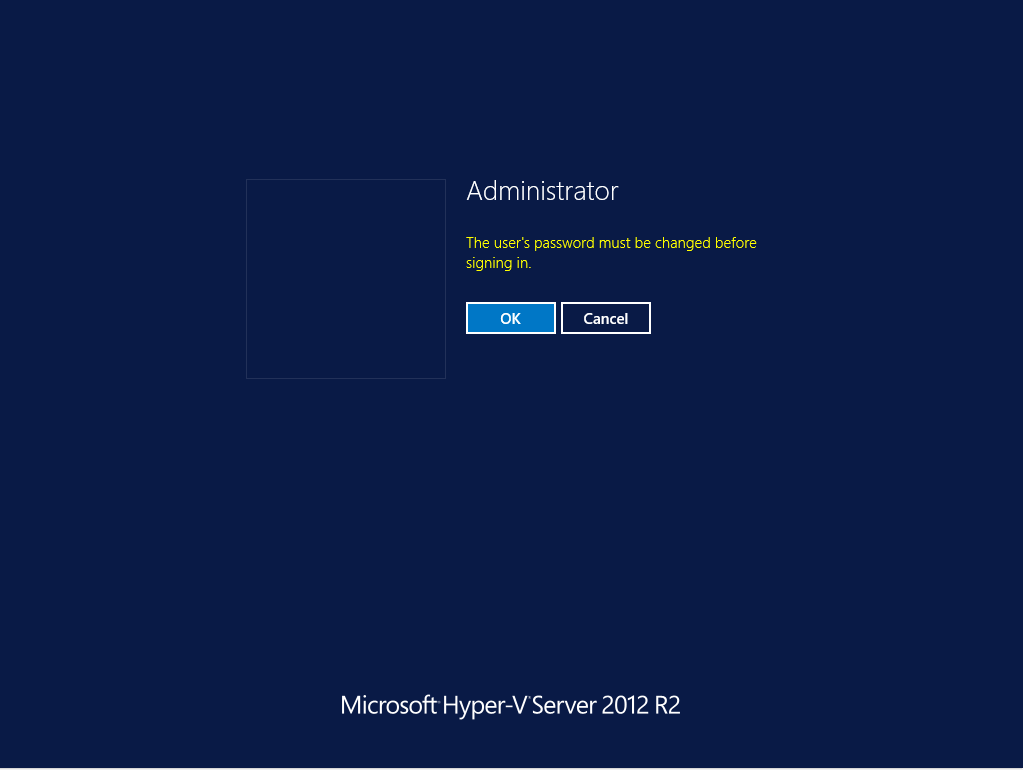
Once you have selected your password, you will be login into your hyper-v instance, and with that you have completed the installation process.
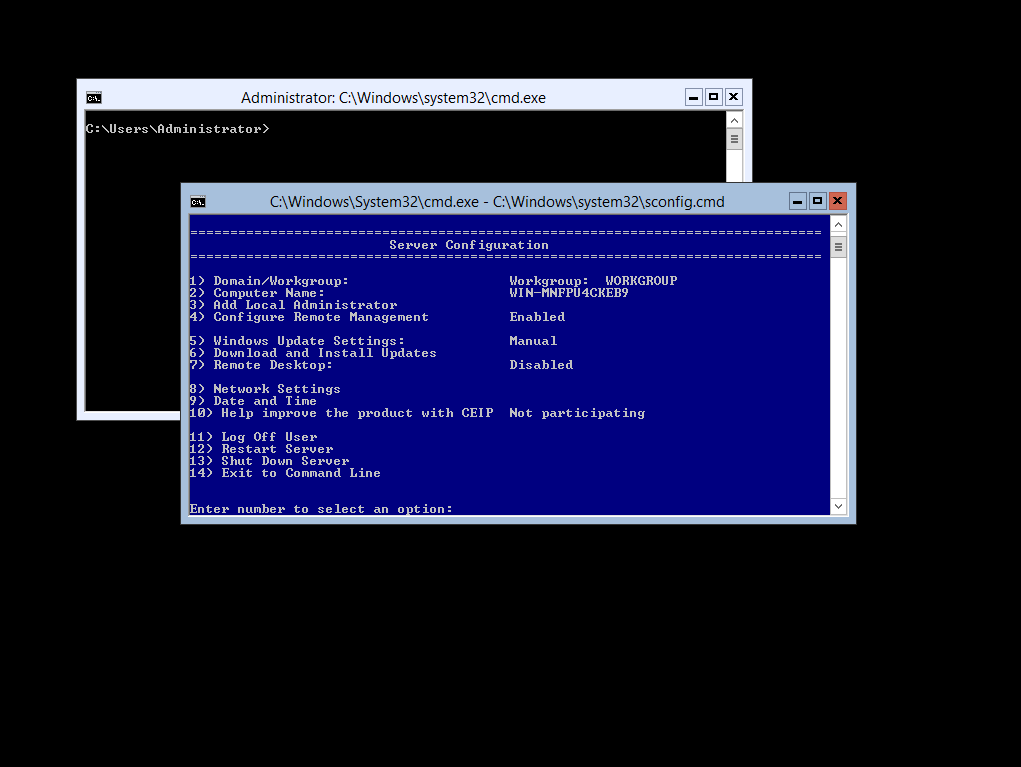 The Next Guide available is for Configure a Hyper-V Server within a WORKGROUP Environment

