
Hello fellow System Admins,
In the last post of the series, we discussed on how to configure File and Share Access for a newly created domain and looked on how we cam provide and restrict access.
In today's 70-410 Exam Objective post, we will look into configuring Print and Document Services so that the users in the domain have access to these services.
We will be covering the below topics.
- Configure Enterprise Print Management.
- Configure Drivers.
- Configure the Easy Print Drivers.
- Configure Print pooling.
- Configure Printer Properties.
- Configure Printer Permissions.
Configure Enterprise Print Management
Before we continue any further, let us first understand the various terminologies that as associated with Print Management.
Print Device: A print device is an actual hardware that produces hard copy documents on paper or other print media.
Printer: In Windows, a printer is the software interface through which a computer communicates with a print device.
Print Server: A print server is a computer that receives print jobs from clients and sends them to print devices that are either locally attached or connected to the network.
Print Driver: A print driver is a device driver that connects the print jobs by applications into appropriate strings of commands for a specific print device.
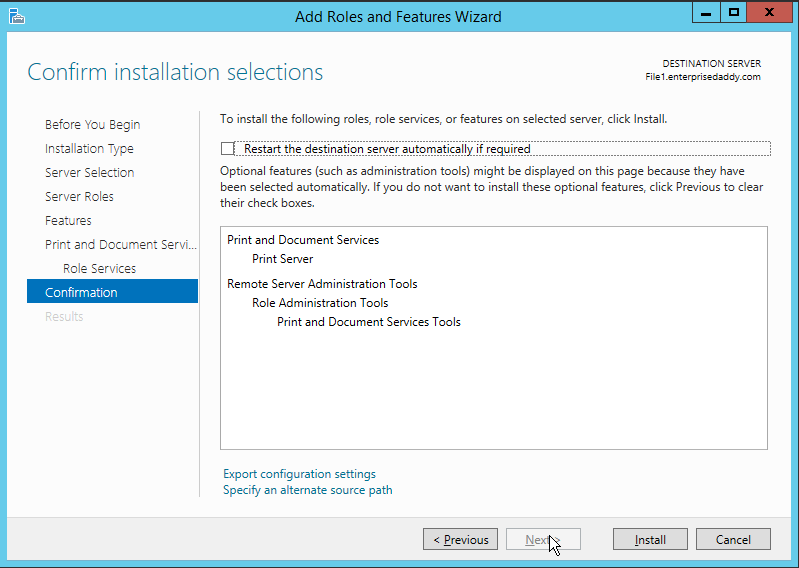
The various ways to install Print is from Server Manager or PowerShell,
From Server Manager, Add Roles > Print and Document Services > Print Server.
From PowerShell
Install-WindowsFeature -Name Print-Server -IncludeManagementTools

Configure Drivers
There are multiple ways of configuring print drivers.
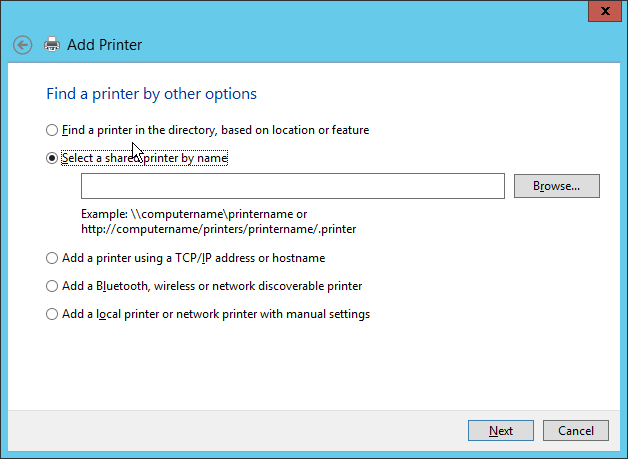
Using Control Panel
Hardware > Devices and Printers > Advanced Printers Setup > Select a shared printer by name.
This is where you would end up adding the printer that is being shared on the Print Server.
Click On next once you have a printer selected, you will then be presented with the options of Drivers as seen below.
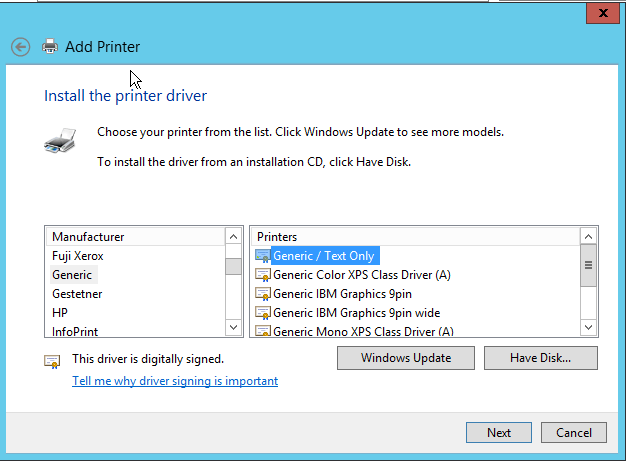
Just go through the normal process of the wizard from here on.
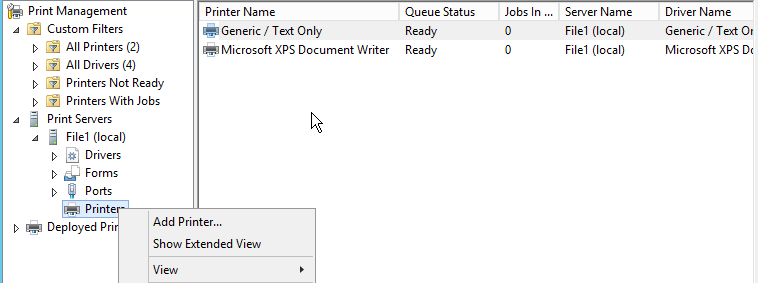
Using Print Management Console
To open Print Manage Console, from Server Manger go to Tools > Print Management.
To install Printer,
Print Server > Printers > Add Printer.
Configure Easy Print Driver
Easy Print Driver is a feature that you will most commonly use with Virtual Desktop solution or while using Remote Desktop Services.
You can configure a local group policy or domain group policy to manage Printer Redirection.
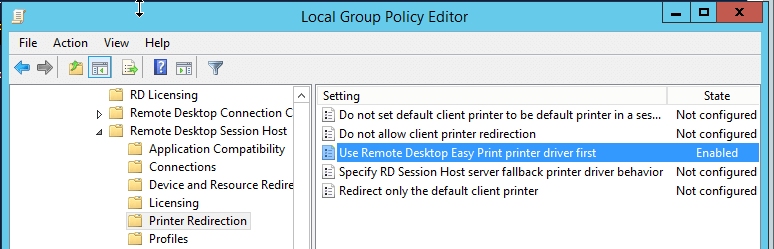
In this example, we will configure Local Group Policy to setup to Use Remote Desktop Easy Print printer driver first in Remote Desktop Services.
Once you open the local group policy editor, navigate to Computer Configuration > Administrative Templates > Windows Components > Remote Desktop Services > Remote Desktop Session Host.
Enable Use Remote Desktop Easy Print printer driver first.
Configure Print Pooling
A printer pool increases the production capability of a single printer by connecting it to multiple print devices.
When you create a printer pool, the print server sends each incoming job to the first print device it finds that is not busy.
To configure a printer pool, use the following procedure.
- Open Control Panel and select Hardware, Devices and Printers. The Devices and Printers window opens.
- Right-click one of the printer icons and, from the shortcut menu, select Printer Properties. The Properties sheet for the printer appears.
- Click the Ports tab.
- Select the Enable Printer Pooling check box and click OK.
- Select all the ports to which the print devices are connected.
- Close Control Panel.
One of the requirements is that you need to have at least two same print devices, at least, two print devices that use the same print drivers.
Configure Printer Priorities
Priority is one of the options available to administrators where they can set a certain value to either execute the print job sooner or later.
If the priority is set to high, then the print job is executed before than the other jobs.
To do this, you must create multiple printers, associate them with the same print device, and then modify their priorities, as described in the following procedure.
- Open Control Panel and select Hardware, Devices and Printers. The Devices and Printers window opens.
- Right-click one of the printer icons and, from the shortcut menu, select Printer Properties. The Properties sheet for the printer appears.
- Click the Advanced tab, as shown below.
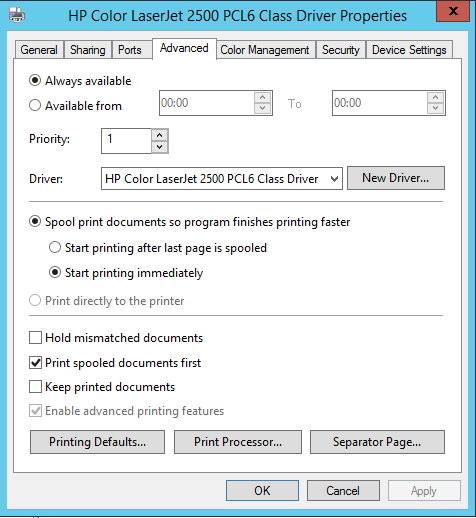
- Set the Priority spin box to a number representing the highest priority you want to set for the printer. Higher numbers represent higher priorities. The highest possible priority is 99.
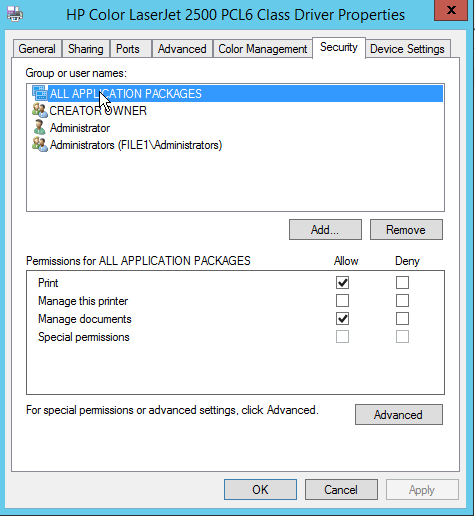
- Click the Security tab.
- Add the users or groups that you want to provide with high-priority access to the printer and assign the Allow Print permission to them.
- Revoke the Allow Print permission from the Everyone special identity.
- Click OK to close the Properties sheet.
- Create an identical printer using the same printer driver and pointing to the same print device. Leave the Priority setting at its default value of 1 and leave the default permissions in place.
- Rename the printers, specifying the priority assigned to each one.
- Close Control Panel.
Configure Printer Permissions
Printer permissions are much simpler than NTFS permissions; they dictate whether users are allowed to use the printer, manage documents submitted to the printer, or manage the properties of the printer itself.
That's it we have for today, I hope that this has been informative and thank you for reading!


