
Hello Folks,
Today, I am going to write a post on how to convert OVA to OVF using OVF Tool.
Before we go any further, I just want to give you a background on how I came up with the idea of writing this article.
I had a use deploying a VM using the OVA file, which used to end up failing every single time with the error message "Operation Timed Out".
I first thought this could be a problem with the vSphere Client, so I tried deploying using the vSphere Web Client and ended up with the same message.
I even tried by deploying it on a host directly using vSphere Client and every time I used to get the same error message "Operation timed out".
On further research, I found that we could convert OVA to OVF file using the OVF Tool. I have already written an article regarding the use of OVF Tool to migrate a VM from one host to another without vCenter Server.
If you are interested, below is the link to the article.
OVFtool to Copy VMs from one ESXi host to another
So first let us understand what is the difference between OVA and OVF files.
An OVF refers to the Open Virtualization Format, which is a “packaging standard designed to address the portability and deployment of virtualization appliances”
The OVA is the OVF folder contents all zipped into a single file.
An OVF is a collection of items in a single folder. Most commonly this is a description file (.ovf) a manifest file (.mf), and virtual machine state files (*.vhd or *.vmdk).
I hope this gives a clear understanding of the difference between the two.
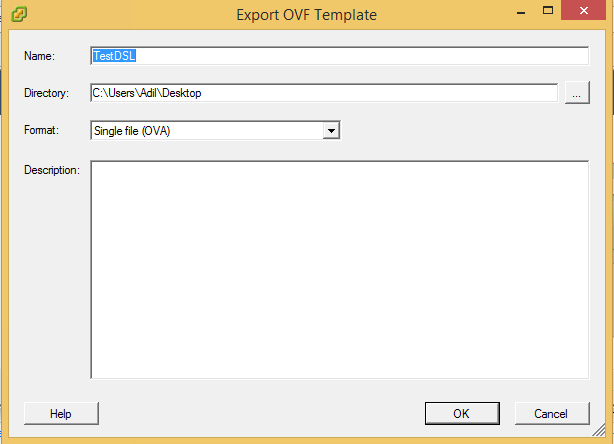
So for our example, I just exported a small VM from my lab as an OVA file to replicate the issue. It is very easy.
Just select the VM, click on File > Export > Export OVF Template
Provide the directory where you would want to save the file, and select File type as OVA File.
Next, you will have to download the OVFTool from the link below.
Once you finish the installation after downloading the tool, cd into the directory where you installed. By default, below is the installation directory.
cd "C:\Program Files\VMware\VMware OVF Tool"
Next, we will call the ovftool.exe file and convert ova to ovf using the below syntax.
ovftool.exe "Path to the OVA source file" "Path to the destination OVF to be created"
In my case, I am using the below command seen in the screenshot.
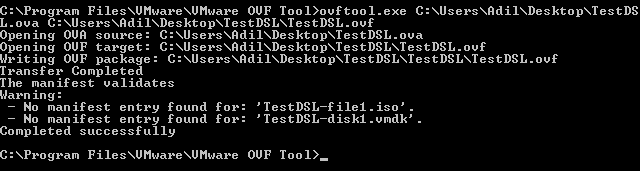
As you can see that the conversion was successful and it created a new Directory on the Desktop called TestDSL and has the various files explained before.

You can now use this ovf file and import the Virtual Machine.
After the conversion, I was able to successfully import the ovf file into a Virtual Machine.
I hope this has been informative and thank you for reading!


1 Comment
OVA is just a tarball file of the OVF, MF, and VMDK… you can just untar the ova file and get the two important files (OVF and VMDK) , to go from OVF to OVA, you need to create the .mf file by calculating the SHA1 hashes for OVF and VMDK files and tar all three files in this order 1) OVF 2) MF 3) VMDK