
In our previous post, we saw how to install and configure the Nakivo Backup and Replication Appliance in our lab environment.
However, we did not see how to create a backup job. In today's post, we will create our first backup job and restore Active Directory using Nakivo 6.1 Appliance.
What is Active Directory?
Active Directory (AD) is a directory service that Microsoft developed for Windows domain networks. It is included in most Windows Server operating systems as a set of processes and services.
A server running Active Directory Domain Services (AD DS) is called a domain controller. It authenticates and authorizes all users and computers in a Windows domain type network—assigning and enforcing security policies for all computers.
Now that we know what is Active Directory and the role of Domain Controller, we will be creating a backup of the Domain Controller.
Nakivo appliance enables browsing, searching, and recovering Microsoft Active Directory objects directly from backups. This is an agentless feature and does not require installing any additional software.
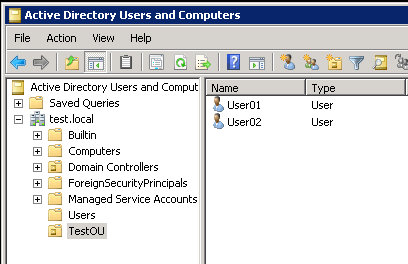
To test the Backup and Restore feature for Active Directory using Nakivo, we will be creating a TestOU and couple of user accounts as seen below in the AD database.
Create VMware Backup Job using Nakivo Appliance
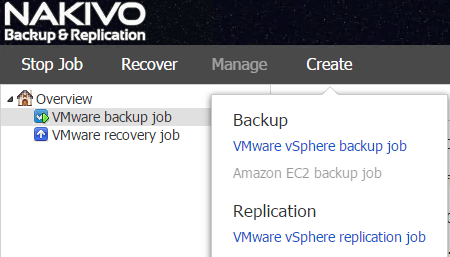
So let us first create the Backup job by logging into the Nakivo Appliance using the root credentials.
Click on Create and select VMware vSphere backup job and a wizard will come up.
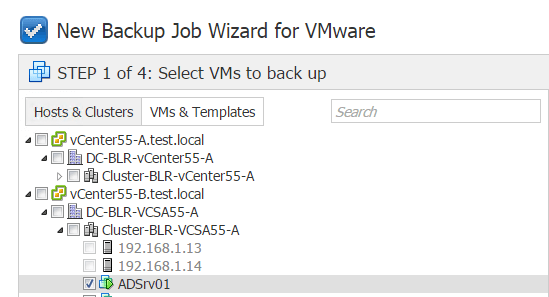
Select the Domain Controller within the environment. In my case the VM name is ADSrv01. Click on Next.
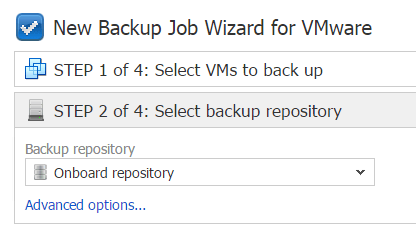
Select the Repository where you want to store the Backup. Remember in the previous post, I created the default Onboard Repository where the backups will be stored.
Specify the time and schedule for the backup job as per your organization's requirement.
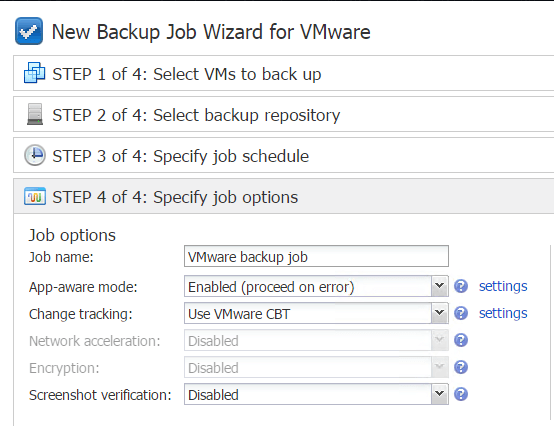
In the last step, be sure to check that the App-aware mode is Enabled (It is enabled by default). Click and Finish and Run the job to create the first backup.
Wait for the job to complete, once it is complete, you will get some statistics like the size of the backup, time taken to finish the backup and speed with which the backup was taken. Feel free to explore if you would like.
Starting Active Directory Object Recovery
Now that we have the backup, let us start the Active Directory Object Recovery process using the Dashboard.
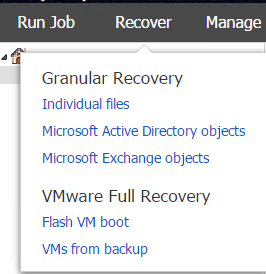
Select Recover > Granular Recovery > Microsoft Active Directory objects to begin the Active Directory restore wizard.
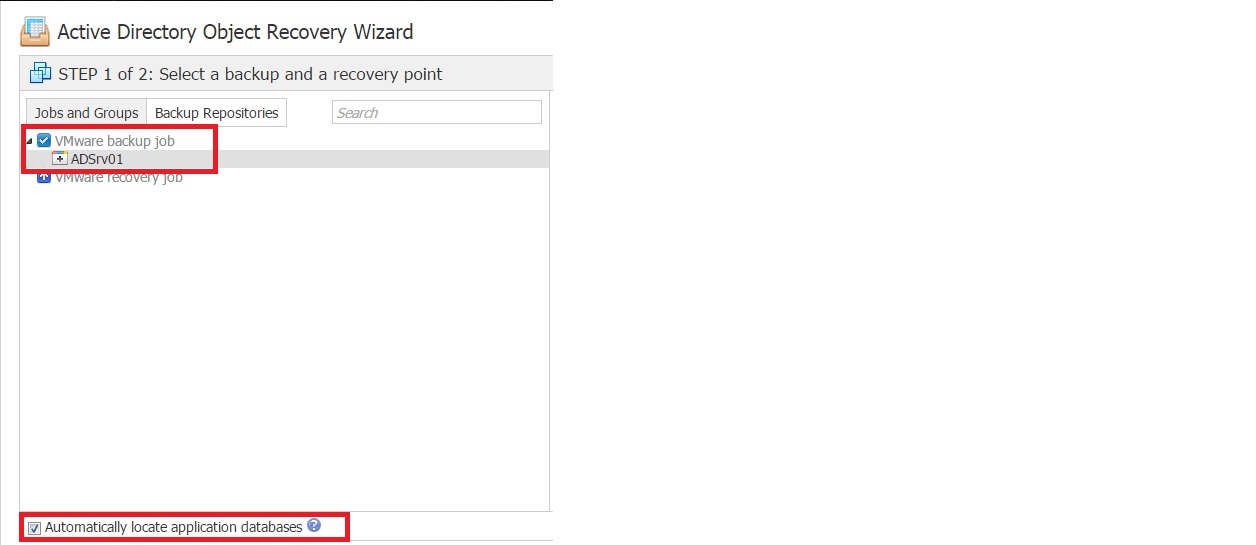
This brings up the Active Directory Object Recovery Wizard and will show the existing backups, select the Domain Controller VM (ADSrv01).
By default, NAKIVO Backup & Replication automatically searches the selected recovery point for Microsoft Active Directory database from which application objects can be recovered.
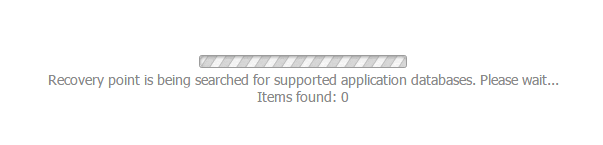
Click on Next, the recovery point is searched for supported application databases.
In the next step, we will select the objects to recover. You can see that the Active Directory database ntds.dit is seen and it is browsable.
You can navigate the ntds.dit file similar to using the Active Directory Users and Computers.
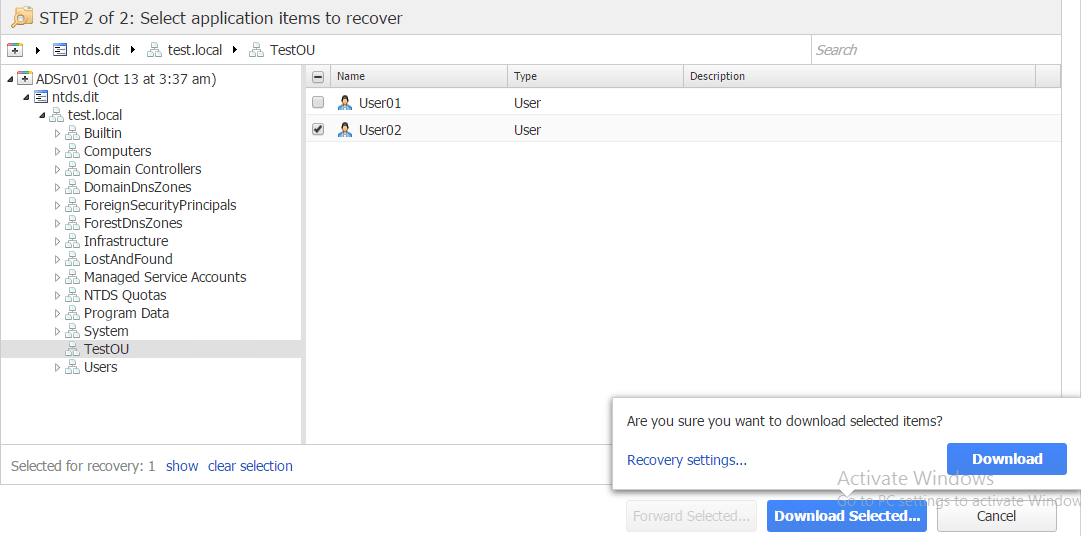
From here we can select which objects we want to work within the restore process by simply placing a check by the objects themselves in the application items to recover screen.
Note that we have the Download button and Recovery Settings available.

The recovery settings option opens the options for Recovery of user object which allows us to choose how the user object is restored – user will be disabled or user must change password at next logon.
Click Download. All selected objects and containers will be sent to your browser for download as a zipped .LDIF file.
If you have selected the User must change password at next logon option, the archive will also contain the “passwords.txt” file, which contains new passwords for recovered objects.

Extract the contents of the zipped file and copy the ad.ldif file to the Domain Controller.
Importing Recovered Objects in Active Directory
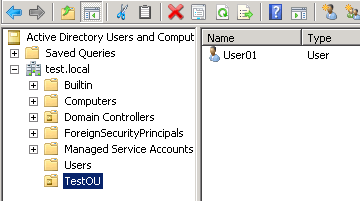
Now, let us assume that User02 account has been accidently deleted from the TestOU organizational unit as seen below. We only have User01 account.
On the Domain Controller, open command prompt or PowerShell console as Administrator.
Run the following command: ldifde -i -t 636 -f filename.ldif -k -j logfolder, where “filename.ldif” is the path to the recovered ldif file, and “logfolder” is the path to the folder where import logs will be saved.
ldifde -i -t 636 -f C:\NakivoADRecoveryTest\ad.ldif -k -j C:\NakivoADRecoveryTest\Logs
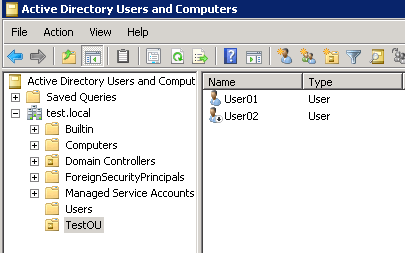
Once the command completes, you would notice that User02 accounted is added and is in Disabled state.
We have the log file that is created with the successful import of the object that is very useful for troubleshooting purposes in case something went wrong.
Well, it was that easy to recover an object using Nakivo Backup and Replication Appliance. In my honest opinion, I haven't any seen any other tool provide such an easy way to recover deleted objects and so easily.
I hope this has been informative and thank you for reading!


