If you remember in the first post of vSphere 6.5, I talked about the improvements in the VCSA 6.5 installer. Well, we are going to now take a look at the VCSA 6.5 installer and use to deploy our VCSA 6.5 appliance.
With the release of vSphere 6.5, users are no longer dependent on the Client Integration Plugin, which was used to deploy the VCSA 6.0.
And trust me, it was a pain. There were a lot of issues with Browser compatibility, plugin not being detected. Well, the team has heard the feedback and the new VCSA 6.5 deployment is no longer dependent on CIP and is deprecated almost, except the Windows credentials log in still requires CIP from the Web Client.
The new VCSA 6.5 installer can be used from Windows, Linux, and Mac and is part of the VCSA ISO image that you will be able to download in the near future.
Once you download the ISO image, extract the contents and navigate to the folder vcsa-cli-installer/win32 and click on the installer.exe file.
As discussed before, the installation of VCSA is a two step process:
- Stage 1: Deploying the VCSA 6.5
- Stage 2: Configuring the VCSA 6.5
Stage 1: Deploying the VCSA 6.5
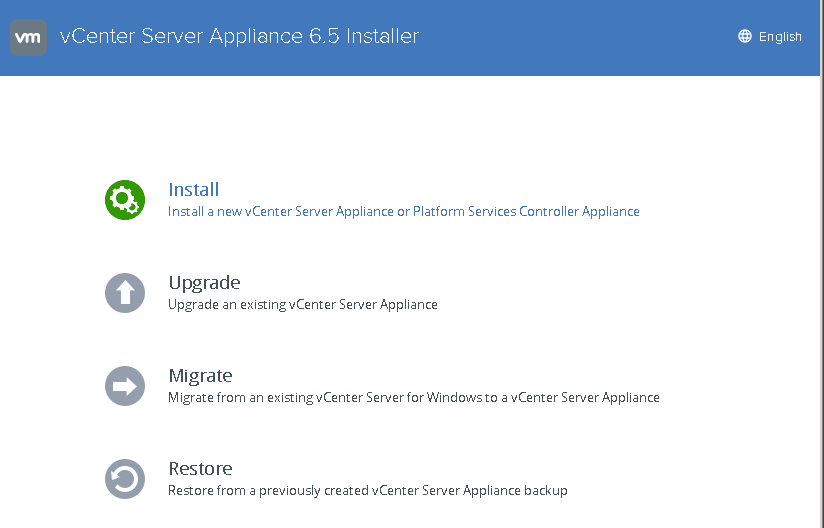
Deploying the VCSA is made very easy with this release, once you click on the installer.exe file, the new UI will be popped up, select the first option to Install the VCSA.
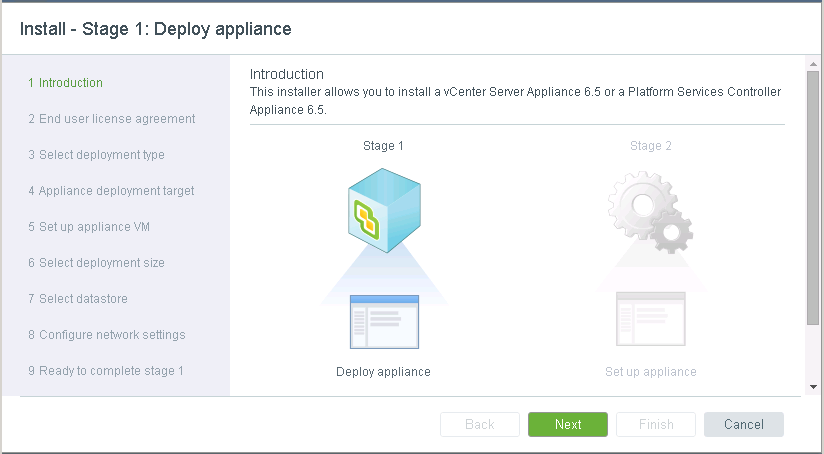
This brings up the Stage 1 of the installation which is deploying the appliance.
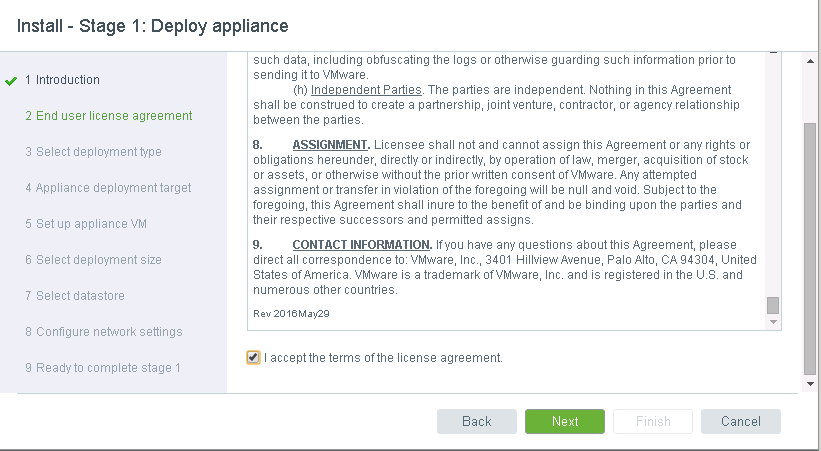
Next, you will have to accept the EULA and click Next to continue.
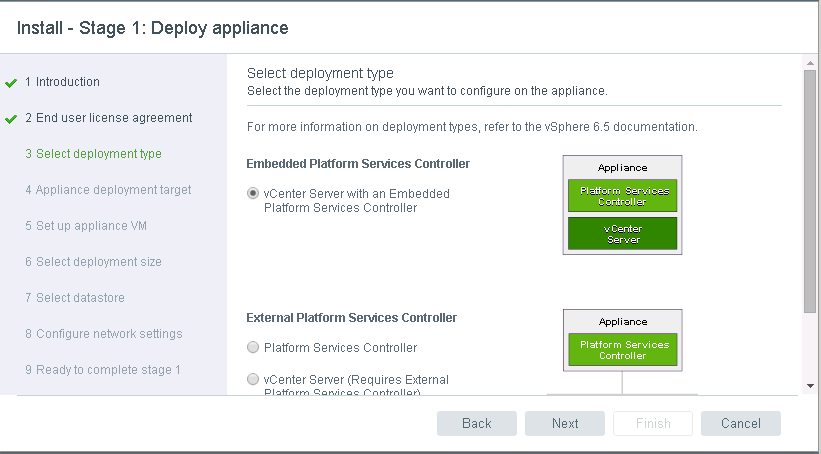
Select the Deployment, I am going to select the Embedded installation where the Platform Services Controller and the vCenter Server are installed on the same machine.
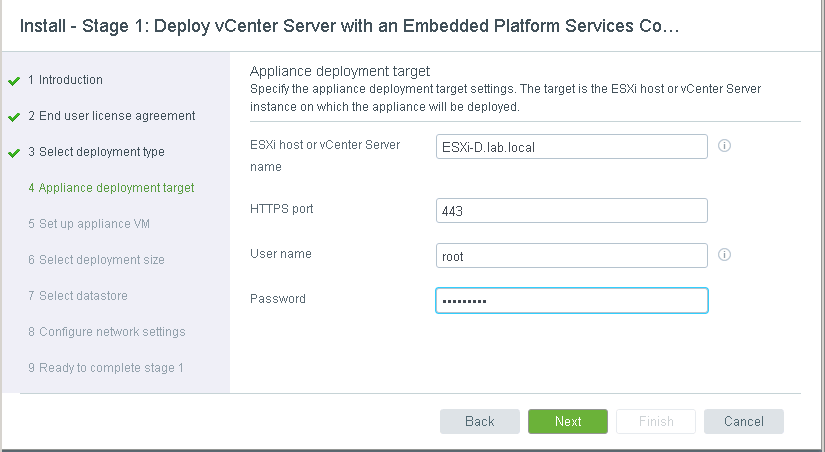
You will now have to provide the details of an existing vCenter Server or an ESXi host on which you want to deploy the new VCSA 6.5 appliance.
I am providing the details of an ESXi host that I have in my test lab.
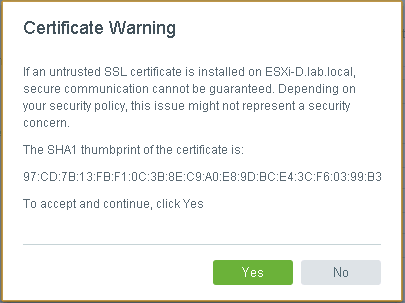
Accept the Certificate Warning as I haven't made any changes to default certificates of the host.
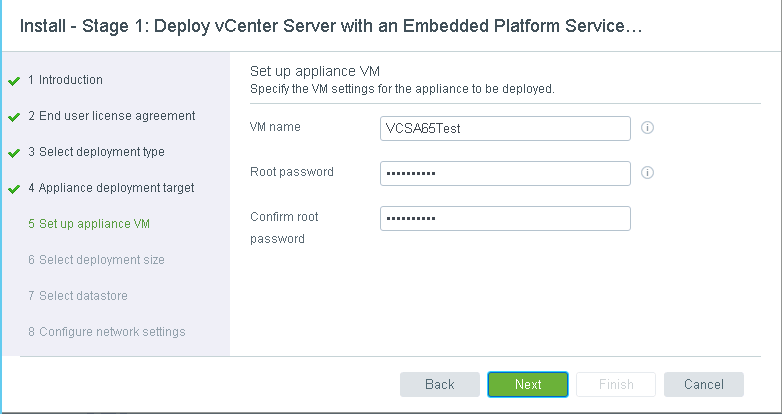
Provide a name for the Virtual Machine and set up the root password which will be used to configure other settings.
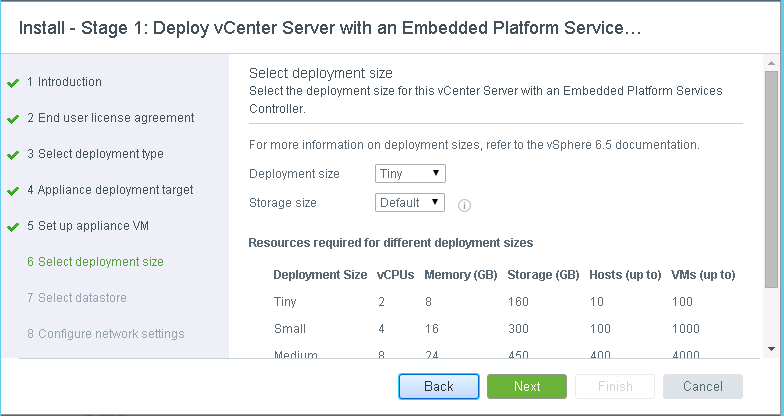
Select the Deployment size depending upon your needs, I will select the Tiny size deployment.
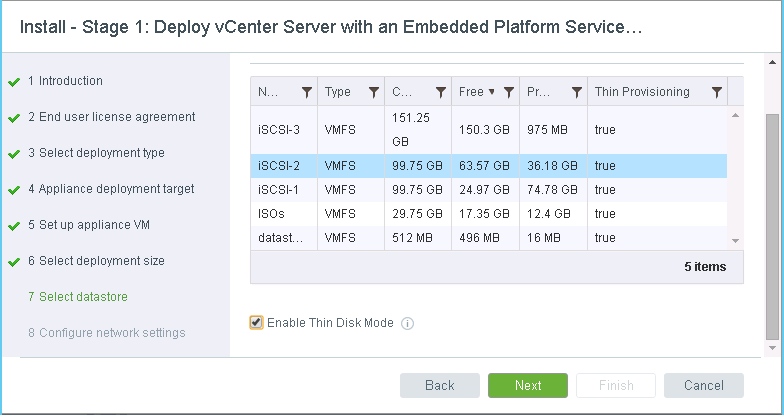
Select Destination datastore on which you want to deploy the appliance.
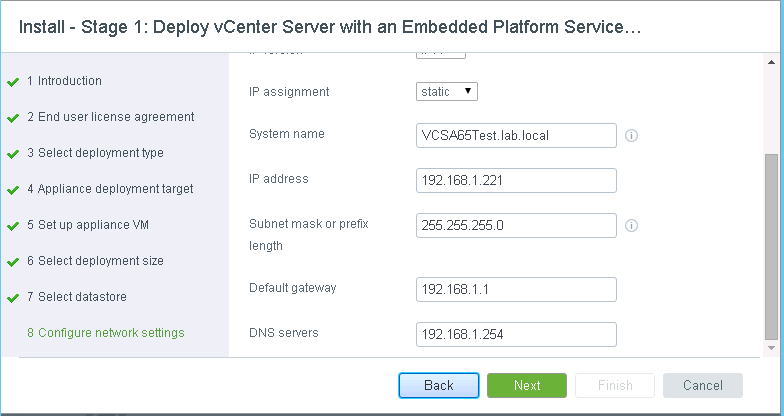
In the next step, you will have to configure the Network Settings like the IP Address, Subnet Mask, Default Gateway, DNS Servers and the System Name for the appliance.
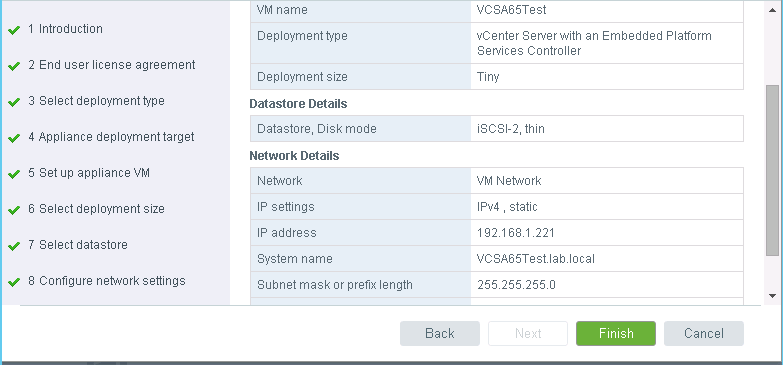
Review the details that you have provided and click Finish to kick off the Deployment of the VCSA 6.5 appliance and finish the Stage 1 of the installation.
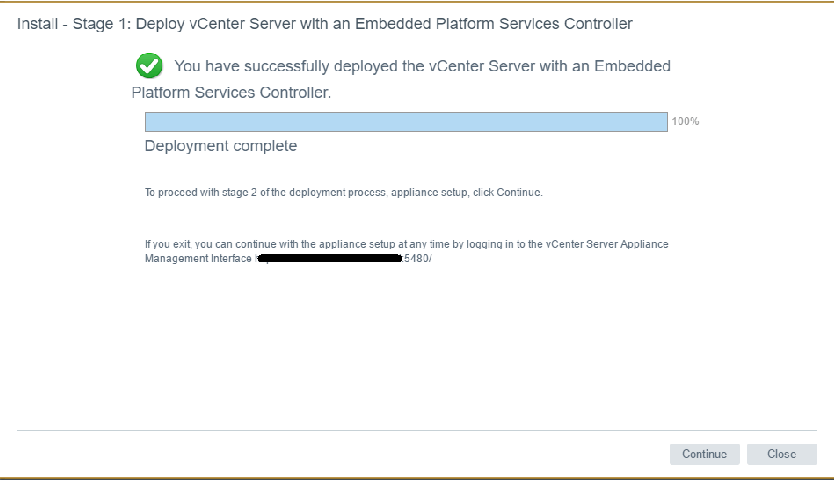
Once the deployment is completed, you would see the message and this completes the Stage 1 of the VCSA installation.
From here on, you can either click to continue to start the Stage 2 or close and connect to the VAMI (port 5480) to start stage 2 at a later stage.
But I would recommend on continuing to stage 2.
Stage 2: Configuring the VCSA 6.5
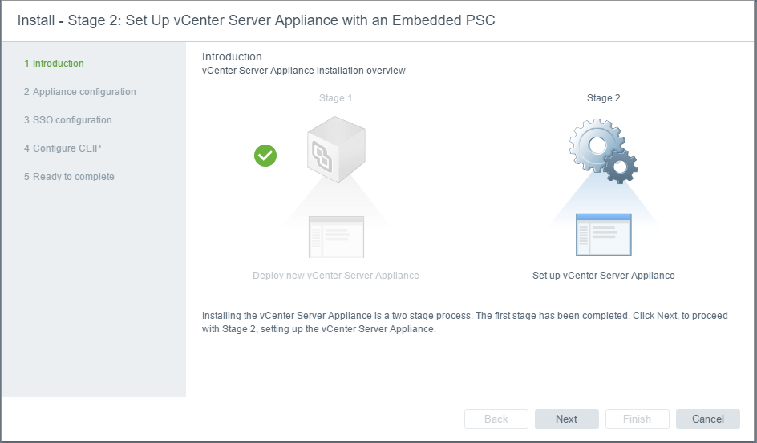
Stage 2 starts with the below screen giving you an overview of what needs to be configured for an Embedded type of installation.
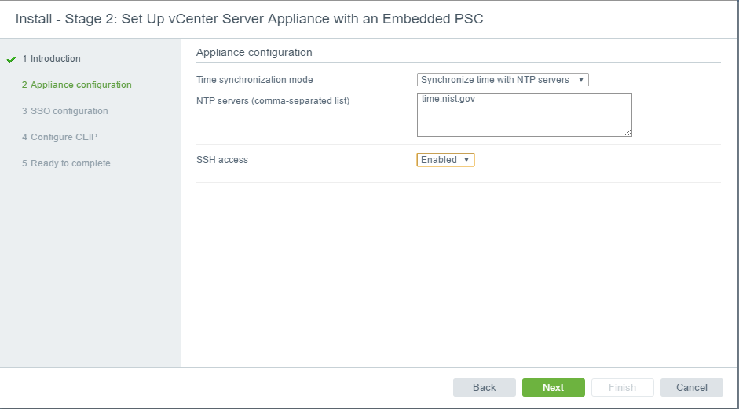
You get two options to synchronize the appliance, either provide the details of an NTP server or choose to synchronize the time with the host on which the appliance is running.
Best practice is to provide an NTP server information used in your environment.
I have also enabled the SSH access to the appliance for a future use case. I do not recommend this but since this is my lab, I am OK with this.
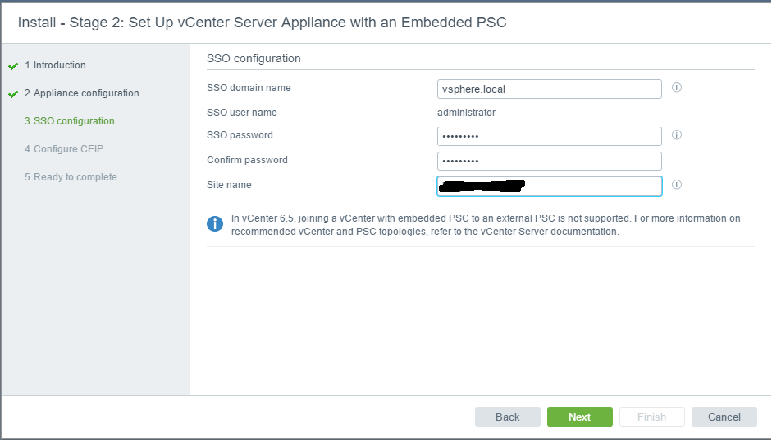
Now, you will need to provide the details of the SSO configuration.
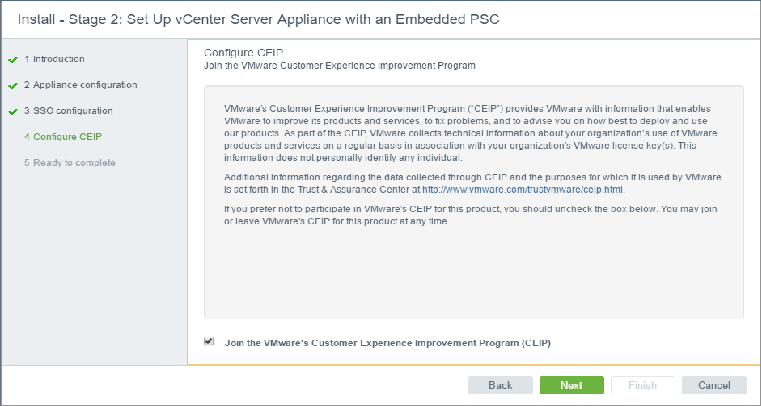
You can wish to join the VMware Customer Experience Program, it helps us with feedback.
Check the Review and click Finish to start configuring the VCSA appliance.
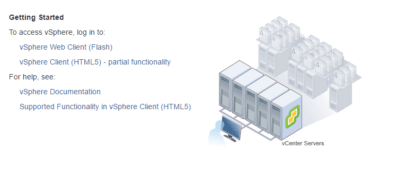
Once the appliance finishes the configuration, you would receive a message which says that everything is configured and now the vCenter can be accessed using the Web Client and new HTML 5 Client.
I hope this has been informative and thank you for reading!


1 Comment
Why is this new version still using a SHA-1 certificate being the algorithm is deprecated in three month’s