In this post, we will look at how to restore VCSA 6.5 from backup. In the previous post, we saw how to natively to perform VCSA 6.5 backup which is one of the new features in vSphere 6.5.
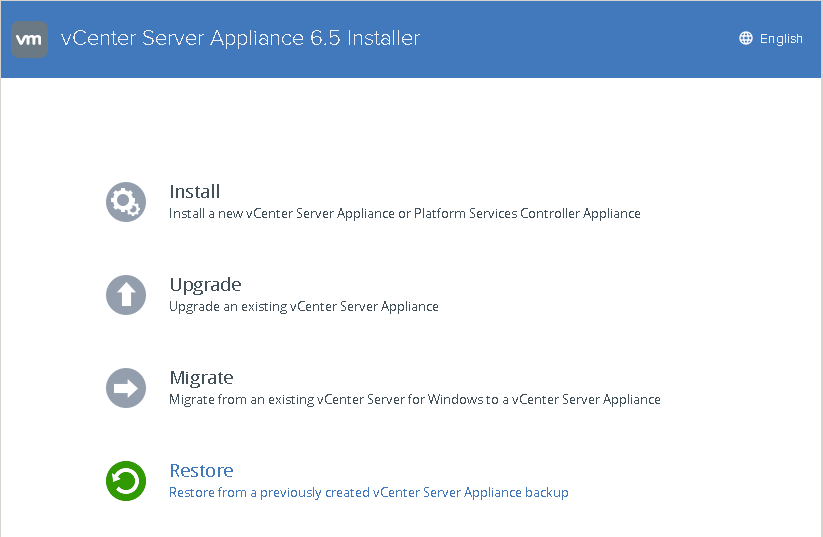
To restore VCSA 6.5 from backup, you will need the VCSA 6.5 ISO. To start the restore process, we will have to use the new installer and click on Restore option.
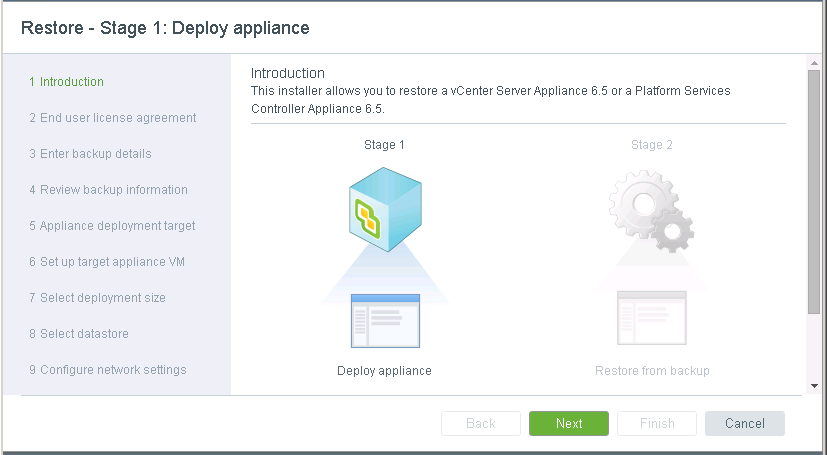
Once you click on Restore, you will be shown the similar Stage 1 workflow that we saw in our deploy VCSA 6.5 post.
As you can see, the first step is the introduction of the restore process, which tells you that using this installer, you can restore VCSA 6.5 or a PSC 6.5.
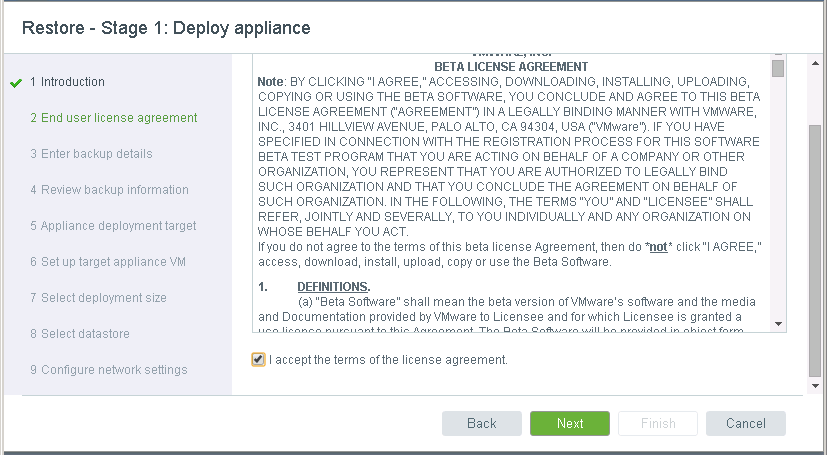
Once you click on Next, you will have to accept the EULA and move on to the next screen.
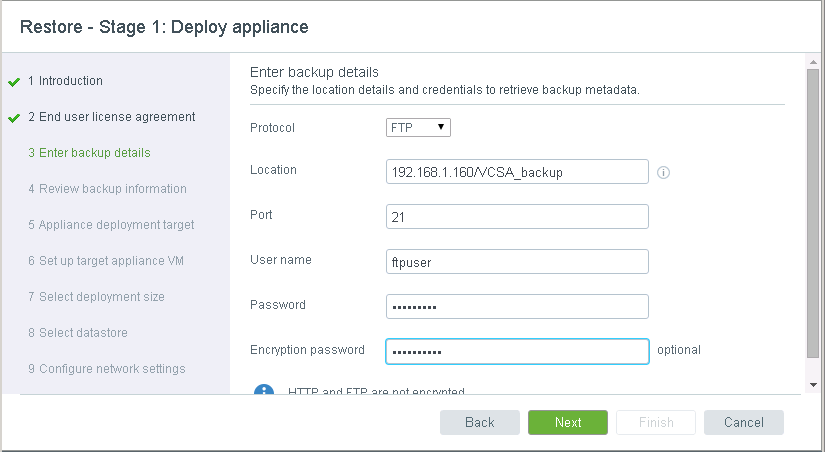
Here you will provide the details of the VCSA 6.5 backup location and the transfer protocol that was used along with the username and password.
Optionally you will have to provide the password that was used to encrypt the backup data, otherwise, the restore VCSA 6.5 will fail.
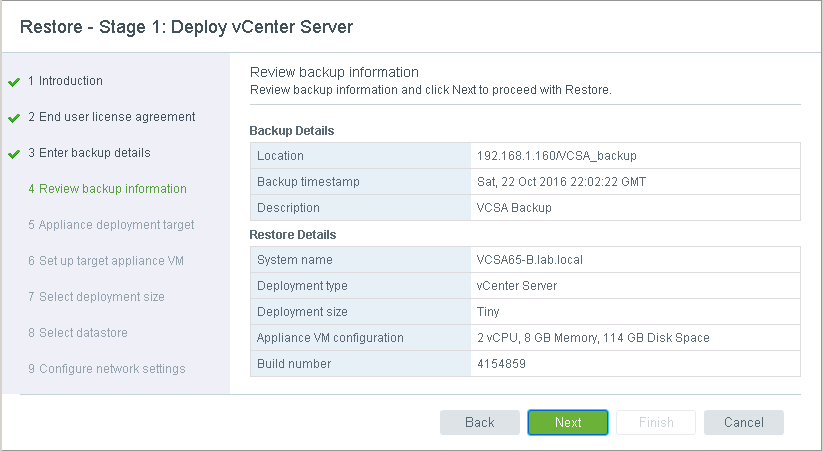
Review backup information and click on Restore to proceed with the restoration of the VCSA 6.5 appliance.
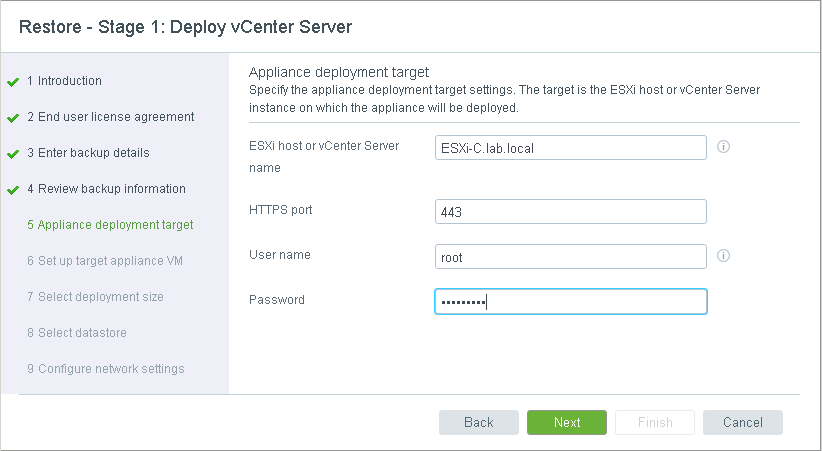
Next, you will have to specify the details of the target server on which you want to restore VCSA 6.5 appliance.
You can either specify an ESXi host or an existing vCenter Server instance. In my case, I am going to restore the appliance on an ESXi host.
Accept the Certificate Warning if you have not made changes.
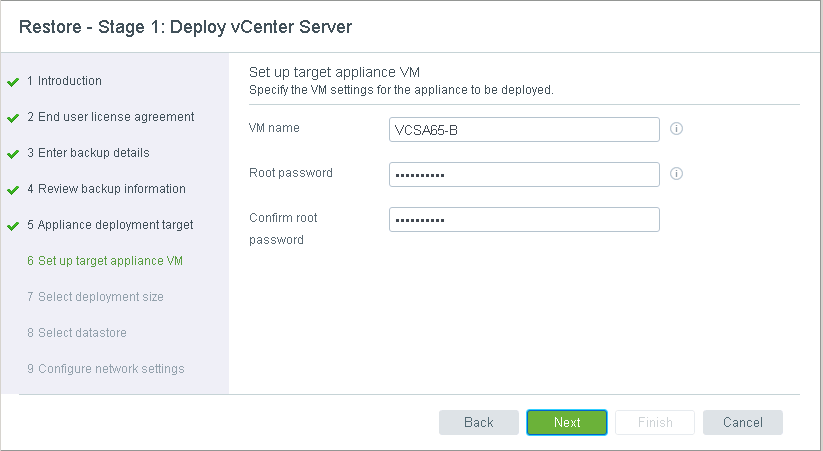
Provide the VM name that you would like to use for the restored VCSA 6.5. I am providing the same name as I went ahead and deleted the VM from the inventory to test this feature.
You will also have to provide the root password here for the VCSA appliance.
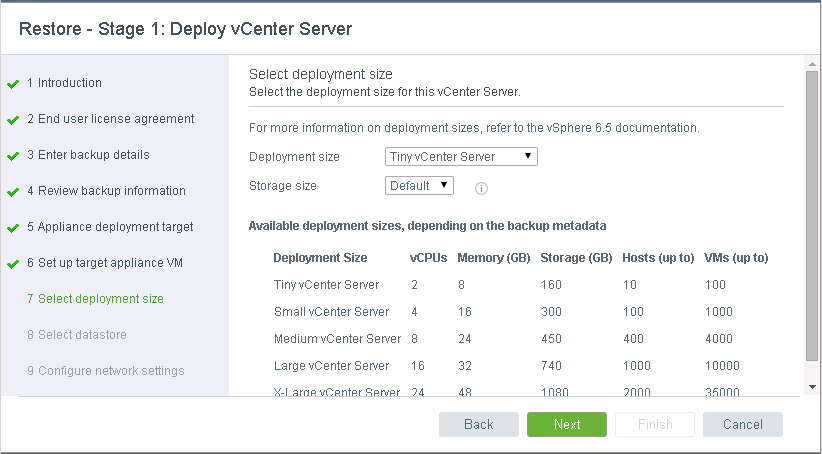
Select the deployment size of the vCenter Server, I would leave the default settings because this is picked from the backup-metadata.json file.
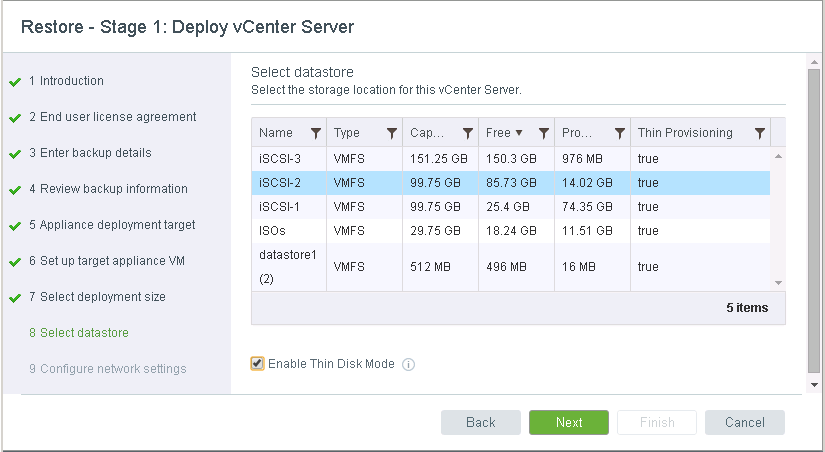
Select the storage location to restore VCSA 6.5, I have selected one of the datastores that are visible to the ESXi host.
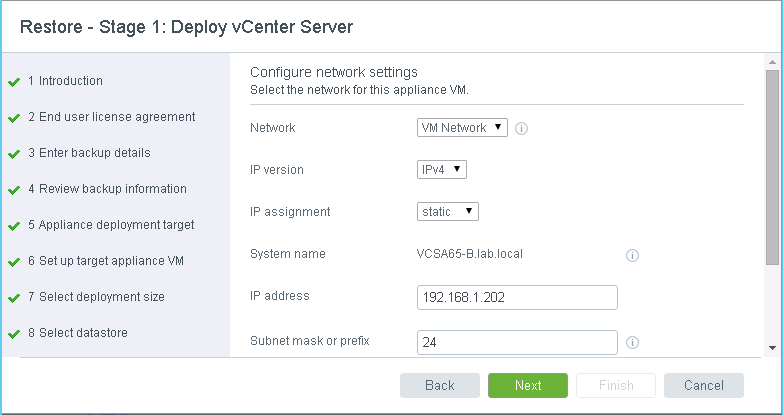
Select the Network settings for the restored VCSA 6.5. Again, I haven't made any changes because of the backup-metadata.json file it will provide all this by default.
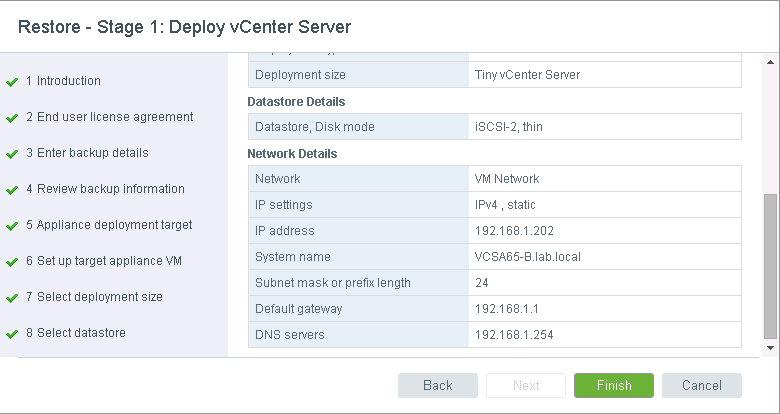
Review all the options that you have provided and click Finish to restore VCSA 6.5 from the backup that was taken.
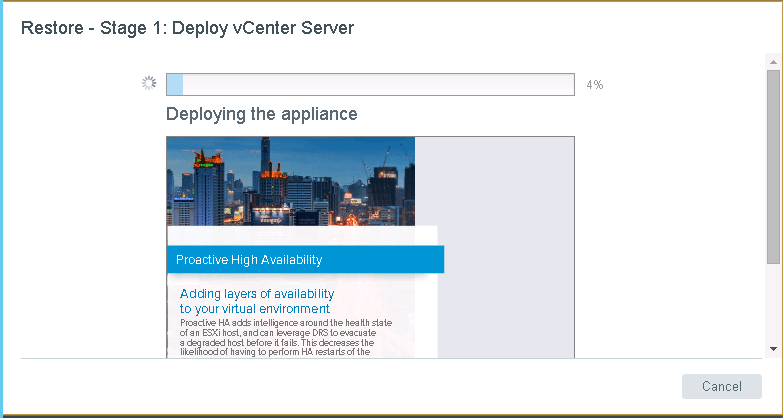
The VCSA will be deployed to the chosen ESXi host that was provided in the wizard.
Once the restoration is completed, click on Continue to start the Stage 2 of the deployment process.
During Stage 2, you will be asked to click on Next which will start restoring the VCSA from backup, which will copy the data from the backup location and start the appliance.
Verify the details and click Finish to start the stage 2 of the deployment.
You will be presented with the warning message stating that this is an irreversible process and cannot to stopped. Click OK.
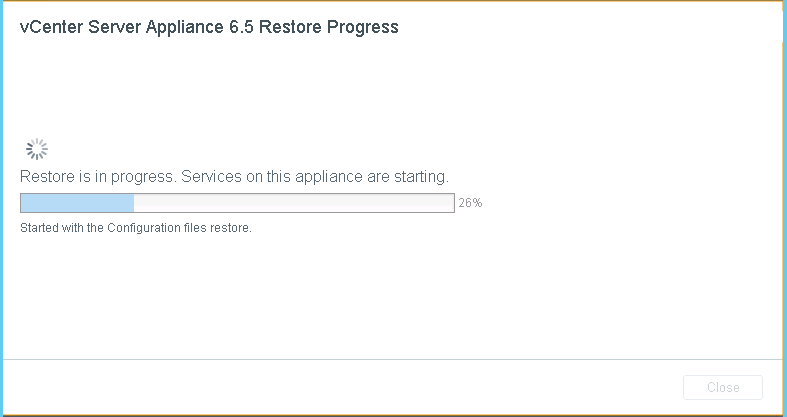
You will now see the progress for the restore VCSA 6.5.
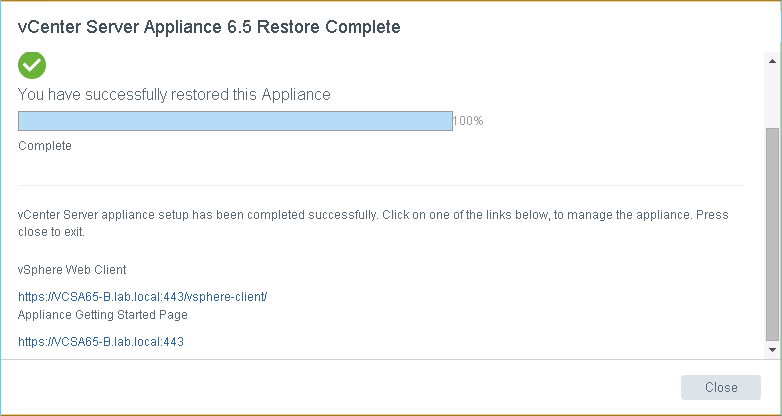
Once the restoration is complete, you should see the below screen and be able to log into the Web Client.
I hope this has been informative and thank you for reading!






1 Comment
If you continue putting together these amazing articles I’ll keep sharing them with my friends!