
Today, we will be taking a look at how to deploy VCSA 6.5 on Workstation. I figured not everybody would have access to an ESXi host and this method can be used to deploy VCSA 6.5 on Workstation in your home lab.
In my previous articles, I talked about how to deploy, backup and restore VCSA 6.5 in you lab environment which you can read more by clicking on the links.
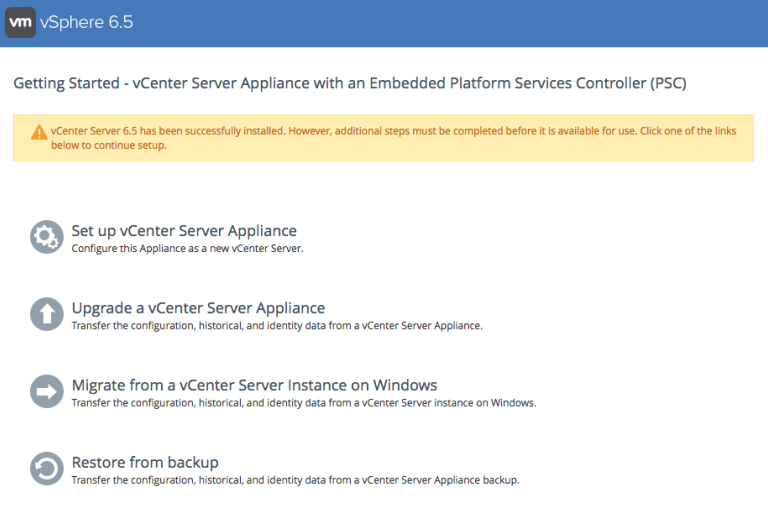
If you remember from the previous articles, the VCSA 6.5 now is a two stage deployment. Stage 1 is to deploy the VCSA 6.5 appliance and stage 2 is to configure the appliance.
If you remember, I have written a similar article which talked about deploying VCSA 6.0 on VMware Workstation, which can be found here.
Alright, let us look at the two options that are available on how to deploy VCSA 6.5 on Workstation.
- Option1: Provide the details about both stage 1 and stage 2
- Option 2: Provide the details of stage 1 and configure stage 2 using VAMI
Before we look at the both options, these are the first steps that would need to perform in order to successfully install VCSA 6.5 on Workstation.
- Download and extract the VCSA 6.5 ISO.
- Import OVA which will be located in vcsa/VMware-vCenter-Server-Appliance-6.5.0.5100-XXXXXX_OVF10.ova using VMware Workstation.
- Do not power ON the VM after it finishes importing.
- Now navigate to the directory where the VCSA 6.5 was deployed and open the vmx file and add one of the two deployment options that you are interested in as shown below:
Option 1:
If you just want to quickly spin up a fully configured Embedded VCSA system for testing purposes, I would recommend going this route.
Below are the settings that are to be added to the vmx file that we opened in the previous step and save the file.
guestinfo.cis.deployment.node.type = "embedded"
guestinfo.cis.appliance.net.addr.family = "ipv4"
guestinfo.cis.appliance.net.mode = "static"
guestinfo.cis.appliance.net.pnid = "VCSA65-A.lab.local"
guestinfo.cis.appliance.net.addr = "192.168.1.201"
guestinfo.cis.appliance.net.prefix = "24"
guestinfo.cis.appliance.net.gateway = "192.168.1.1"
guestinfo.cis.appliance.net.dns.servers = "192.168.1.254"
guestinfo.cis.appliance.root.passwd = "VMware1!"
guestinfo.cis.appliance.ssh.enabled = "True"
guestinfo.cis.deployment.autoconfig = "True"
guestinfo.cis.appliance.ntp.servers = "pool.ntp.org"
guestinfo.cis.vmdir.password = "VMware1!"
guestinfo.cis.vmdir.site-name = "Bangalore"
guestinfo.cis.vmdir.domain-name = "vsphere.local"
Now power on the VM and you will have a fully configured embedded VCSA which can be accessed using the Web Client.
Option 2:
If you want a taste of how to configure the VCSA using the new UI and are restricted to using VMware Workstation, then you can go this route.
In this method, we will provide the details only required to finish Stage 1 which is deploying the VCSA 6.5 on Workstation.
Once complete, you can navigate to VAMI page on the deployed VCSA and go ahead with the configuration of the VCSA 6.5.
The settings that need to be updated in the VMX file for this method are given below:
guestinfo.cis.deployment.node.type = "embedded"
guestinfo.cis.appliance.net.addr.family = "ipv4"
guestinfo.cis.appliance.net.mode = "static"
guestinfo.cis.appliance.net.pnid = "VCSA65-A.lab.local"
guestinfo.cis.appliance.net.addr = "192.168.1.201"
guestinfo.cis.appliance.net.prefix = "24"
guestinfo.cis.appliance.net.gateway = "192.168.1.1"
guestinfo.cis.appliance.net.dns.servers = "192.168.1.254"
guestinfo.cis.appliance.root.passwd = "VMware1!"
guestinfo.cis.appliance.ssh.enabled = "True"
guestinfo.cis.deployment.autoconfig = "False"
Save the changes and power ON the VM, once the VM boots, go to the URL https://<FQDN or IP Address of VCSA>:5480 and start the stage 2 which is configuring VCSA 6.5 on Workstation.
From here on, you can just go through the stage 2 of the installation and configure the embedded VCSA 6.5 on Workstation.
Note: The steps apply to people who are running VMware Fusion on the Mac OS.
I hope this has been informative and thank you for reading!


10 Comments
Thanks!
I used option 1 and installation is ok.
but when i restart , vcsa6.5 failed, i can’t see the UI and the Photon machine on “Root Login” state!
I tried more times, the same result.
I think maybe the xml modified cause this error, we modified the xml file, after installing the vcsa, if we need remodify the xml file?
In my experience I had to remove the VM from the inventory and re-register the VMX to get any changes to be recognized. I also needed to convert the pretty quotes copied from this site to simple ones in a text editor.
Option 1 fails completely for me as some of the settings are applied. Even if I log into the console and make the IP changes manually (the password seems to take) I can never connect to vCenter.
Option 2 almost works but failed at the end and seemed to be due to DNS issues when using FQDNs with no records.
I am still fighting with it but so far no joy. I am using VMware Workstation 12.5.2 on Ubuntu LTS 14.04 (updated).
Glad to know am not the only one experiencing this challenges.. I have tried more than 20 times to make this work. Followed the steps here carefully but still no luck. After bringing up the VCSA VM on workstation, it comes up with no IP address. How do i go about this.. Really frustrating for me.
Even I faced the same issue and succeed finally.
1) Followed exactly what is said above
2) Ensure the vcsa NIC are in same Nework work as if my DC,DNS.
3) While updating the VMX file ensure the contents are in expected format , for me the was proper.
And finally thanks a ton for ADIL ARIF for the great job.
Did you get this to work ever, i was able to make many vCenters build using workstation and all of a sudden its stopped working.
At the end of the install I will see the console page and it will have the following –
Please visit the following URL to configure the appliance.
http://localhost:
Download support bundle from:
http://localhost:/appliance/support-bundle
Root password is not set
RPM Installation failed.
If I Press ALT – F1 I see the following line on the command –
Photon-machine login: setterm: $TERM is not defined.
My DNS and reverse lookup are working perfectly.
Great article, but after changing the .vmx file of the vCenter Appliance and booting the appliance, I connected to https://vcenter_appliance:5480 a message appears “Waiting for RPM Installation to finish (5% is done. This will not finish.
For both options the same situation..
What can be the problem=
Have you fixed this problem? If so, how did you fix it? I have the same issue.
Any resolution to this rpm installation yet ?this is making me insane, tried so many different options but always ending up with this issue.
rmp stuck at 90%
I have the same rpm problem
any help ?
Very simple, don’t use vcsa with vmware workstation … I tried and read everything (sites articles are often copied…) then I just said it: use windows 2012R2 (not DC) and install vcsa on it … without any problem, problem solved 🙂