
In the first three posts in the vSphere Integrated Containers series, we looked at the introduction, installation of the VIC Engine and the installation of the Harbor registry.
In this post, we will look at how to create our first Virtual Container Host which is similar to a Docker host in a traditional container world.
From our second post in this series, we remember that we installed the VIC Engine on a Photon VM. Using the same VM, we will deploy our First Virtual Container Host (VCH).
First, you will need to take a putty session to VIC-Machine.
cd into the location where the VIC binaries were downloaded. In my case, it is /root/vic
cd /root/vic
In our example, we will be creating a Linux Virtual Container Host using the command vic-machine-linux
To understand the capabilities of the command, type:
./vic-machine-linux --help
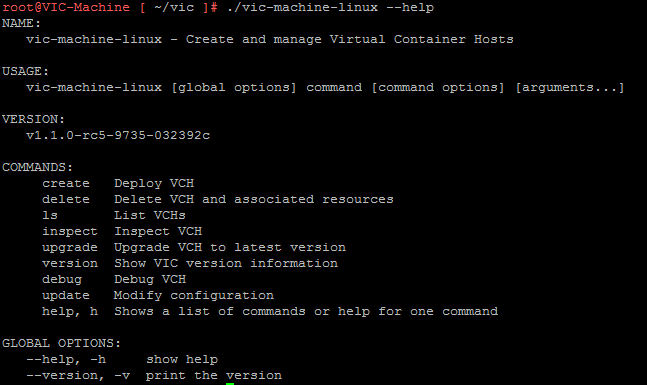
Now we know that along with the vic-machine-linux, we need to pass the create command to create a Virtual Container Host. Let us see what arguments are accepted with the create command.
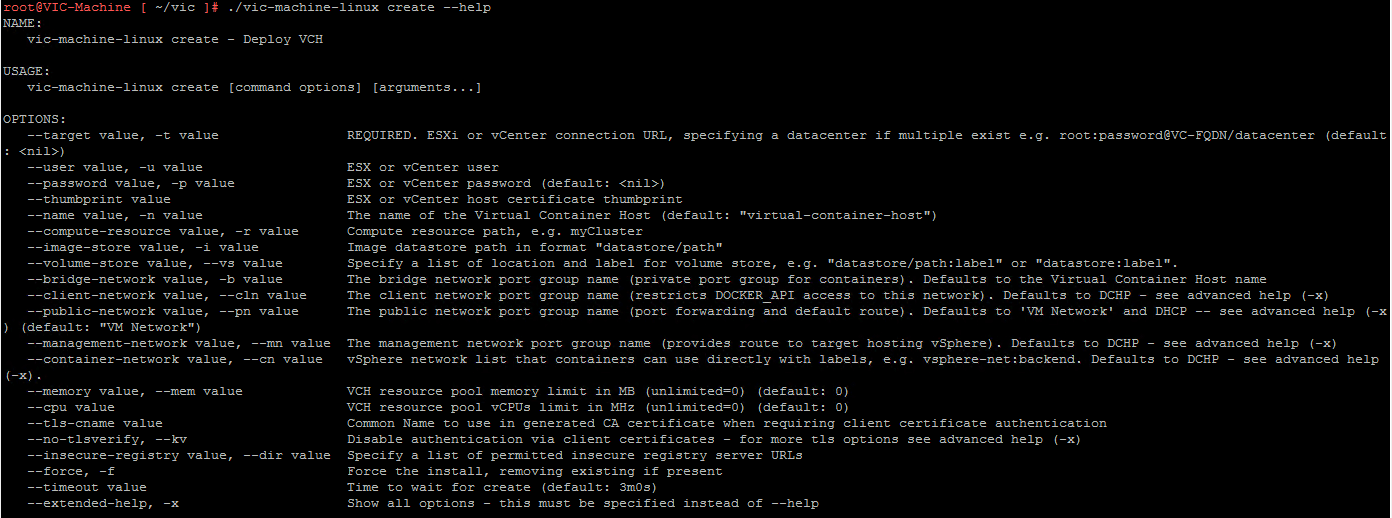
In my case, I ran the below command and I think these are the absolute minimum arguments that need to be passed in order to not have any issues in the future.
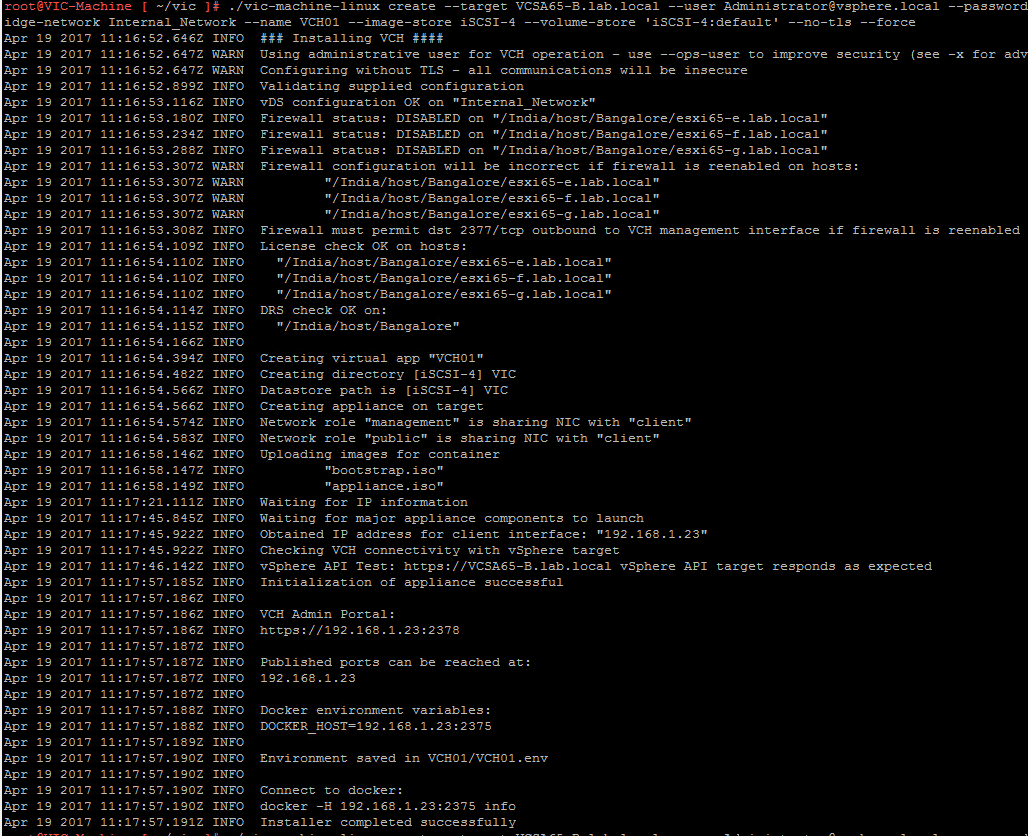
./vic-machine-linux create --target VCSA65-B.lab.local --user [email protected] --password VMware1! --compute-resource Bangalore --bridge-network Internal_Network --name VCH01 --image-store iSCSI-4 --volume-store 'iSCSI-4:default' --no-tls --force
From the above command, you can see that we are providing the below arguments:
- target: This can be the ESXi host or the vCenter Server IP Address or FQDN
- user: The account used to connect to the vCenter Server or ESXi host.
- password: Password for the above command.
- compute-resource: Cluster Name where the ESXi hosts reside in vCenter Server.
- bridge-network: Distributed Port Group that is created on the vCenter Server. This has ephemeral port binding.
- name: Name for the VCH that is being created.
- image-store: Image datastore path.
- volume-store: folder location on a specified datastore and can be used as a shared volume for multiple VCHs.
- no-tls: Disable authentication via client certificates.
- force: Force the install.
If all goes well, you will see the below screen.
If my case, I had to make a couple of changes before I could successfully deploy the first VCH.
The first error message I received was that the firewall configuration on the ESXi hosts did not have the tcp port 2377 open for outgoing connections.
"Firewall must permit dst 2377/tcp outbound to the VCH management interface"
To resolve this issue, we need to add a rule on the ESXi hosts which can be found in the KB 2008226.
I just disabled the firewall on the hosts, since this is a lab setup by running the below command.
esxcli network firewall set --enabled false
Note: Another thing to note is that you will need to have a DHCP scope enabled so that the VCH-1 endpoint VM can receive an IP Address from the DHCP server.
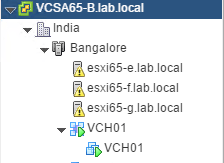
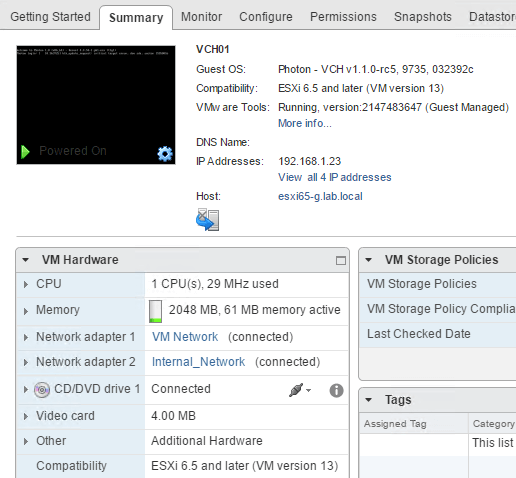
Now, if you connect to the vCenter Server, you would see that a vApp would have been created and a docker endpoint VM also by the same name.
And if you check the Network configuration, you would see there will be two network adapters created. One was already provided during the creation of the VCH.
The second network adapter is for the Public Network which defaults to "VM Network" since we did not provide any details.
Alright, we have successfully deployed out first VCH and in the next post, we will see on how to connect to it and start creating Containers as VMs.
I hope this has been informative and thank you for reading!


