
This is the fifth post in the vSphere Integrated Containers series and today we will look at how to Install Admiral, which is a Container Management Platform.
Just to recap, till now, we have gone through the introduction of VIC, installing the VIC Engine, installing Harbor and creating our first Virtual Container Host.
In this post, we will create our first container which will be running Admiral on our newly created Virtual Container Host.
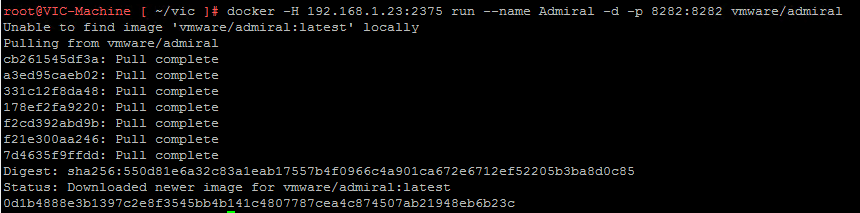
Admiral has been put up on the docker hub site as a container image. Therefore, by typing the below command we will be creating our first container and also installing Admiral.
docker -H 192.168.1.23:2375 run --name Admiral -d -p 8282:8282 vmware/admiral
The above command pulls the image from the docker hub registry, creates a new container from the image called Admiral in a detached mode and it can be accessed on port 8282 of the VCH.
Now, let us connect to the Admiral web page and it looks as shown below.
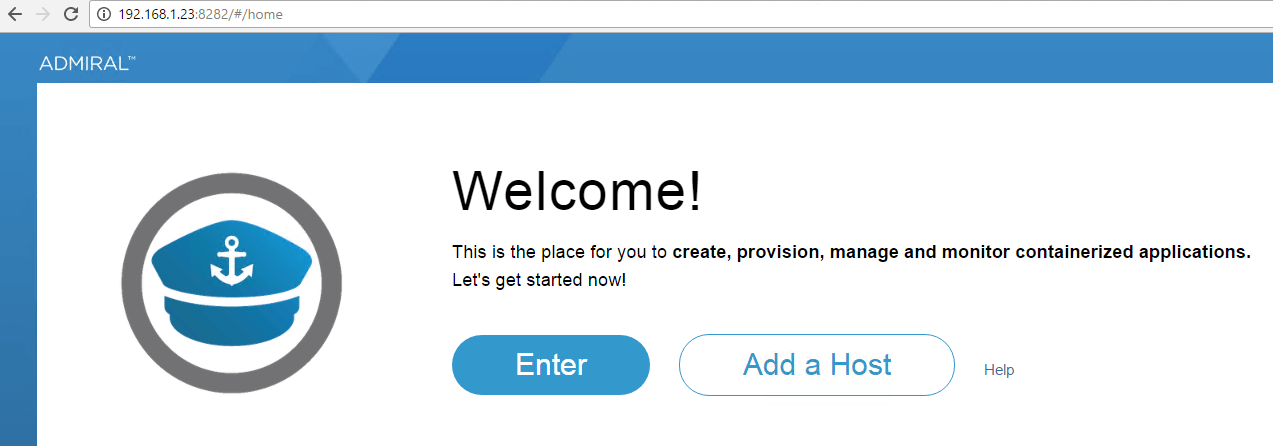
Before adding the Virtual Container Host, using the Add a Host button, we need to enable docker remote API automatically over SSH.
You will first need to list the VCH, type below after connecting to the VIC Machine.
./vic-machine-linux ls --target VCSA65-B.lab.local --user [email protected] --password VMware1! --thumbprint certificate_thumbprint
Replace the certificate_thumbprint with the thumbprint from your setup.

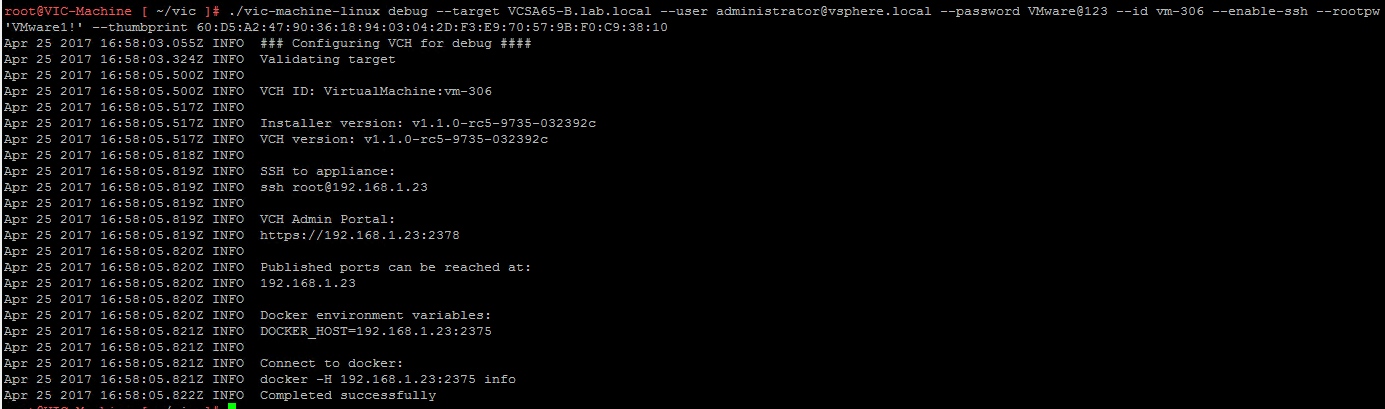
Once the VM ID is known, type the below command to enable SSH for the VCH Endpoint VM.
./vic-machine-linux debug --target VCSA65-B.lab.local --user [email protected] --password VMware@123 --id vm-306 --enable-ssh --rootpw 'VMware1!' --thumbprint certificate_thumbprint
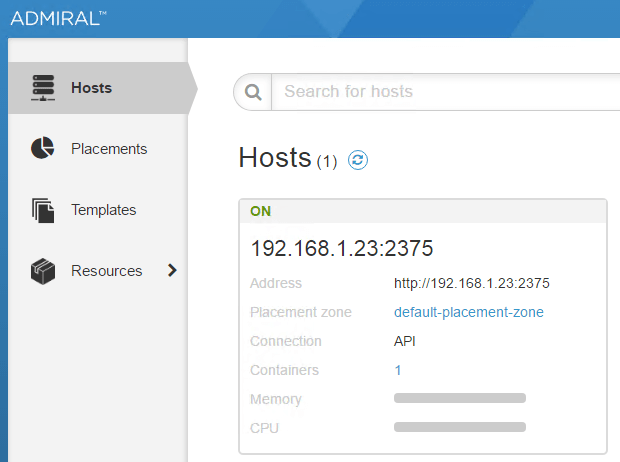
To configure an already existing Docker Container host, navigate to "Hosts" and click on "Add Host" and fill the below details.
- Address: http://192.168.1.23:2375
- Placement zone: default-placement-zone
- Login Credentials: Provide the root credentials in the previous step
Click Add to finish adding the docker container host and you should see the below image.
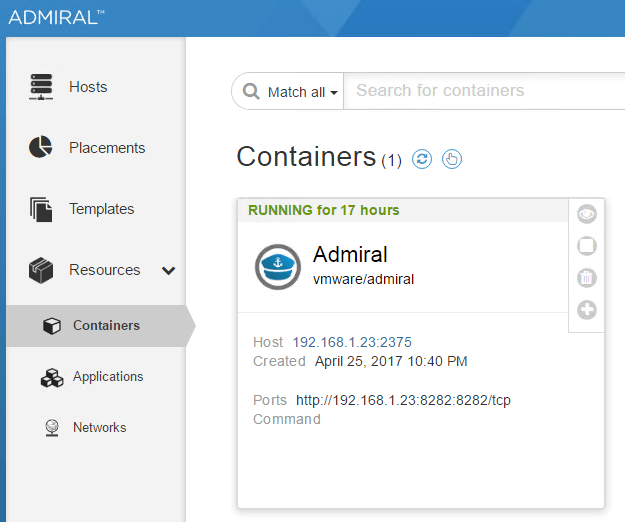
And once you click on Resources > Containers, you should see the Admiral Container we just created some time ago.
Well, that's it for today! I hope this has been informative and thank you for reading!


