
Welcome back to the Azure 101 Series, today we will be looking at step by step instructions to create an Azure Virtual Machine from Azure Portal. If you want a little background on Azure Virtual Machines, check my previous post here.
The first step is to log into the Azure Portal at https://portal.azure.com. At this point, you will need an active Azure subscription. If you don't have one, you can sign up for the Free trial account. For more information on various subscription types available from which you can learn Azure, click here.
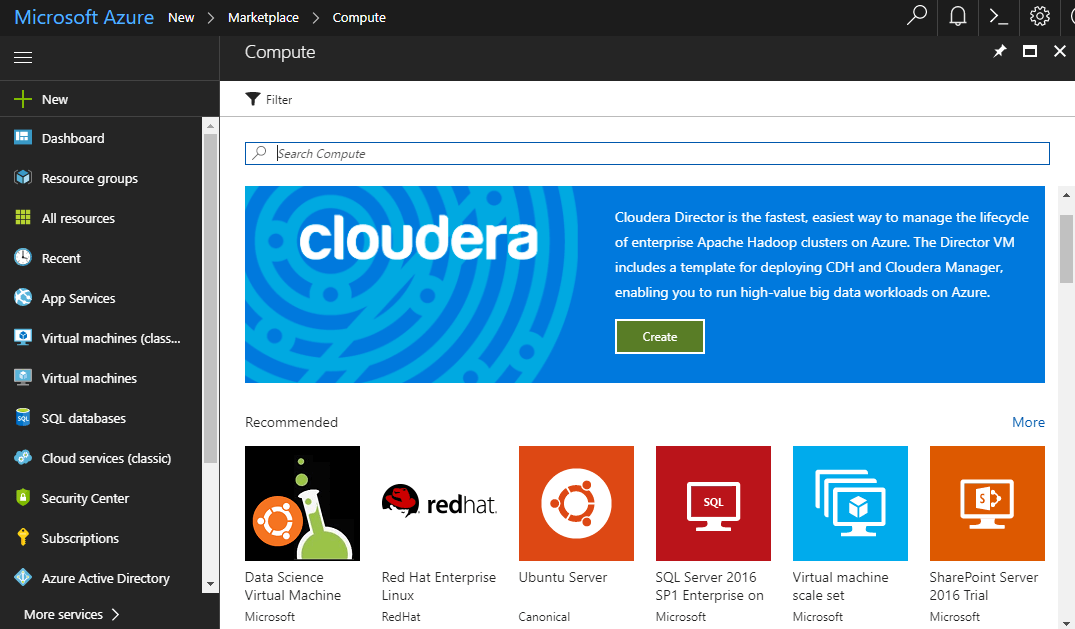
Once logged in, click New in the Navigation section of the site and then Compute in the Marketplace.
As seen above, this opens Virtual Machines Marketplace blade, where you can select from a wide range of VM configurations and pre-configured images from Microsoft, Microsoft partners, and ISVs.
The images include official images from Microsoft for Windows-based deployments and select partners such as RedHat, Canonical, and many more.
For the purposes of this demonstration, let us select Windows Server 2016 image. On the next blade, you can read information about the image.
Here, you will be given an option to choose the deployment model type. As discussed in the previous article, Microsoft recommends using the Resource Manager model, hence we will select Resource Manager.
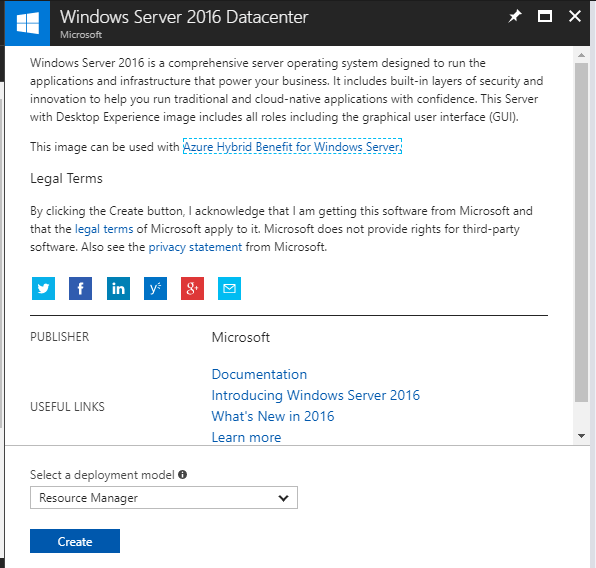
Click create to proceed with creating the Azure Virtual Machine.
Next, the Create Virtual Machine blade should open and then extend the first blade to configure basic settings. You will now need to provide the below important details:
- Name: The name of the VM.
- User Name: The administrative username.
- Password: The password for the administrative user.
- Subscription: The Azure subscription to use if you have more than one.
- Resource Group: Provides a logical container for Azure resources (to help manage resources that are often deployed together).
- Location: The Azure region where the VM should be placed.
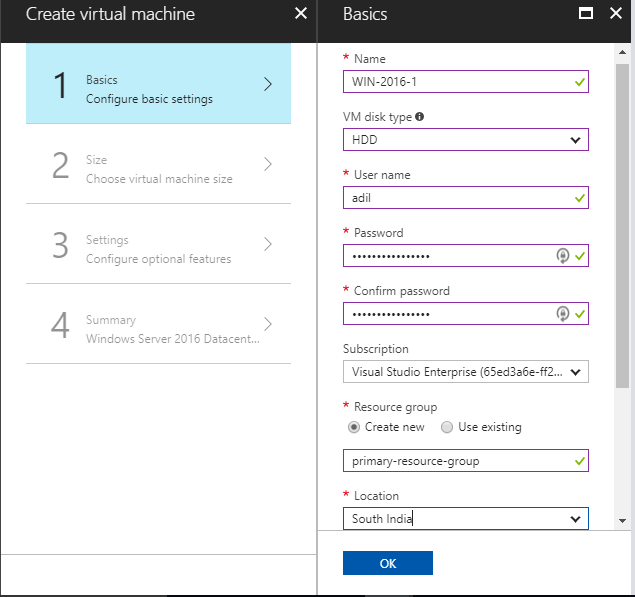
Click OK to proceed to next section where you could select the VM size.
Note: Not all VM sizes are available in all Azure regions. If a size is not available in the selected region, that size option will show as disabled when viewing all the VM sizes.
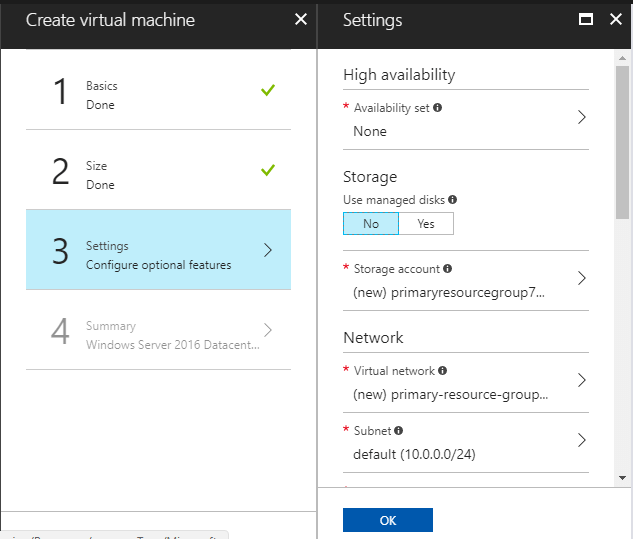
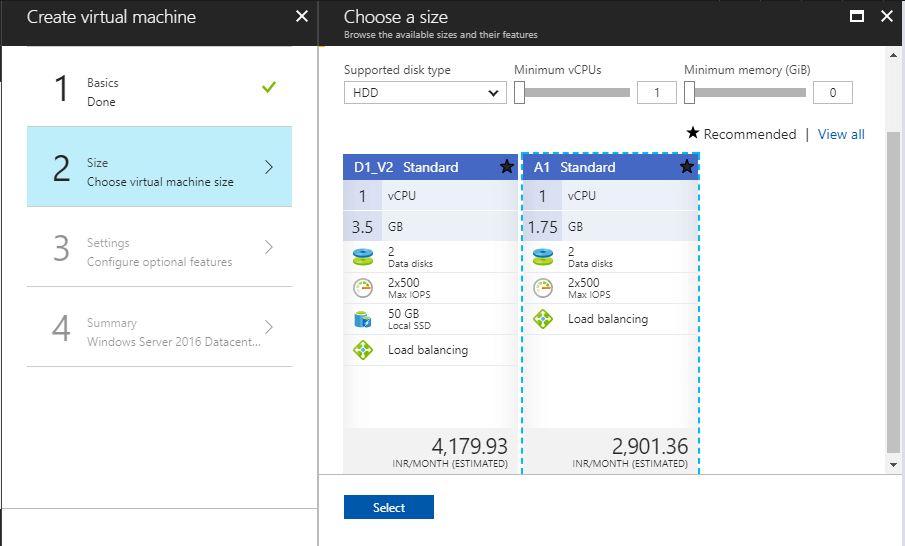 After selecting the VM size, move to next section where you will set up features related to storage, networking, monitoring, and availability.
High Availability
- Availability Set: Optionally, select the availability set in which to place the VM. This configuration cannot be changed once the VM is created.
Storage
Select the storage medium for the OS disk in the new Azure VM.
- Managed Disks: Managed Disks is a feature that simplifies disk management for Azure IaaS VMs by handling storage account management for you. If you select No, you will be presented with an option to select Storage Account.
- Storage Account: Select the Azure Storage account in which to place the OS disk. This can be a new storage account or an existing storage account.
Network
All VMs in the Resource Manager model must be placed within a VNET.
- Virtual Network: Either select an existing VNET or create a new one. VMs in the same VNET can access one another by default.
- Subnet: Select the subnet (range of IP address from the VNET) in which to place the VM.
- Public IP Address: Optionally, chose to create a new public (either dynamic or static) IP address, or select None to not have a publicly accessible IP address for the VM.
- Network Security Group: Configure a set of inbound and outbound firewall rules that control traffic to and from the VM. Note that the default is set to allow Remote Desktop Protocol (RDP) for Windows and SSH for Linux.
Monitoring
- Boot Diagnostics: This allows you to see the console output and supports screenshots for the Azure VMs.
- Guest OS Diagnostics: Choose to enable or disable Guest OS diagnostic metrics for the VM. This can be used to create alerts and stay informed on the applications.
- Diagnostics Storage Account: Select either an existing Azure Storage account or create a new one to which diagnostic metrics are written.
Click OK to proceed to the final section.
Once some basic platform validation is complete, you will see a summary of the VM to be created. Select the Create button to start the deployment process.
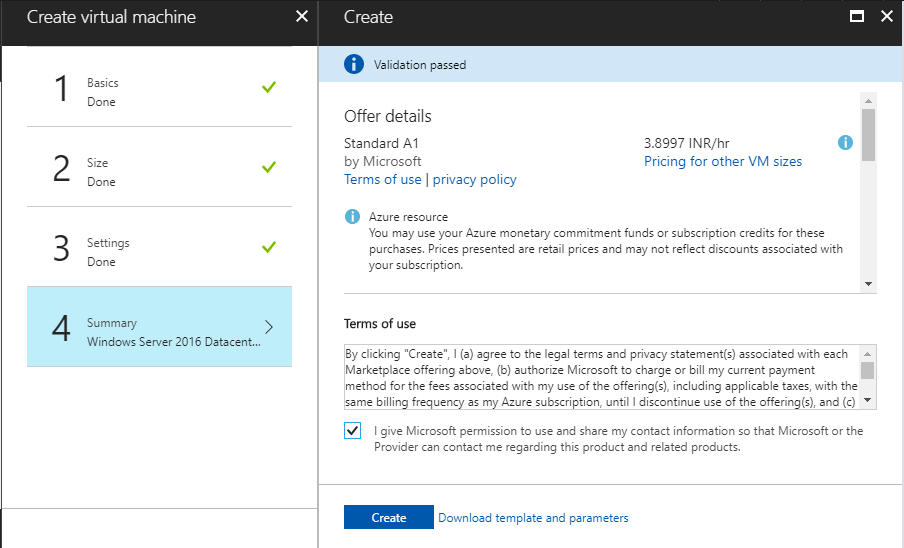
It may take several minutes before the VM is fully provisioned and ready for use. You will be able to monitor the status in the notification panel.
In the upcoming articles, we will look how to programmatically deploy the VMs.
I hope this has been informative and thank you for reading!


