
In this Azure 101 post, we will delve into the workings of Azure Virtual Network, also known as Azure VNET.
Let’s take a look at what a virtual network is and what they’re used for. We’ll define the terms used (such as Virtual Network address spaces, subnets, and DNS Servers), and see how to create a VNet in Azure.
Virtual networks (VNets) are used in Azure to provide private connectivity for Azure Virtual Machines (Azure VMs) and some Azure services. If you would like to know more about Azure Virtual Machines, click here.
Virtual Machines are Azure services that are part of the same Azure Virtual Network can access one another. However, services in different vNets cannot communicate by default, but this behavior can be modified.
A Virtual Network Gateway is a fully managed service in Azure that is used for cross-premises connectivity. You can add a Virtual Network Gateway to a virtual network and use it to connect your on-premises network to Azure, effectively making the virtual network in Azure an extension of your on-premises network.
Now, let us define some of the important definitions so that we have a better understanding of Azure Virtual Network.
Virtual Network Address spaces
When you set up a Virtual Network, you need to specify the topology of the Virtual Network, including the address spaces and subnets. This is the range of addresses that the Azure VMs and services can use in the network.
If you need a virtual network connected to another virtual network, you need to make sure that the address spaces are not overlapping.
Subnets
After specifying your virtual network address space(s), you can create one or more subnets for your virtual network.
You do this to break up your network into more manageable sections. For example, you might assign 10.1.0.0 to VMs, 10.2.0.0 to back-end services, and 10.3.0.0 to Database VMs. Note that Azure reserves the first four addresses and the last address in each subnet for its own use.
By default, there is no security boundary between subnets, so services in each of these subnets can talk to one another.
DNS Servers
DNS servers are used to provide name resolution within the Azure Virtual Network.
There are two options: you can use the Azure-provided name resolution or you can specify a DNS server that is not maintained by Azure, such as one that is used by your on-premises infrastructure or one that you set up and maintain in an Azure VM.
Now that we have defined the basics of Azure Virtual Networks, let us now see how to create an Azure Virtual Network using the portal.
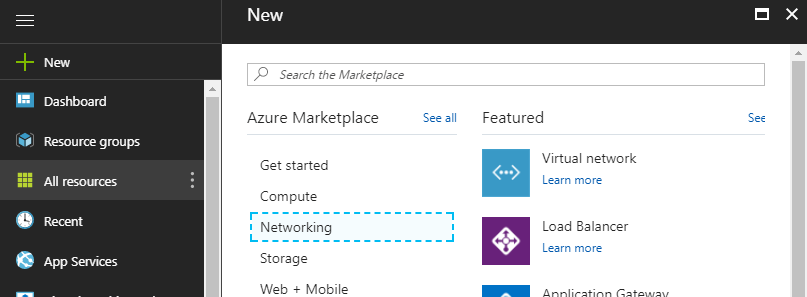
Log into the Azure portal. Click New > Networking > Virtual Network to bring up the wizard for the Virtual Network.
Fill in the below details to start creating your first Azure Virtual Network:
- Name: Specify a name for the VNet.
- Address Space: specify the whole range for the VNet in CIDR notation. In our example, set this to 192.168.0.0/16.
- Subnet Name and Address range: specify the name of the subnet in the VNet and then specify the address range. This must be within the range of the whole VNet; set this to 192.168.2.0/24.
- Subscription: If you have multiple subscriptions administered by the account with which you’re logged in, select the subscription in which you want to create the VNet.
- Resource Group: select the resource group—in this case. You can also ask to create a new resource group and specify a name for it.
- Location: Select the Azure region in which you want to create the VNet.
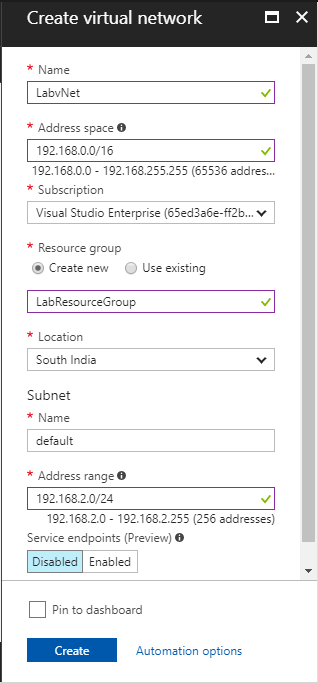
Click Create to start deploying the Virtual Network. Once the deployment is completed, go to the resource i.e the newly Virtual Network.
Continuing with our example, let us add another subnet to the Virtual Network.
Select the Virtual Network > Subnets -> Add Subnet.
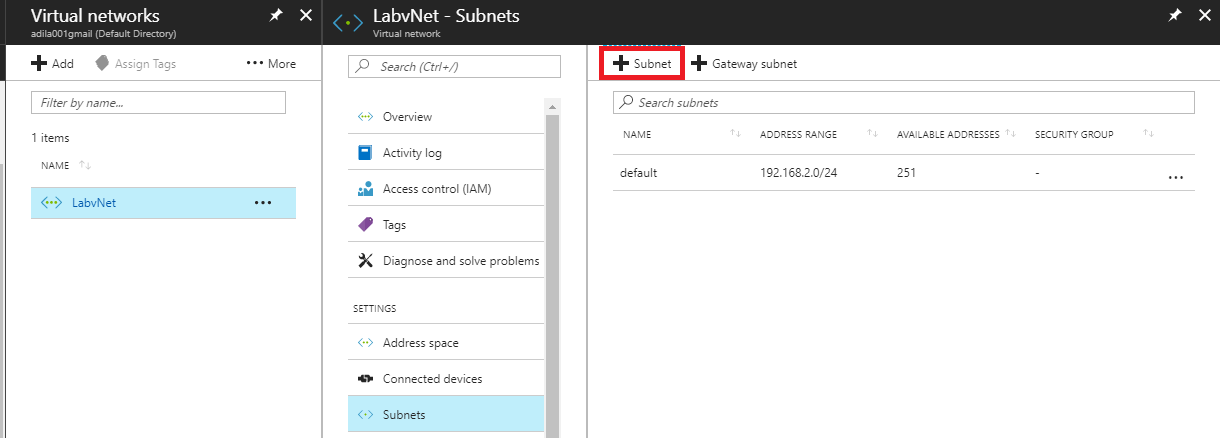
Once done, provide the desired values and click OK.

You could also change the DNS servers from the default Azure provided to your DNS servers if you have any as shown below.
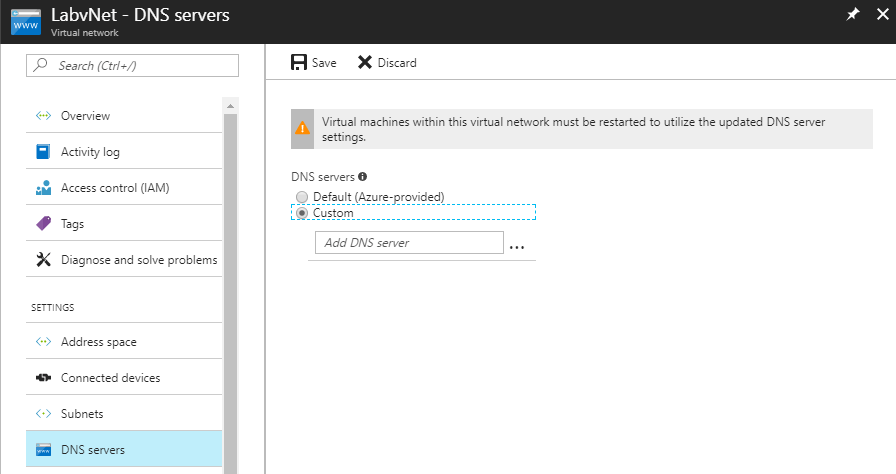
If you change the DNS servers after deploying any of the VMs, you will have to reboot all of the VMs in the virtual network because the DNS server information is injected into the settings at startup.
I hope this has been infomative and thank you for reading!


