
Welcome to the first post of the first objective in the 70-533 Exam Series titled Objective 1.1 - Deploy Web Apps. The title of the overall objective is Design and Implement Azure App Services Apps.
This objective is mostly towards the Dev side of things which is why we will be talking about Azure App Services and it is going to be more focused towards to PaaS offerings in Azure.
The different topics that we will be covering in this sub-objectives are:
- Define Deployment Slots
- Roll Back Deployments
- Implement pre and post-deployment actions
- Create, configure and deploy packages
- Create App Services Plans
- Migrate Web Apps between App Service plan
- Create a Web App within an App Service plan
- Determine when to use App Service Environment (ASE)
- Select and use appropriate deployment methods including Git, FTP, and cloud sync
Define Deployment Slots
Azure App Services is extremely useful for developers. It offers Web Apps, API Apps, Mobile Apps and Function Apps (that run Azure Functions).
In simple terms, a deployment slot is a staging area that allows you to perform modifications without impacting your website hosted as a Web App in Azure in production.
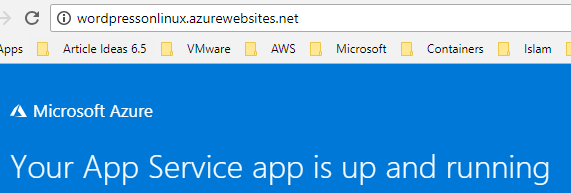
To create a deployment slot, you first need to have a Web App created in the App services. To create a new Web App from the Azure portal, go to App Service > Add. I am creating a WordPress on Linux to showcase this as an example. Once selected, click on Create.

This will bring a new blade where you have to provide details like App Name, Subscription, Resource Group, App Service Plan/Location and the database settings as seen below.
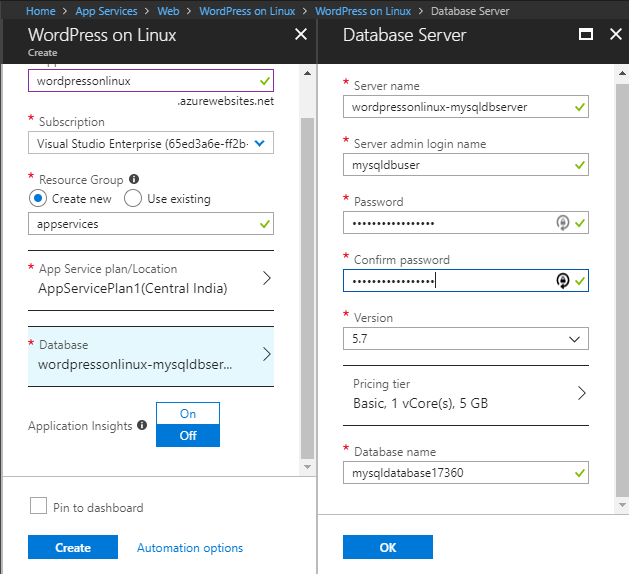
Click on Create to start deploying the App service.
Once the Web App is created, select the App, go to Deployment Slots to Add a new Slot. The app must be running in the Standard or Premium tier in order for you to enable multiple deployment slots.
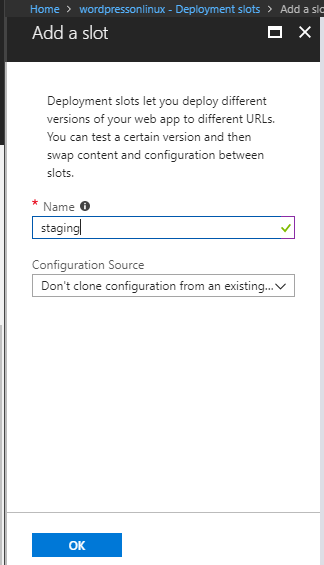
Once the slot is created, let's assume that there was new code added to the staging slot. You can Swap the slots and push the new code to production slot.
To perform this, select the staging slot and click on Swap.
Once the swap is performed, it will confirm with you to complete the swap permanently.
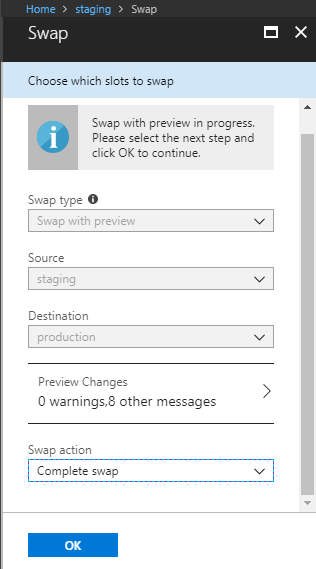
Before Swap Image below.
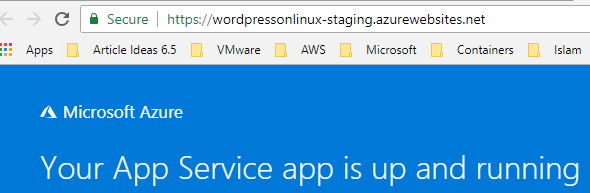
After Swap Image below.
Roll Back Deployments
It is possible that you are unhappy with the changes that were made with the swapping of the slots, Azure App Service gives you a quick way to perform a Roll Back so that the slots are swapped again and the original content is put back to production slot.
And it is as simple as performing the swap again.
Implement pre and post-deployment actions
To implement a post-deployment action, you can add the details in the App Settings on the Web App.
Select the App > Application Settings > Add new Setting.
In the Name field, add POST_DEPLOYMENT_ACTION and in the value, you could call a script to perform some action as shown below.

Click Save for the changes to be saved.
Create, configure and deploy packages
I haven't anything that explains how to do this other than using Visual Studio and below is the reference article.
Create a Web Deployment Package in Visual Studio
Create App Services Plans
In an App Service, an app runs in an App Service plan. An App Service plan defines a set of compute resources for a web app to run and is region specific.
You can create multiple apps in a single App service plan. Each App Service plan defines:
- Region (West US, East US, etc.)
- Number of VM instances
- Size of VM instances (Small, Medium, Large)
- Pricing tier (Free, Shared, Basic, Standard, Premium, PremiumV2, Isolated, Consumption)
The pricing tier of an App Service plan determines what App Service features you get and how much you pay for the plan. There are a few categories of pricing tiers:
- Shared compute: Free and Shared, the two base tiers, runs an app on the same Azure VM as other App Service apps, including apps of other customers. These tiers allocate CPU quotas to each app that runs on the shared resources, and the resources cannot scale out.
- Dedicated compute: The Basic, Standard, Premium, and PremiumV2 tiers run apps on dedicated Azure VMs. Only apps in the same App Service plan share the same compute resources. The higher the tier, the more VM instances are available to you for scale-out.
- Isolated: This tier runs dedicated Azure VMs on dedicated Azure Virtual Networks, which provides network isolation on top of compute isolation to your apps. It provides the maximum scale-out capabilities.
- Consumption: This tier is only available to function apps. It scales the functions dynamically depending on workload.
Migrate Web Apps between App Service plan
There are going to be scenarios when you would like to migrate a Web App from one App Service Plan to another provided you meet the below requirements.
- The App Service Plans need to be in the same resource group.
- The App Service Plans need to be in the same geographical region.
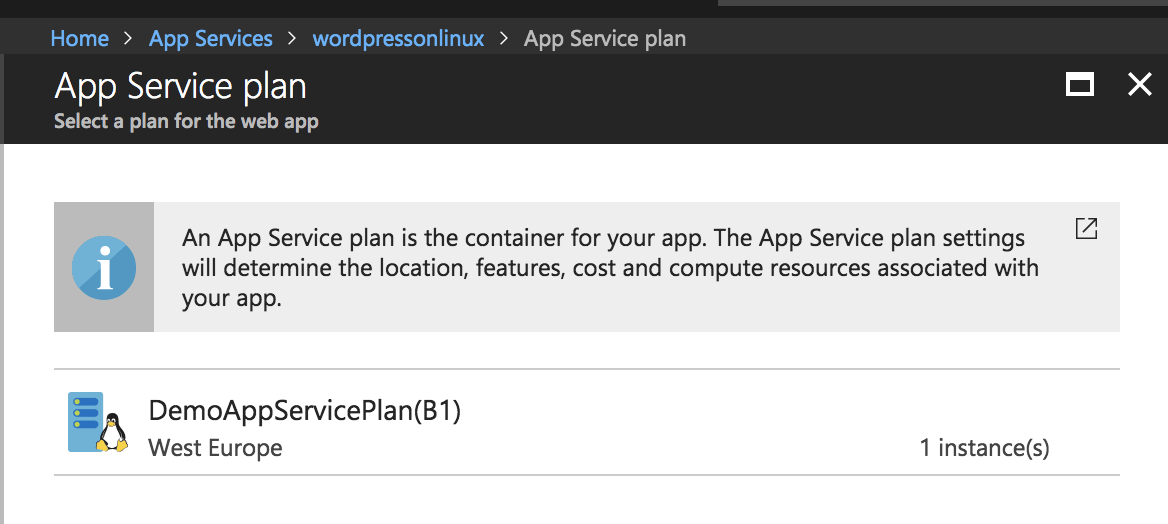
In my example, I want to move my Web App from Standard plan to a Basic one. To perform the migration, select the Web App > Change App Service Plan.
Select the desired App Service Plan and the migration will start.
Create a Web App within an App Service plan
This is going to be an easy one as we saw at the start of this post. Once you go through the wizard, you can now select an App Service Plan that has already been created.
Determine when to use App Service Environment (ASE)
The Azure App Service Environment (ASE) is an Azure App Service feature that is used to provide a completely isolated and dedicated environment for running App Service apps at a high scale.
The ideal applications that can use the ASE capabilities are those having the below requirements:
- Very high scale.
- Isolation and secure network access.
- High memory utilization.
The below types of Apps can be hosted in an App Service Environment:
- Windows web apps
- Linux web apps (in Preview)
- Docker containers (in Preview)
- Mobile apps
- Functions
Note: The max number of App Service Plans in an ASE per subscription is 100 and 100 Apps per App Service Plan.
More information about App Service Environments can be found here.
Select and use appropriate deployment methods including Git, FTP, and cloud sync
There are various deployment methods available for your Web App that is running in Azure App Services, both automated and manual and requires a various degree of configuration.
For the sub-objective Microsoft wants you to know the automated deployment options and each of this topic can have their own posts, which is why I am just going to send you to the official docs website where they have documented it very well.
- Continuous deployment to Azure App Service
- Deploy your app to Azure App Service using FTP/S
- Sync content from a cloud folder to Azure App Service
I hope this has been informative and thank you for reading!


