
In this post of the 70-533 series, we will be looking at the Objective 6.2 - Implement Recovery Services which covers Azure Site Recovery and Azure Backup.
Just a couple of months, I happened to present this topic at Azure Global Bootcamp for which the slides can be found here and the video recording is available here.
The sub-objectives that we will be covering in this post are:
- Create a Recovery Services vault
- Deploy a Recovery Services agent
- Backup and restore data, using snapshots and Geo-replication for recovery
- Implement DR as service
- Deploy Azure Site Recovery (ASR) agent, configure ASR
- Configure ASR one-click failover
Create a Recovery Services Vault
A Recovery Services Vault is a storage entity in Azure that houses all the backups and recovery points that have been created over time.
Some of the key features of Azure Recovery Services Vault are:
- Enhanced capabilities to help secure backup data
- Central monitoring for your hybrid IT environment
- Role-Based Access Control (RBAC)
- Protect all configurations of Azure Virtual Machines
- Instant restore for IaaS VMs
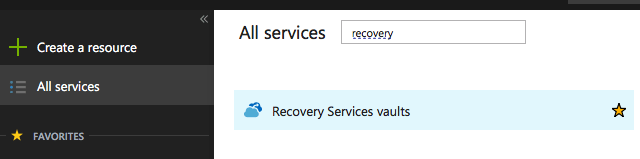
To create a Recovery Services vault, sign in to the Azure Portal. Click on All Services and start typing Recovery Services Vault and select the same as shown below.
Click on Add. The Recovery Services vault menu opens, prompting you to provide a Name, Subscription, Resource group, and Location.
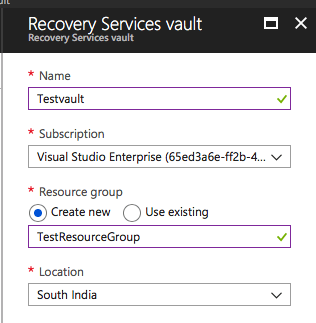
Click Create to provision the Recovery Services vault.
Deploy a Recovery Services Agent
Now that we have created a Recovery Services Vault, we need to download and install the Recovery Services Agent to backup File and folders.
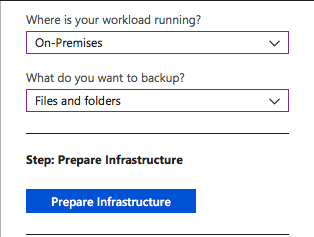
To perform this step, select the Vault > Backup under Getting Started and select On-Premises as the destination for your workloads and Files and Folders as what we want to back up. Click on Prepare Infrastructure.
On the next blade, you will need to download the Recovery Services Agent for Windows and Download the Vault credentials.
Use the exe file to install the agent on the destination and schedule the backup using the Agent UI as described in the below screenshot.

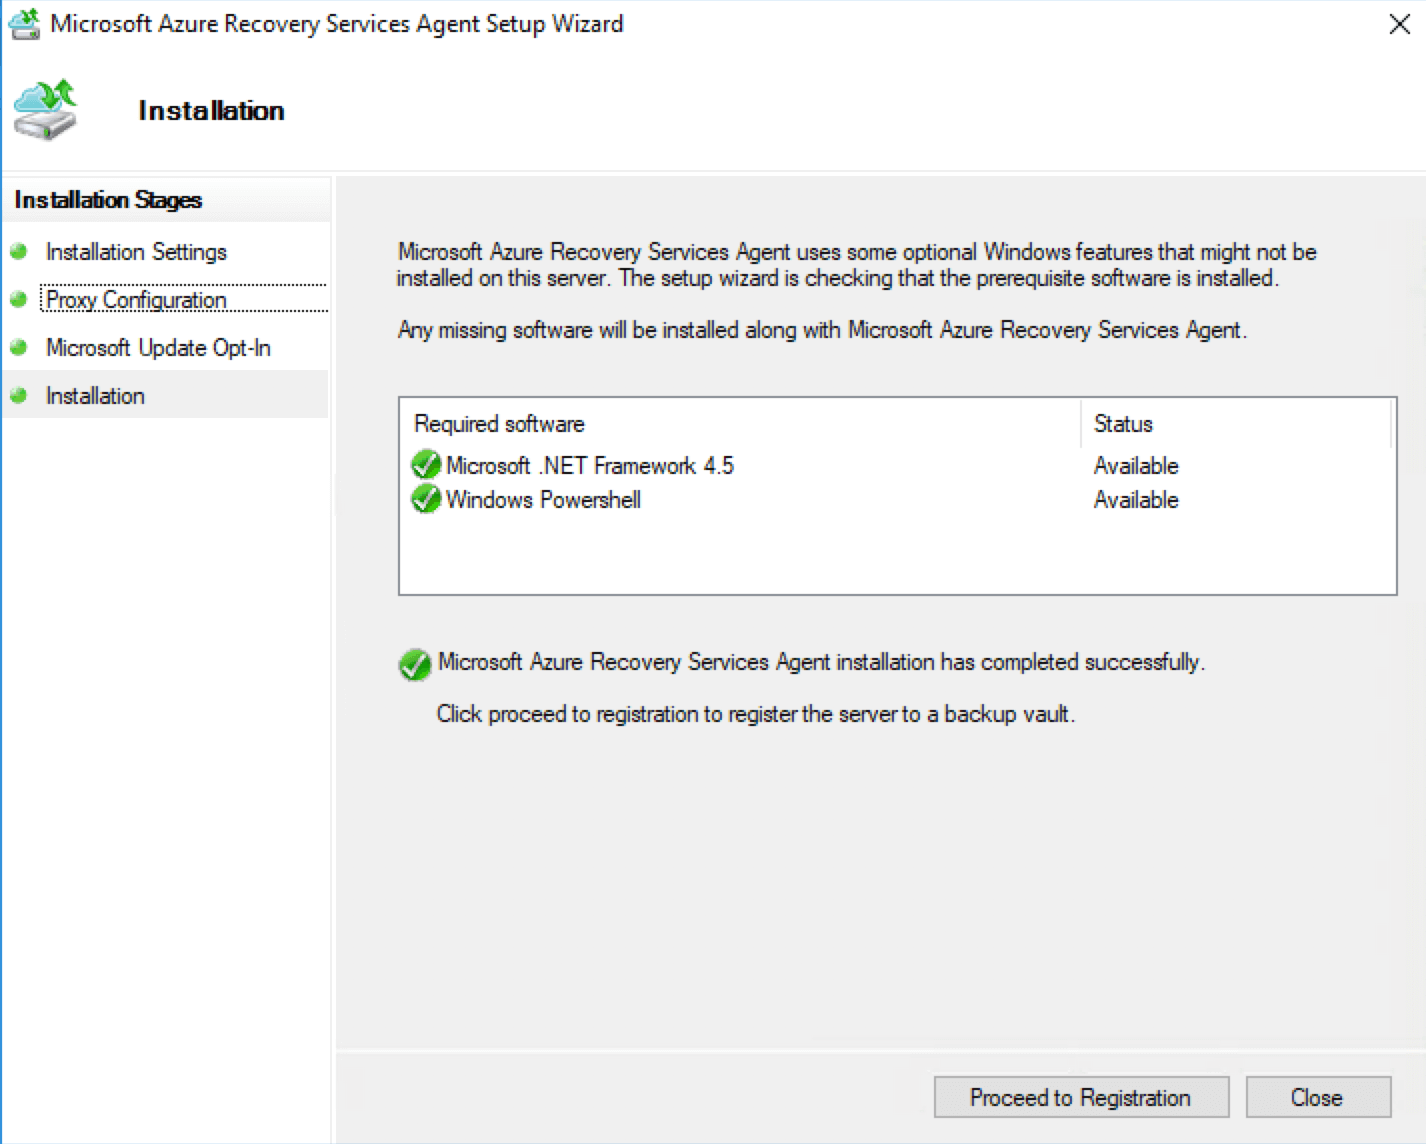
To install the Recovery Services Agent, double-click the exe file and go through the Installation wizard by selecting the defaults.
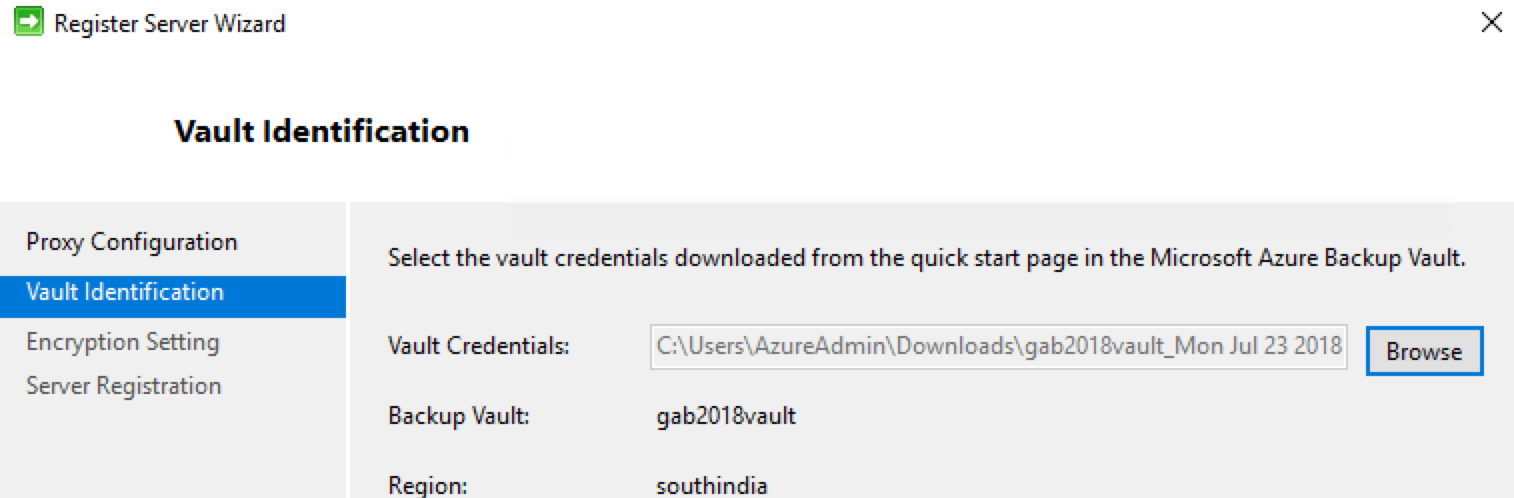
Click on Proceed to Registration to register this machine to the Recovery Services Vault.
Provide the vault credentials that was downloaded from the portal to register this machine.
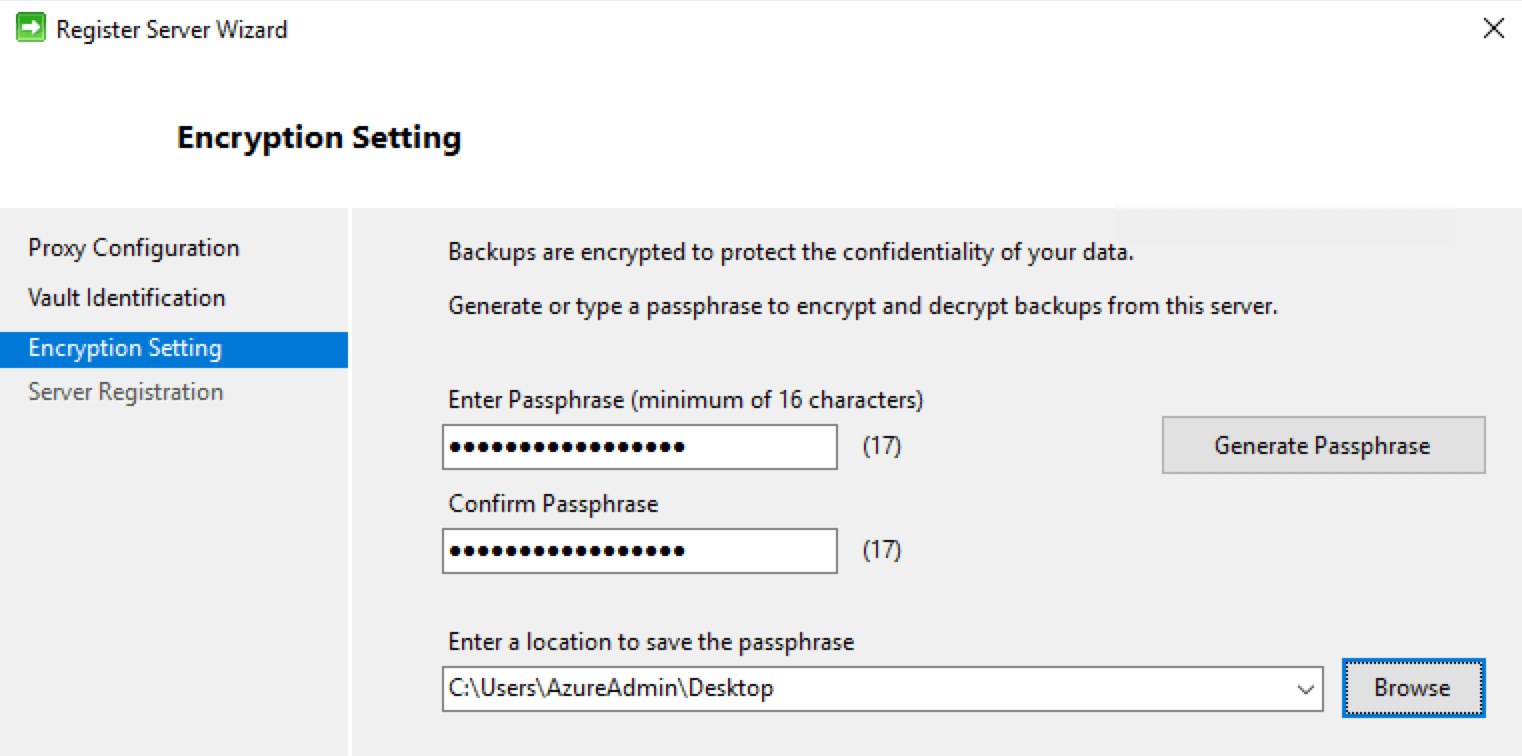
Provide a password to encrypt/decrypt the data that is stored in the vault.
Click on Schedule Backup from the Azure Backup UI and provide the backup policy details by going through the Wizard and the final screen can be seen below.

Backup and restore data, using snapshots and Geo-replication for recovery
We already saw how to create a Recovery Services Vault and how to download the install the Recovery Services Agent to perform the backup of Files and Folders.
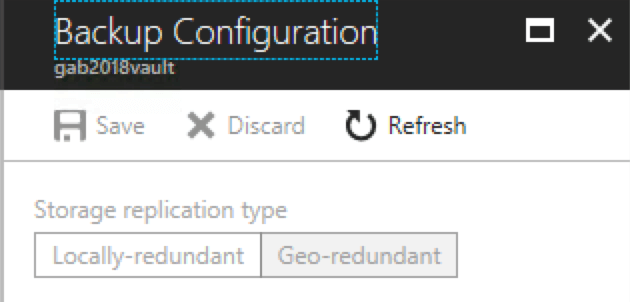
We also understand how to schedule the backups and perform Restore using the Recovery Agent UI. To change the storage replication option, go to the Vault > Manage > Backup Infrastructure > Backup Configuration.
Select the appropriate replication options available.
Implement DR as a service
Azure Site Recovery can be used to implement Azure as a DR Site and I talk more about this here and the video recording is available here.
Deploy Azure Site Recovery (ASR) agent, configure ASR
Azure Site Recovery Mobility Service is installed on VMware VMs and physical servers that you want to replicate to Azure.
The architecture of the Azure Site Recovery for physical and VMware workloads can be found in the slides here and the video recording is available here.
Configure ASR one-click failover
Azure Site Recovery is built into the Azure Virtual Machine experience so that you can set up replication in once click from the Virtual Machine Blade.
Select the VM in the portal > Operations > Disaster Recovery.
You can also take a look at the video on the Azure Friday channel below which explains the same process.
I hope this has been informative and thank you for reading!


