
As an Azure customer, you would always be looking at ways to save money in the cloud and today's post just talks about that - Azure Reserved Instances for Virtual Machines.
Microsoft recently announced Azure Reserved Instances for Virtual Machines and SQL Databases and they claim that you can save up to 80% or even more over pay as you go pricing.
Azure Reservations is a way for you to pre-purchase compute charges for Virtual Machines for a duration of 1 or 3 years.
This is a really good offering if you know the utilization of your Azure Virtual Machines and can get discounted price by committing the usage to Microsoft.
This commitment helps Microsoft with capacity planning as well which is why they give you such high discounts against the pay-as-you-go model, where the capacity planning is difficult for Microsoft. Once you pay upfront for any number of VMs and you will not be charged for matching VMs.
At this time, reservations are there for standard series, but you can perform exchange of reservations any number of times. The only caveat is that you can perform exchange only for a bigger VM and cannot for a smaller VM. So, you can start with a smaller size and can perform the exchange if you feel the workloads need bigger VMs.
As opposed to AWS' reserved instances, which doesn't allow you to return the reserved instances back to them, Microsoft allows you to cancel the Reserved Instances at any time for a fee of 12% which is fair in my opinion, but you cannot exceed the limit of $50,000 per year.
Enough of the talk, let's see how this can be done from the Azure Portal.
Once you are logged in to the portal, click on All Services > Reservations. Click on Add to create a new reservation.
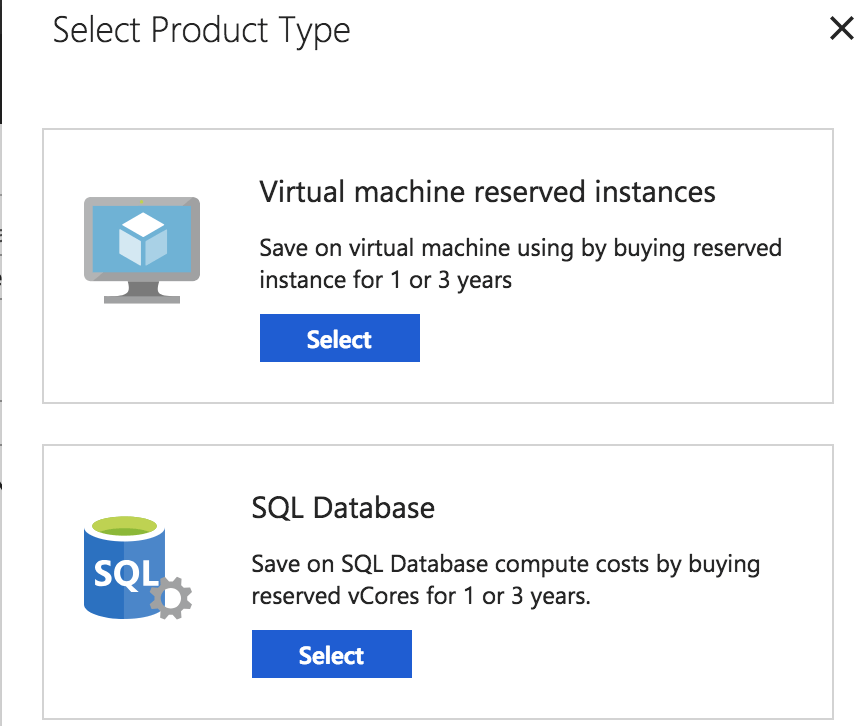
You will be presented with an option to select Azure Virtual Machines or Azure Databases. Select the former.
This will bring up a new blade and the below details need to be provided. In my example, the options are greyed out because I do not have an Enterprise Account or Pay-As-You-Go account.
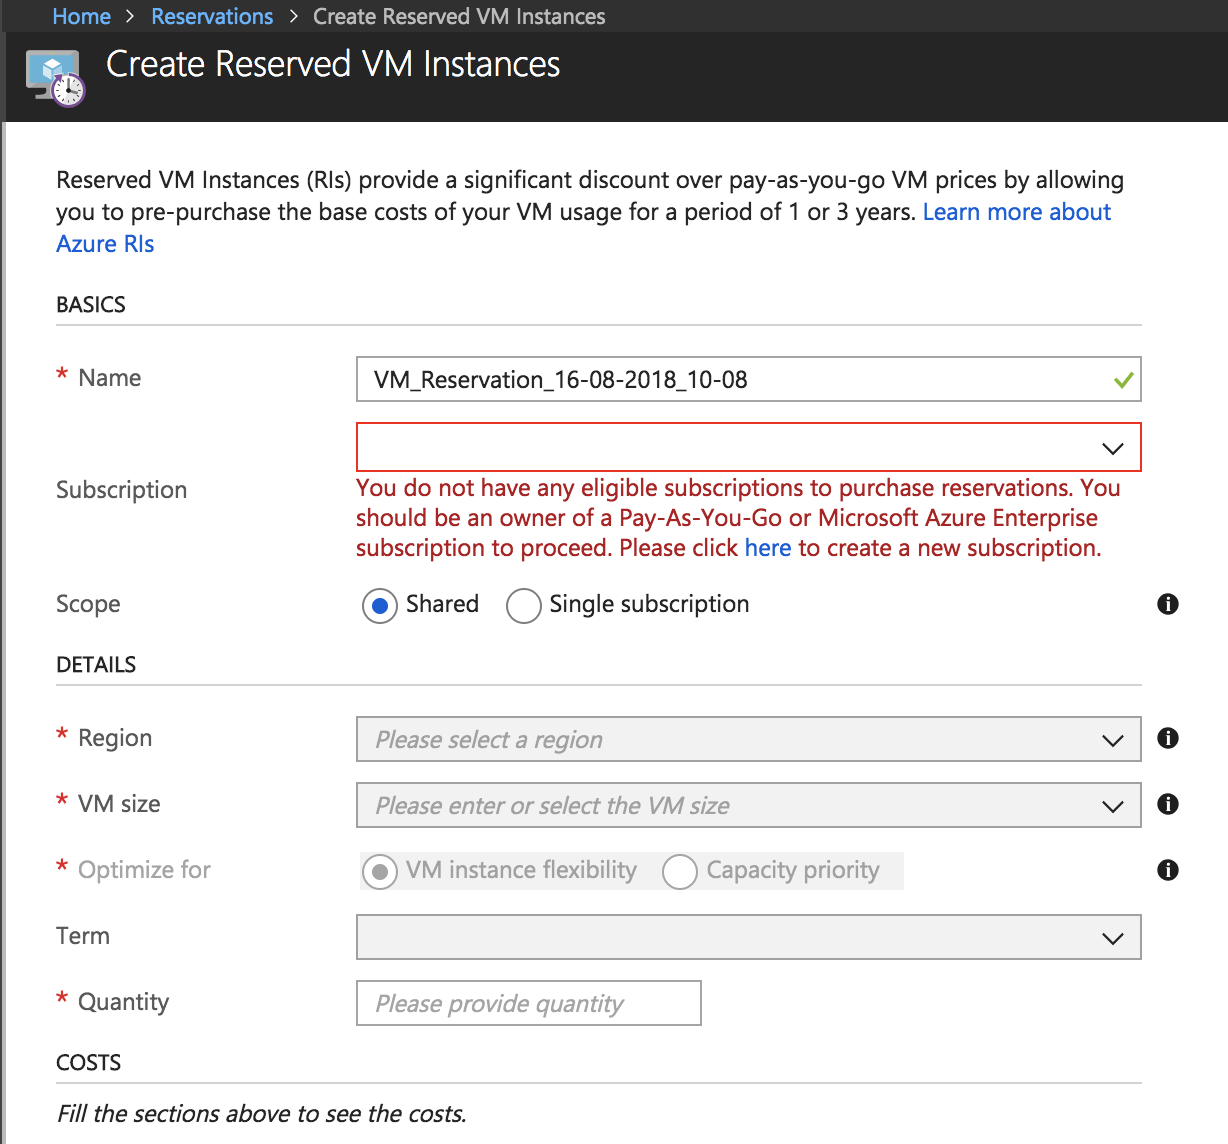
- Name: Provide a descriptive name for your reservation.
- Subscription: Select the appropriate subscription.
- Scope: This can be either shared or per subscription basis. If you have an Enterprise Agreement, then go with Scope if there are multiple subscriptions within the same account. This can be changed at a later time as well.
- Region: Select the region of your choice. Microsoft does provide some recommendations based on your usage.
- VM size: Select the VM size against which the discounts would be applied.
- Optimize for: You have two options here, VM Instance flexibility and Capacity Priority. Capacity priority is only available when reservation scope is Single subscription.
- Term: You can select 1 or 3 years. 3 years term will provide a higher discount.
- Quantity: Number of instances that you would want to pre-purchase.
This feature is now integrated into the Azure Pricing Calculator where you can find how much money you would save with Reserved Instances and it can be found here.
I hope this has been informative and thank you for reading!


