
Welcome to the second part of the Azure Update Management series. In the previous post, we discussed the introduction and overview of Azure Update Management. We also went through the various prerequisites, supported/unsupported clients, solution components and the networking requirements.
Now that we have all of this covered, in this we will look at how to enroll Azure Virtual Machines into the Azure Update Management solution.
I will first show you how to add a single Azure Virtual Machine and then walk you through the process of enrolling multiple Azure Virtual Machines.
To enroll Azure Virtual Machines, we need to first have Azure Automation account and Log Analytics Workspace created. If these aren't created already, the Update Management solution will create one for us.
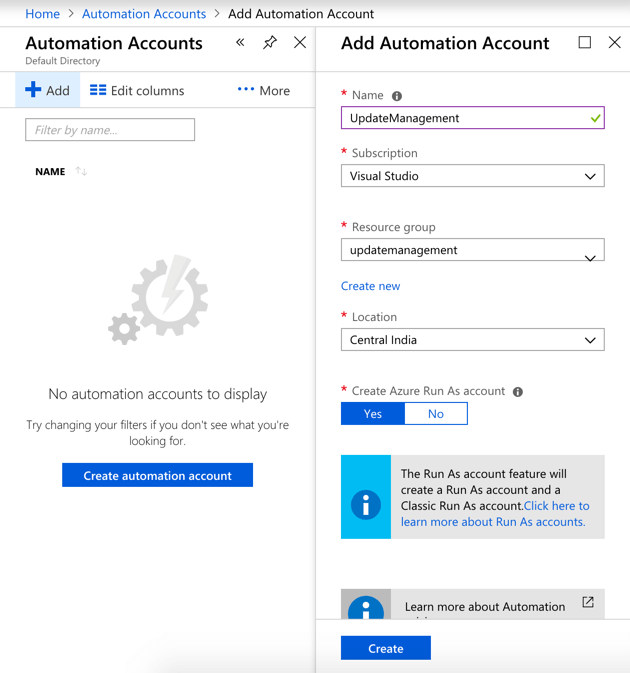
In our case, let us go ahead and create these beforehand. To create an Azure Automation Account, search for Azure Automation and click on Add and provide the below details:
- Name: Descriptive name of the account.
- Subscription: Provide a valid subscription.
- Resource Group: Select an existing resource group or create a new one.
- Location: Select a location where this account needs to be created.
- Azure Run As Account: Run As accounts in Azure Automation are used to provide authentication for managing resources in Azure with the Azure cmdlets.
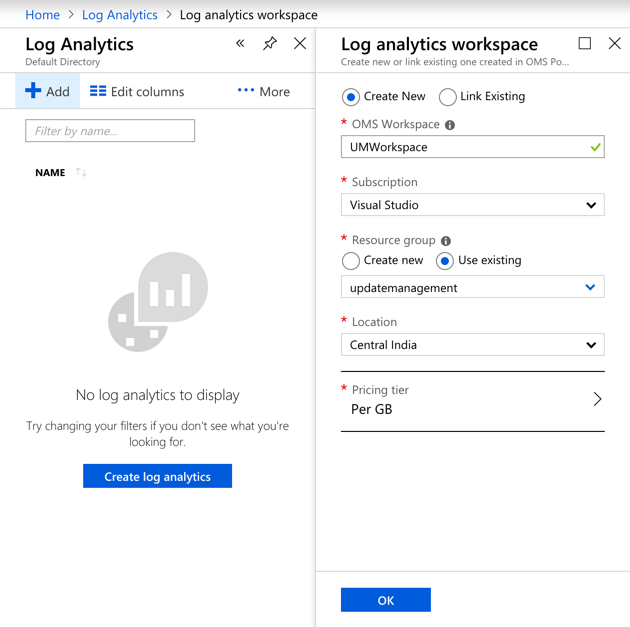
Next, we will be creating a Log Analytics workspace. To create a new workspace, search for Log Analytics, click on Add and provide below details.
- Name: Descriptive name for the workspace.
- Subscription: Provide a valid subscription.
- Resource Group: Select an existing resource group or create a new one.
- Location: Select a location where this account needs to be created.
- Pricing Tier: Select the default Per GB option.
To finally enroll a single Azure Virtual Virtual Machine to the Azure Virtual Machine solution, we need to go to Operations and click Update management from the Azure Virtual Machine Blade.
If the VM isn't running, you will be asked to start the VM first.
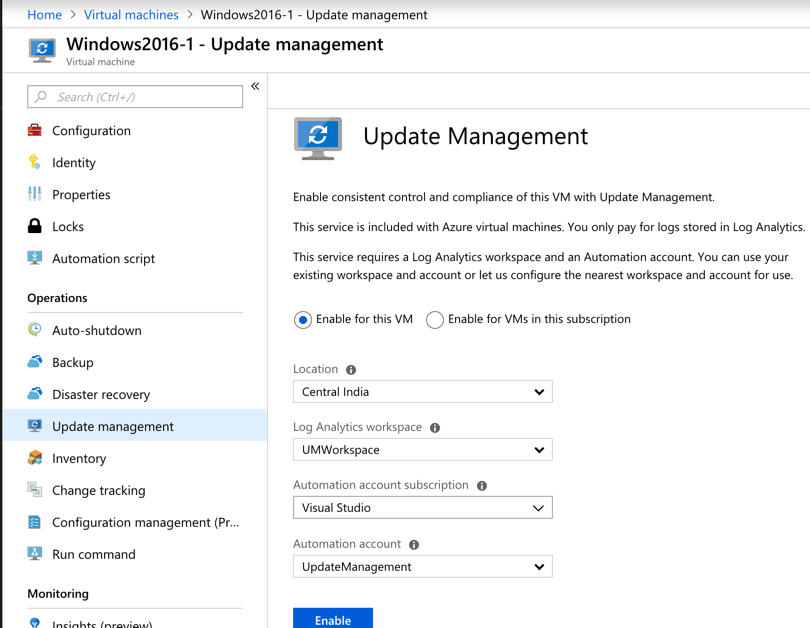
The Location defaults to VM location and the Log Analytics Workspace and the Automation account are already pre-populated. Click on Enable to enroll the VM.
Once the solution is enabled, it will install the Microsoft Monitoring Agent as an extension on the VM and it will require 15-30 minutes to show up the missing updates.
To enable this solution for multiple, it is very easy. All you need to do is go to the Azure Automation account that we created earlier and go to Update Management.
Click on Add Azure VMs. This will bring up a new Blade and allow you to select additional VMs.
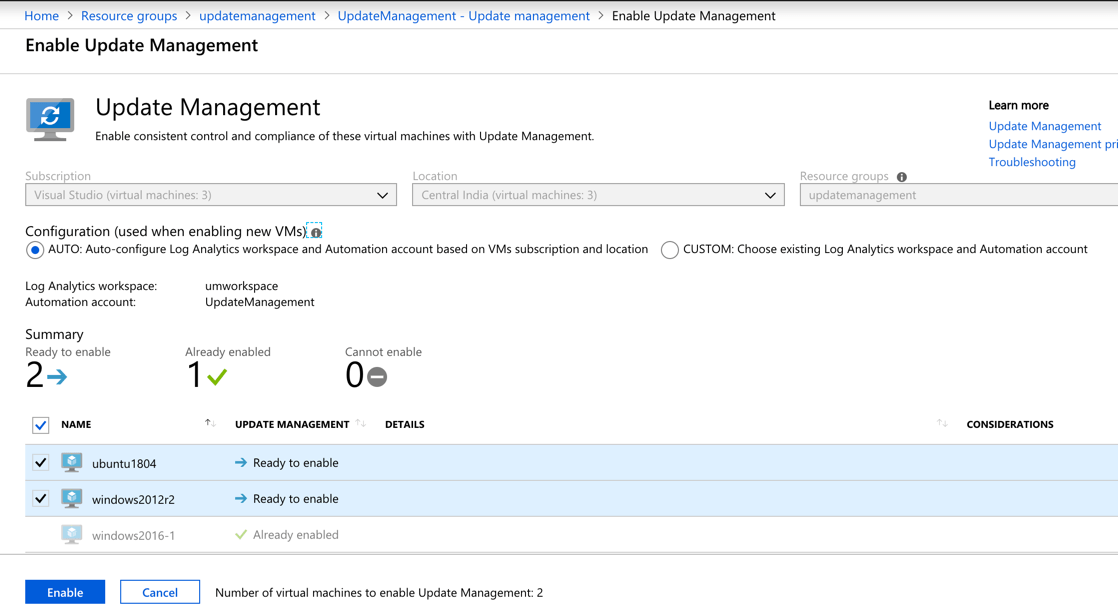
As you can notice, I have selected a Windows Server and an Ubuntu machine since the same solution can be used for both Operating system type.
Click on Enable to enroll the VMs to the Azure Update Management solution.
Well, that is all I wanted to discuss in this post. In the next post, we will look at how to schedule Update Deployments as this is something every Enterprise customer wants.


