
Hello Everyone, In this post, we will look at the Kubernetes Commands and Arguments feature as part of the Kubernetes 101 Series.
If you have not been following along, please refer to my previous post where we discussed Kubernetes Resource Quotas to be used when Kubernetes Namespaces are used in your cluster.
Before we proceed, let's do a little bit of recap about Dockerfile. Below is an example of a simple Dockerfile.
FROM ubuntu:trusty
ENTRYPOINT ["/bin/ping","-c","3"]
CMD ["localhost"]
In this example, I am saying the base image to be used for creating the Docker image should be ubuntu:trusty
And then I am specifying an ENTRYPOINT and a CMD value. So, when my image is used to create the container, the container is simply going to ping the localhost 3 times.
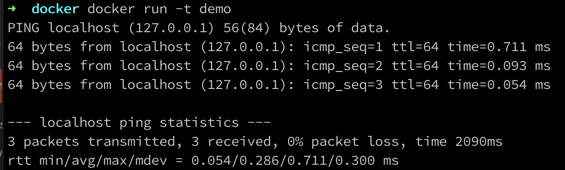
In simple terms, both ENTRYPOINT and a CMD allow you to define what should your container by default when the above image is used.
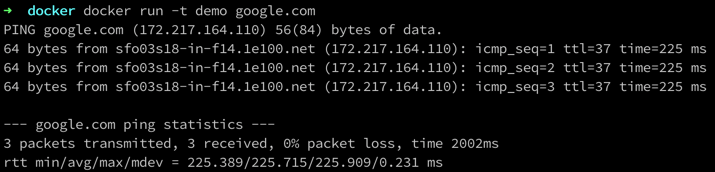
CMD can be overridden easily by specifying one or more arguments to docker run command. In this example, it is changed to google.com
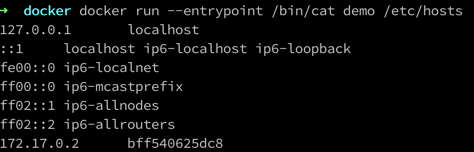
ENTRYPOINT can be overridden by specifying --entrypoint to docker run command. In this example, ping is changed to echo and the CMD value is changed to a file inside the container.
Now that we have this understanding of Docker CMD and ENTRYPOINT, Kubernetes allows us to add commands and arguments in our definition files.
And it is very important to remember that,
- args in Kubernetes overrides CMD in the original docker image.
- command in Kubernetes overrides ENTRYPOINT in the original docker image.
Now, let us apply the same understanding to our Kubernetes pod using the below YAML file.
apiVersion: v1
kind: Pod
metadata:
  name: demo-pod
spec:
  containers:
    - image: busybox
      name: demo-container
      command: ["echo"]
      args: ["This is a container for demo command"]
  restartPolicy: Never
By default, the busybox container does not do anything. It just starts and terminates immediately.
To create the pod, type below.
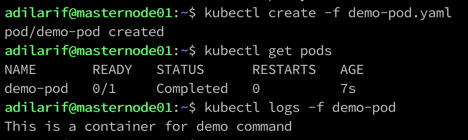
kubectl create -f demo-pod.yaml
To list the pod that we just created, we can use the below command.
kubectl get pods
To see if the pod did what was specified in the commands and args section, we can run the below command.
kubectl logs -f demo-pod
There is also another way where you can pass both the commands and args with the commands field itself as shown below.
apiVersion: v1
kind: Pod
metadata:
  name: demo-pod
spec:
  containers:
    - image: busybox
      name: demo-container
      command: ["echo" , "This is a container for demo command"]
  restartPolicy: Never
Well, that's all I have to share in this post. I hope this post has been useful in understanding how Kubernetes commands and arguments work in Kubernetes and how they correlate to docker CMD and ENTRYPOINT concepts.
I hope this has been informative and thank you for reading!


