
Hello fellow system admin,
In the last post, we were looking at the 70-410 Exam Objective 2.1 - Configure Servers for Remote Management, in which we saw various ways to manage the servers and remotely.
In today's post, we will be looking at configuring File and Share Access for the domain that we have created.
- Create and Configure Shares.
- Configure Share Permissions.
- Configure NTFS Permissions.
- Configure Offline Files.
- Configure Access Based Enumeration (ABE).
- Configure Volume Shadow Copy Service (VSS).
- Configure NTFS Quotas.
- Create and Configure Work Folders.
Now let us start looking at each of them one by one and see how to configure all of them.
Create and Configure Shares
Shared folders enable you to create file shares and set permissions on them so that multiple users across the organization can access a common set of files.
There are several methods that you can use to create shares:
Using Server Manager
First you need to install the required Role.
Server Manager > Add Roles > File and Storage Services > File and iSCSI Services > File Server.
Next, from Server Manager > File and Storage Services > Shares > Tasks > New Share > SMB Share (Quick)
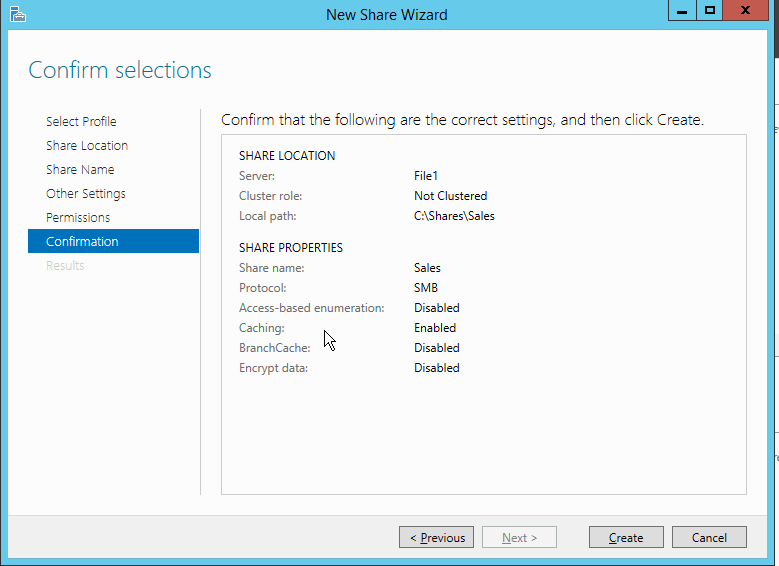
Using PowerShell
New-SMBShare -Path C:\Shares\Marketing -Name Marketing -ReadAccess Everyone -FullAccess Administrator
The above command will create a new share called Marketing and provide Read Access to Everyone in the Domain and Full Access to the Administrator account.
If you need to check the shares on a remote computer, you can use the below command.
Get-SMBShare -CimSession File1

To map a share on a computer, use the below command.
New-SMBMapping -LocalPath G:\ -RemotePath \\File1\Sales

Configure Share Permissions
Once the share is created, and you wish to change the permissions on the share. There are several to achieve this.
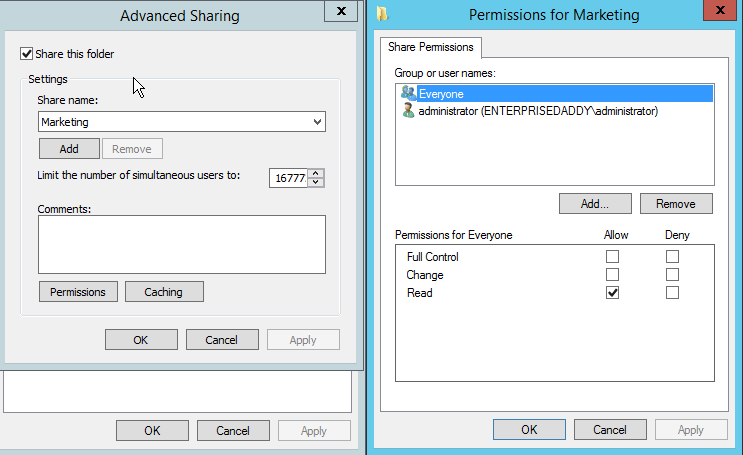
You can directly go to the folder and do it so from the Properties.
Folder . Properties > Sharing > Advanced Sharing > Permissions.
You can also change the permissions from Server Manager.
Server Manager > Shares > Sales > Right Click > Properties > Permissions.

Configure NTFS Permissions
The most common way of setting NTFS permissions on a folder is through Windows Explorer.
Select the Folder, right click and select Properties > Security.
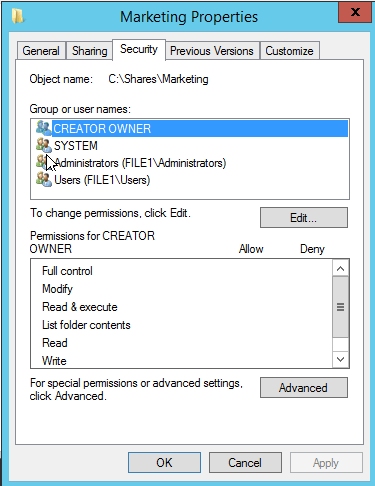
You can now click on Edit and then Add or Remove users and groups and select appropriate permissions.
There is also a command line tool called icalcs.exe that can be used to set NTFS permissions using the non-graphical method.
I had earlier written an article on how to find Folder Permissions using Powershell which you can find below.
How to find Folder Permissions using Powershell
Configure Offline Files
Using offline files, you can access files stored in shared network folders even when the network copies are unavailable. You can do this by choosing the network files you want to make available offline, which automatically creates a copy of the network files on your computer.
You can do this by choosing the network files you want to make available offline, which automatically creates a copy of the network files on your computer.
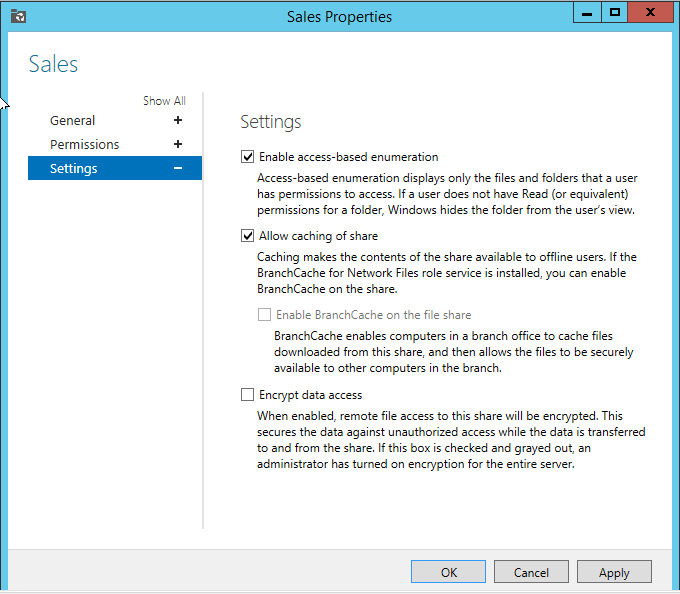
To make changes on the server side, select the Share from Server Manager and right-click on Properties > Settings > Allow caching.
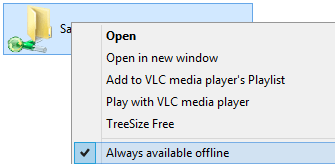
On the client side, map the network drive and right click to select Always Available Offline.
Cached files are stored in the below location on the client computer.
C:\Windows\CSC
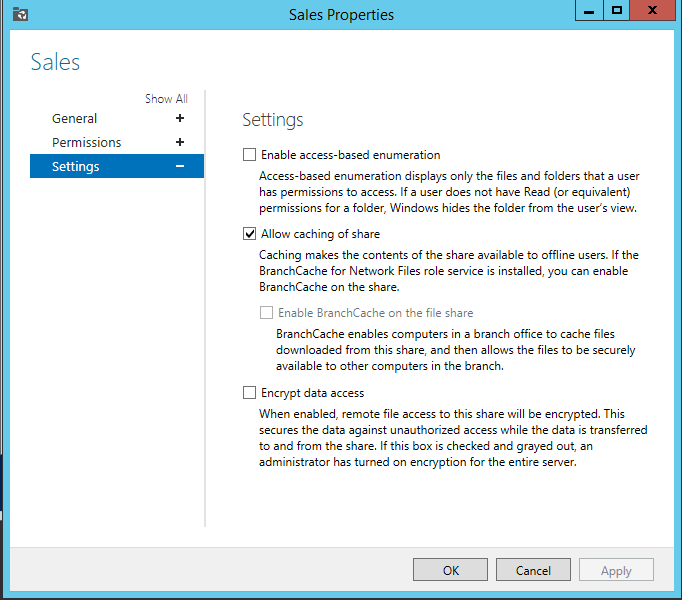
Configure Access Based Enumeration
Access-based enumeration displays only the files and folders that a user has permissions to access. I think this is one of the built-in features available within the Server 2012 R2.
If a user does not have Read (or equivalent) permissions for a folder, Windows hides the folder from the user’s view.
To enable Access Based Enumeration, Select Share, right click on Properties and go to Settings.
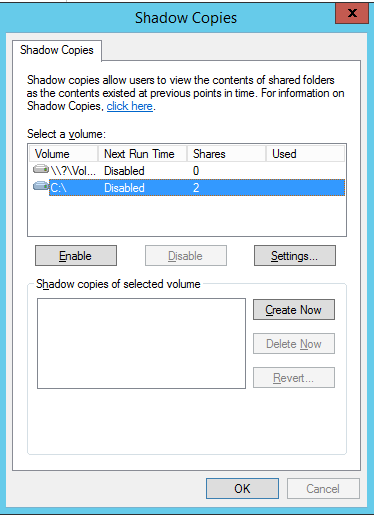
Configure Volume Shadow Copy Service
Volume Shadow Copy Service is simple terms is used to take backup on an existing disk drive.
When you right-click on a folder in Windows, you get the option saying “Previous versions”. You might have used the option as well to restore the folder settings and sometimes the content to a previous state.
The data will only be available under "Previous versions" only if Volume Shadow Copy is enabled.
Select any of the local drives, right click and select Configure Shadow Copies and click on Enable.
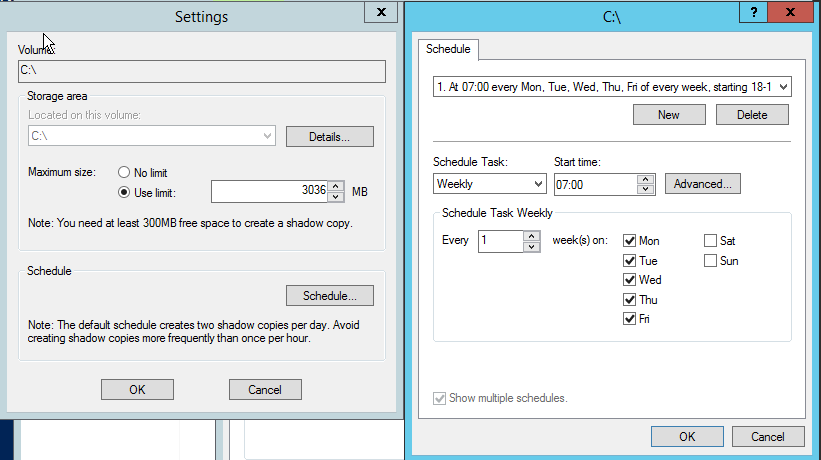
You can also schedule as to when would you like to take the snapshots of the disk.
Configure NTFS Quotas
NTFS Quotas is used ti restrict users to store data on shares.
The different types of quotas available are:
- Hard Quota: This will not allow users to exceed the limit set by the Administrator.
- Soft Quota: This will allow the user to exceed the limit set by the Administrator, this is typically used to monitor.
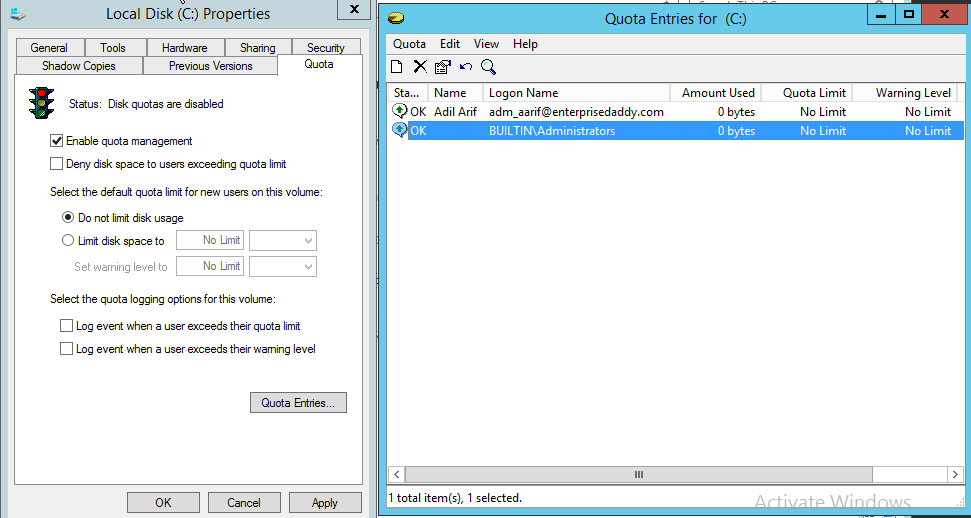
To enable Quotas, select a Disk, right click to select Properties > Quotas
Select Enable Quota Management and click in Quota Entries to add users.
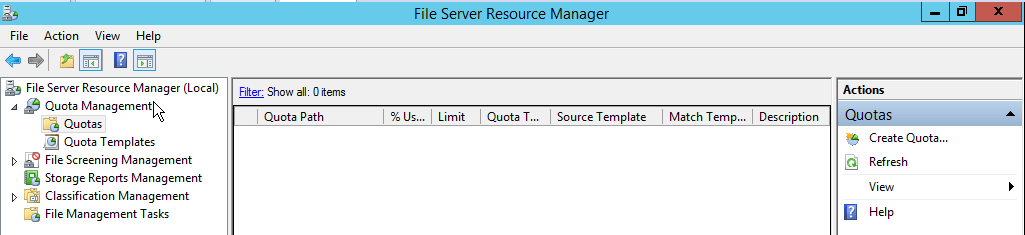
Another way of doing Quota Management is enabling the File Share Resource Manager from Server Manager.
Add Roles > File and Storage Services > File and iSCSI Services > FSRM.
Once Enabled, click on Tools > FSRM > Quota Management > Quotas > New Quota.
Create and Configure Work Folders
Work Folders is a Windows Server 2012 R2 feature that enables admins to provide their users with synchronised access to their files on multiple workstations and devices while storing them a network file share.
The concept is similar to OneDrive, but the difference being that the files are stored on a private Windows Server.
To enable Work Folders, you first have to install the Role.
Add Roles > File and Storage Services > File and iSCSI Services > Work Folders.
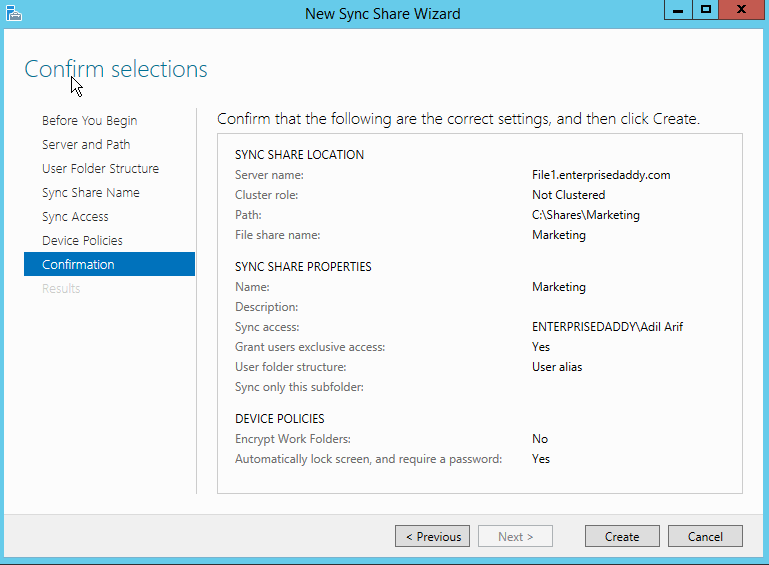
Once enabled, File and Storage Services > Work Folders > Tasks > New Sync Share.
You can see below that I am using the Marketing Share that we created earlier to perform this demonstration, I have given the user account Adil Arif the access to the Work Folder.
On the client side,
Control Panel > Work Folders > Setup Work Folder and provide the necessary details.
That's it for today's objective, I hope that you found this useful and thank you for reading!


