In this post, we will be looking at how to install Azure CLI 2.0 in various types of Operating systems. Since I have recently started using a MacBook, I had to set up the installation of Azure CLI 2.0 from scratch and have taken this opportunity to share with the readers.
Install Azure CLI 2.0 on macOS
Before we proceed any further, we will need to first make sure that Homebrew is installed on the macOS. Homebrew is the missing package manager for macOS.
Homebrew installs the stuff you need that Apple didn’t.
To install Homebrew, copy paste the below command on the Terminal of the Mac.
/usr/bin/ruby -e "$(curl -fsSL https://raw.githubusercontent.com/Homebrew/install/master/install)"
Once Homebrew is installed, update the local Homebrew repositories and typing the below command.
brew update
Next step is to install the Azure CLI 2.0 by typing the below command.
brew install azure-cli
There is another method to manually install Azure CLI 2.0 but my recommendation will be to stick with the brew install method as it is easy to perform.
Install on Windows
To install the CLI on Windows and use it in the Windows command-line, download and run the Azure CLI Installer (MSI).
Install on Docker
If you have Docker Engine installed on any of your Windows/Linux hosts, then you could just spin up a container running Azure CLI 2.0.
Type the below command to create a container running Azure CLI 2.0 with the latest version.
docker run -it azuresdk/azure-cli-python
Now that we have successfully installed Azure CLI 2.0, let us try to authenticate to the Azure account.
Type the below command to log in to the Azure Resource Manager.
az login
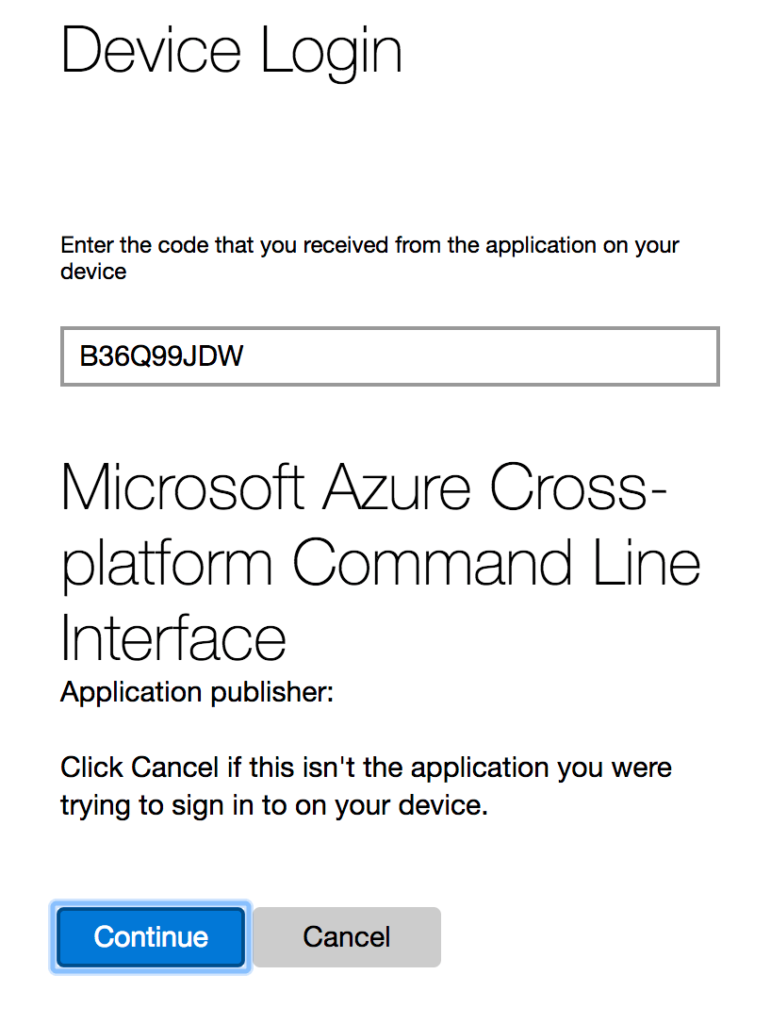
This will ask you to open a browser session and authenticate using the code provided on the screen.
Once done, you will see the below in the Terminal that you have now connected to Azure using the Azure CLI 2.0.
I hope this has been informative and thank you for reading!


