
In the previous post, we created VMware Site Recovery Manager (SRM 6.5) protection groups where we specified the VMs that are part of it.
In this post, we will look at configuring an SRM 6.5 recovery plan. A recovery plan contains all the steps required to run tests and to perform a planned migration or disaster recovery.
A recovery plan may contain multiple protection groups and may include both array-based and vSphere Replication protection groups.
A recovery plan is like an automated runbook. It controls every step of the recovery process, including the order in which Site Recovery Manager powers on and powers off virtual machines, the network addresses that recovered virtual machines use, and so on. Recovery plans are flexible and customizable.
Now that we have a good understanding of what a recovery plan is, let us go ahead and create one.
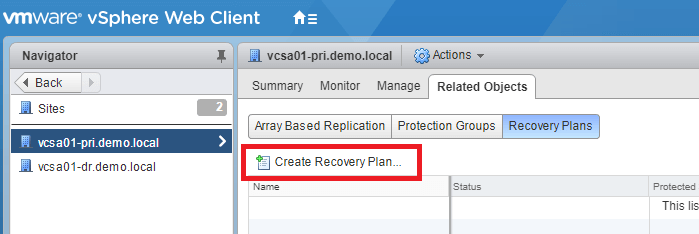
To create a recovery plan, In the vSphere Web Client, select On the Objects tab, click the icon to create a recovery plan.
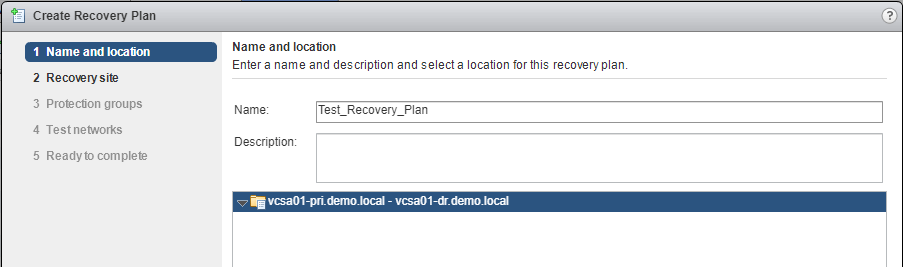
Enter a name and description of the plan, select a folder, then click Next.
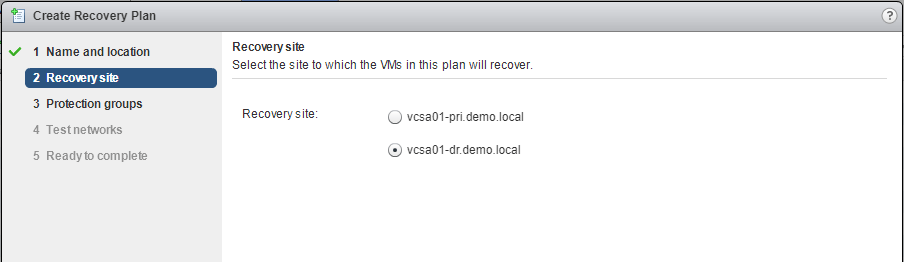
Select the recovery site and click Next.
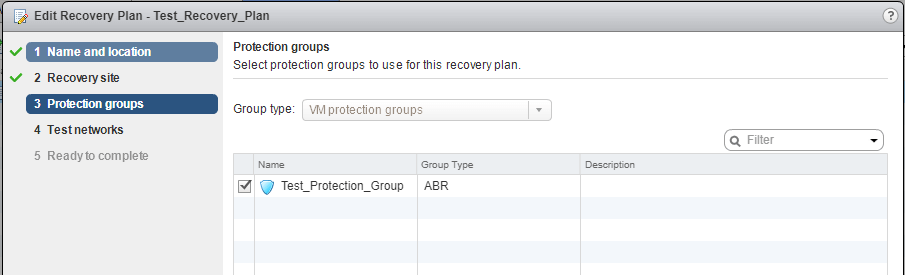
Select the group type from the menu. We are selecting VM protection groups to create a recovery plan that contains array-based replication and vSphere Replication protection groups.
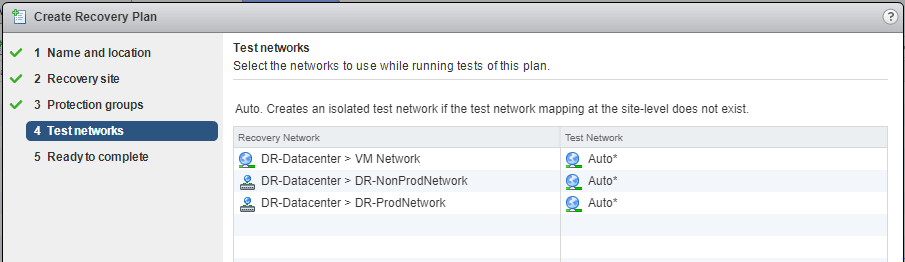
Select a network to use during test recovery, and click Next. The default option is to create an isolated network automatically.
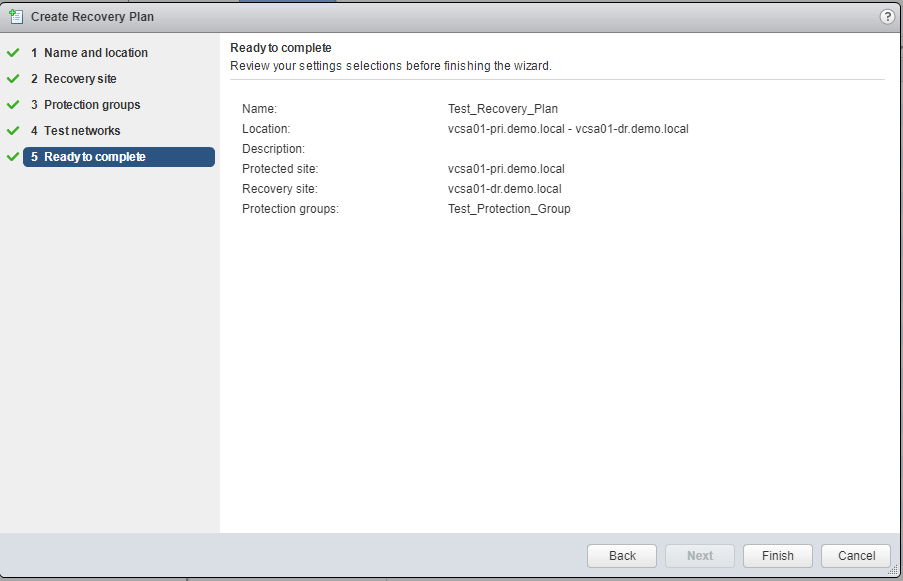
Review the summary information and click Finish to create the recovery plan.
A good practice to test the recovery plan that you have created to make sure that everything is working as expected.
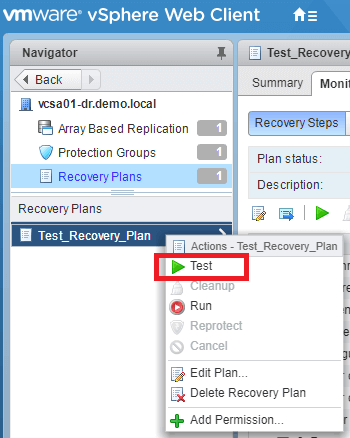
To test the recovery plan, select the plan, right-click and select Test.
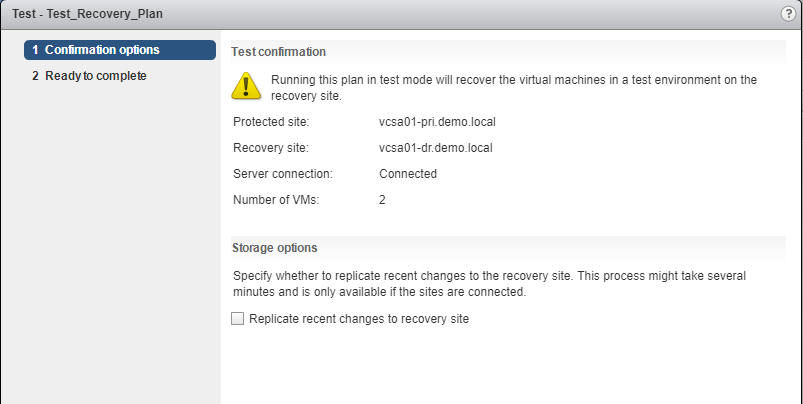
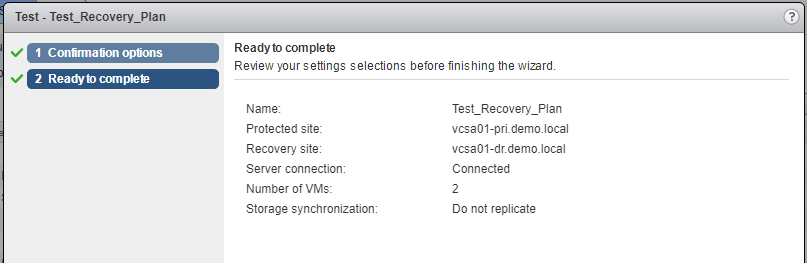
This will bring up a wizard which says that running this test will recover the VMs in a test environment on the recovery site. Verify the protected and recovery site details and the number of VMs that are part of this plan.
Under storage options, you will have an option to replicate recent changes to recovery site which I have not selected since there are no changes that were made to my VMs.
Review the options and click Finish.
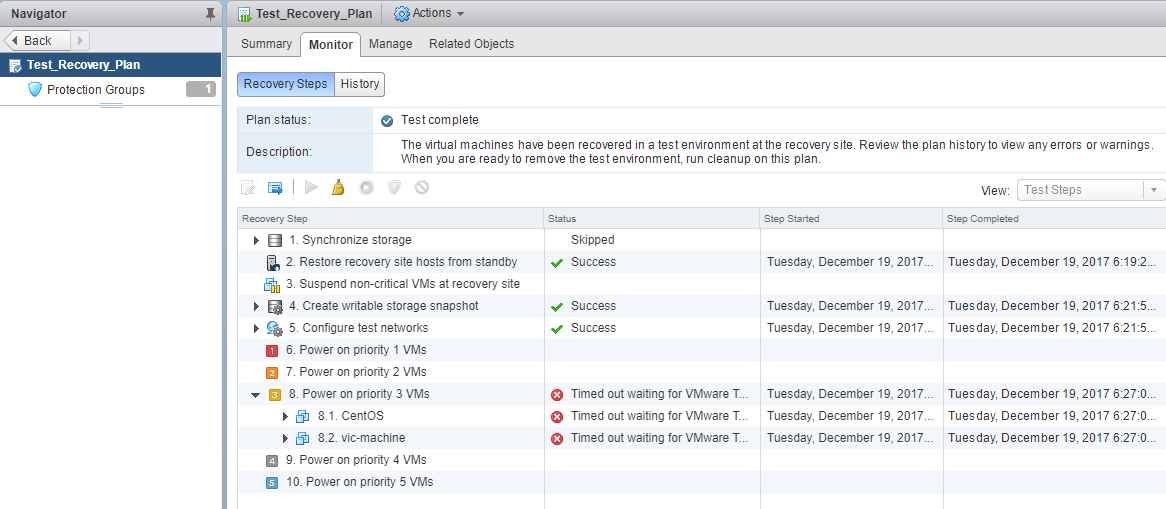
You can see the progress of the test plan. Once complete, you would see the result as below.
Note: I am getting these times out warnings because VMware Tools were not installed on these VMs.
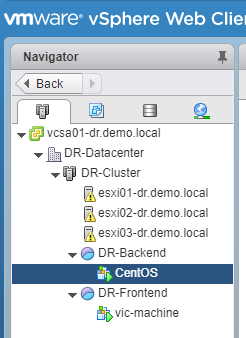
You can also verify by logging into the recovery site and making sure that the VMs exist and are powered on.
Well, we have successfully created and tested a recovery plan. In the next post, we will discuss on how to clean up the recovery plan so that we can use it again.
I hope this has been informative and thank you for reading!


1 Comment
I must say this entire series on SRM was very Comprehensive and informative.
Thank you and would request you to post few articles on VMware Zerto based replication.